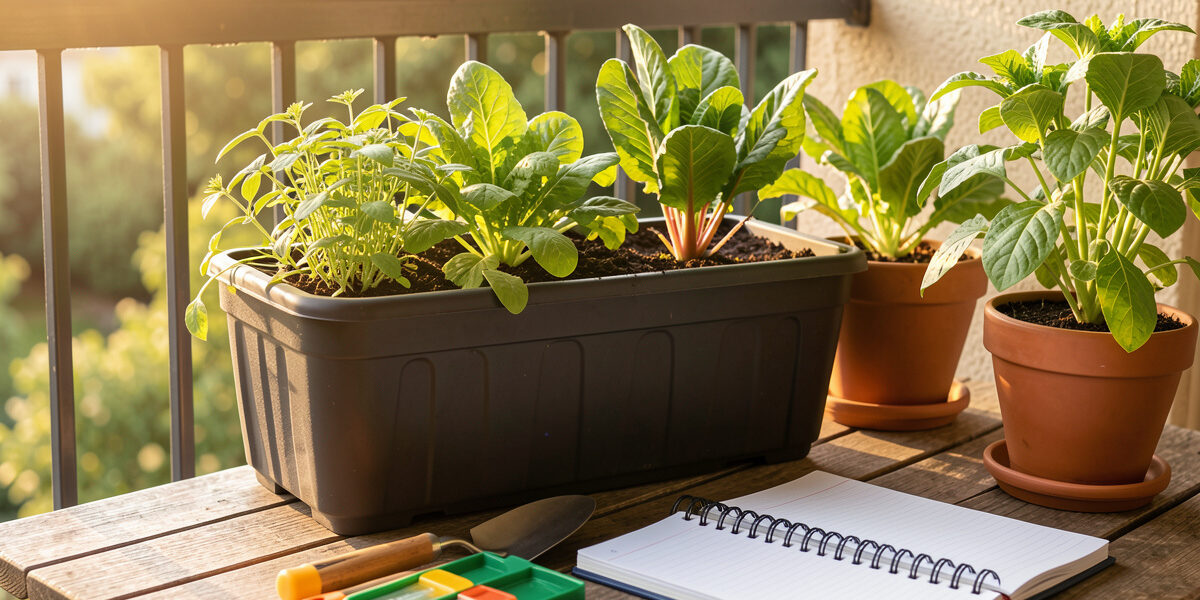
Soil testing in a container garden means checking pH and the rough levels of nitrogen, phosphorus, and potassium before you feed, so you fix the right problem instead of guessing. In a pot it pays off faster than anywhere else, because the small soil volume is cheap to correct and easy to get badly wrong.
I test my container soil far more often than the in-ground gardeners I read online, and the reason is simple: a pot has no buffer. A garden bed can carry a pH or nutrient imbalance for years and shrug it off. A 10-litre container of fast-draining mix swings hard and fast, and by the time the leaves tell you something is wrong, you have already lost weeks of a short Nordic season. A two-minute test removes the guesswork.
Why Testing Matters More in Containers
Container soil is a closed system that you control completely — which is both the advantage and the risk. Every watering leaches some nutrients out the bottom, peat-based mixes acidify as they age, and lime in tap water can nudge pH the other way over a season. None of that happens slowly enough to ignore in a small volume. Testing tells you where the soil actually sits so you are not feeding a plant that is starving for a completely different reason.
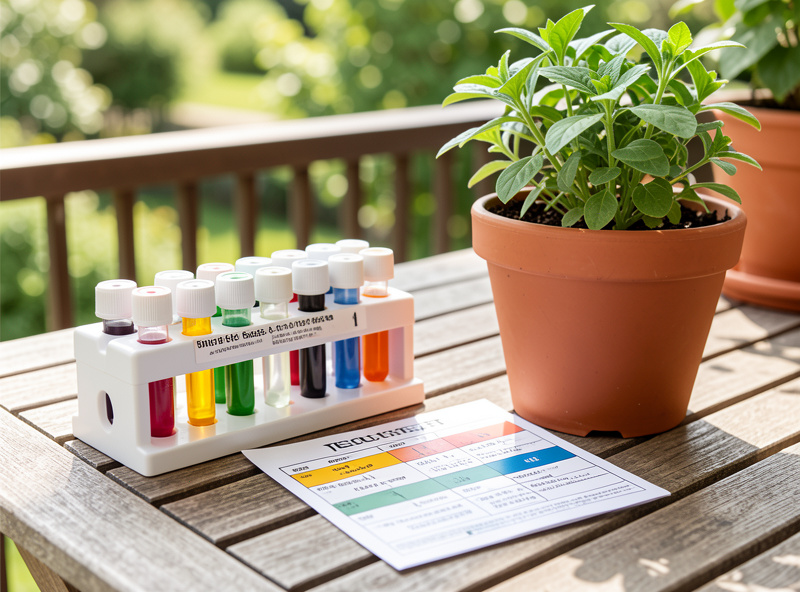
The classic trap is reading pale leaves as hunger. Pale leaves can mean a nitrogen shortage, but they just as often mean cold roots, waterlogging, or a pH lockout where the nutrient is present but chemically unavailable. Pour more fertilizer onto a lockout and you make it worse. A quick pH and nutrient reading separates the cause from the symptom, which is the entire point of testing before feeding — a habit I push hard in the main garden soil fertility guide.
What a Soil Test Actually Tells You
A basic home test covers four things: pH, nitrogen, phosphorus, and potassium. pH is the most useful single reading, because it governs whether everything else is available — most vegetables want roughly 6.0 to 7.0, and outside that band nutrients start locking away. The NPK readings are rougher but still tell you the broad picture: whether the soil is leaf-fuel rich, fruit-and-root rich, or generally tired.
What a cheap test does not give you is laboratory precision or micronutrient detail. That is fine. In a container you are making a practical decision — feed, adjust pH, or rebuild the mix — and a rough reading is enough to make it correctly. If you understand what the numbers mean, you can act; the meaning of the NPK side is unpacked in NPK explained for home growers.
How to Take a Representative Sample
The test is only as good as the sample. From a container, take a small core from the root zone — a few centimetres down, not just the dry crust on top — and pull from two or three spots in the pot, then mix them. The surface layer behaves differently from the root zone, and a sample taken only from the top will read drier and often more alkaline than the soil your roots actually sit in.
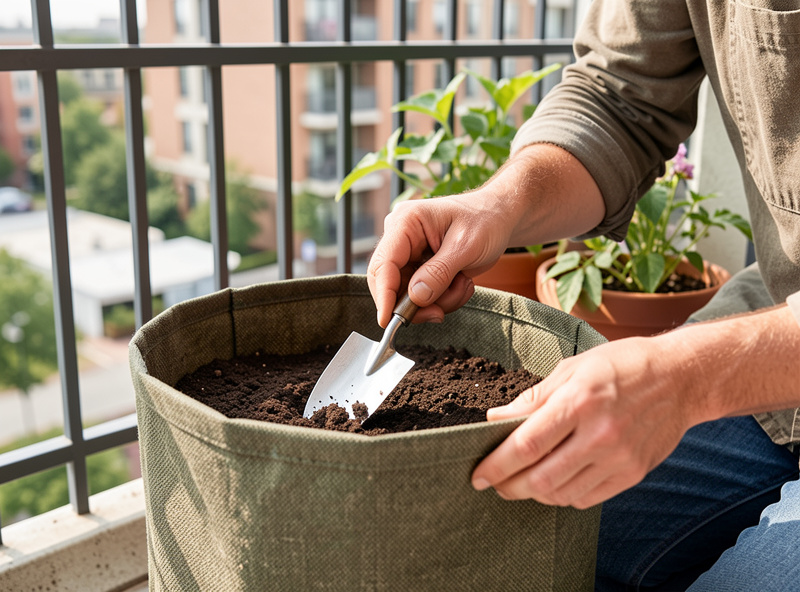
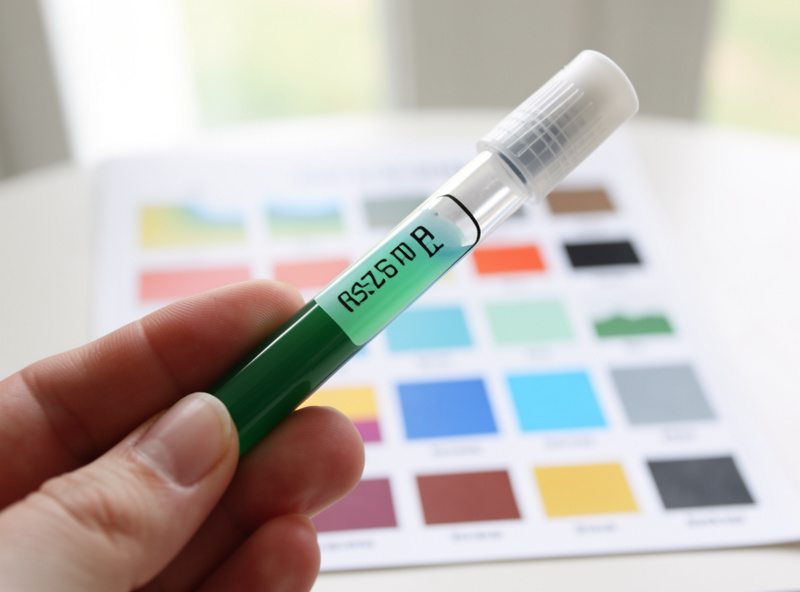
Let the sample come to room temperature before testing, because cold soil straight off a spring balcony can throw a reading off. For pH I prefer a liquid or probe test over the cheapest paper strips, which are hard to read accurately against a color chart. Test when the soil is moist but not soaking — saturated soil dilutes a chemical test and gives a soft result.
Choosing a Test Method
There are three practical routes for a home grower, and the right one depends on how much precision you actually need. The table below is how I weigh them for container use.
| Method | What it tells you | Cost | Best for |
|---|---|---|---|
| Chemical capsule kit | pH plus rough NPK | Low | Most container growers |
| Digital pH/moisture probe | pH and moisture only | Low to medium | Quick repeat pH checks |
| Lab soil test | Full nutrient and micronutrient profile | Higher | Persistent problems, raised beds |
For day-to-day container gardening, a chemical capsule kit covers pH and the three macronutrients for very little money, and a digital pH/moisture probe is handy for fast pH spot-checks between full tests. I only consider a lab test when a raised bed has a stubborn problem I cannot diagnose at home — in a pot it is almost always cheaper to rebuild the mix than to pay for a lab analysis. As an Amazon Associate I earn from qualifying purchases. A simple soil test kit is one of the few gardening purchases that genuinely saves more than it costs.
Reading the Result and Acting on It
Once you have a reading, the decision tree is short. If pH is off, fix that first, because correcting it can unlock nutrients the soil already holds — the slow, careful method is in adjusting soil pH for plants. If pH is fine but nitrogen is low and you have leafy crops, feed nitrogen. If the soil is generally tired across the board, the better move is often to rebuild the biology and structure with compost and castings rather than chase individual numbers.
Match the feed to the reading and the crop: a leaf-pusher feed for greens, a balanced or potassium-leaning feed for fruiting plants. The specific products I reach for are in organic fertilizers for vegetables, and if the test shows the mix is simply spent, see potting soil vs garden soil for why a rebuild beats endless feeding.
How Often to Test a Container
For most container crops, testing pH at the start of the season and again mid-season catches the drift that matters, with an extra test any time a plant looks off without an obvious cause. Reused mix that has been through a season deserves a test before you replant into it, because old peat-based soil tends to have acidified and depleted. New bagged or homemade mix can usually be trusted for the first run, though it is still worth a baseline pH reading so you know your starting point.
Over-testing is not really a risk — the kits are cheap and the readings are quick — but the useful rhythm in a short season is start, middle, and on-demand. That is enough to keep a small, leaky soil volume honest without turning the hobby into a chemistry class.
Frequently Asked Questions
Do I really need to test soil in containers?
In containers, yes — more than in the ground. A small soil volume swings fast in pH and nutrients and is cheap to correct, so a quick test stops you wasting fertilizer on a problem that is actually pH or drainage.
What is the best soil test kit for home use?
A chemical capsule kit that reads pH plus rough nitrogen, phosphorus, and potassium covers what a container grower needs for very little money. A digital probe is a useful add-on for fast pH spot-checks between full tests.
How do I take a soil sample from a pot?
Take a small core from the root zone a few centimetres down, not the dry surface crust, from two or three spots in the pot, then mix them. Let it reach room temperature and test when moist but not saturated.
How often should I test container soil?
Test pH at the start of the season and again mid-season, plus any time a plant looks off without an obvious cause. Always test reused mix before replanting, since old peat-based soil tends to acidify and deplete.
Why are my plants struggling even though the test looks fine?
If pH and nutrients read normal, the cause is usually physical: waterlogged or compacted soil, cold roots in spring, or a root-bound plant. Check drainage and root health before adding more feed.