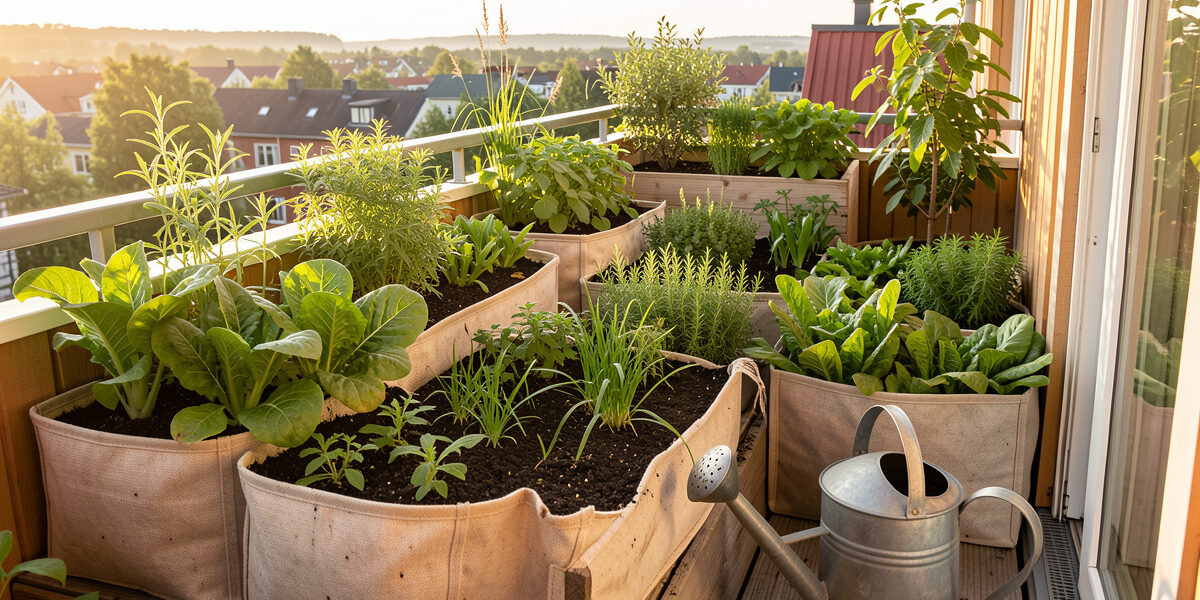
Garden soil fertility is the practice of keeping three things in balance: physical structure, living biology, and available nutrients. Get those right and almost everything else in the garden takes care of itself. In a Nordic container setup, fertility management matters more than anywhere else, because a pot holds only the soil you give it and nothing more.
I grow on a balcony and a couple of raised beds through a Swedish season that runs short and starts cold, and the single biggest jump in my harvests never came from a fancy light or a new cultivar. It came from treating the soil as a living system I feed, not an inert filler I top up with blue crystals when the leaves go pale. This guide is the whole picture — how fertility works, how to read what your soil is telling you, and how to build a feeding plan that holds up when you are working with containers and four usable hours of daylight in January.
What Soil Fertility Actually Means
Fertility is not the same as nutrients. A fertile soil delivers nutrients on demand because it has the structure to hold water and air and the biology to convert organic matter into plant-available food. You can pour fertilizer onto dead, compacted soil and watch most of it leach straight through. Fertility is the system that catches and releases.
Think of it as three levers. Structure is the physical scaffold — pore space for roots, drainage, and oxygen. Biology is the microbial and fungal life plus the worms and springtails that cycle organic matter. Nutrients are the actual elements plants eat, led by nitrogen, phosphorus, and potassium. Pull any one lever too hard and the other two suffer. Overfeed nitrogen and you get soft, leggy growth and a biology crash; ignore structure and the best fertilizer in the world drowns at the bottom of the pot. The whole craft is keeping the three in conversation.
Why Nordic Containers Change the Rules
Most fertility advice online is written for a warm in-ground bed where soil life runs year-round and rain leaches gently. A cold-climate container is the opposite case. The soil volume is tiny, so it dries, heats, and depletes fast. Spring soil temperatures sit low for weeks after the air warms, and cold soil means slow microbial activity — your fertility engine is idling exactly when seedlings want to feed.
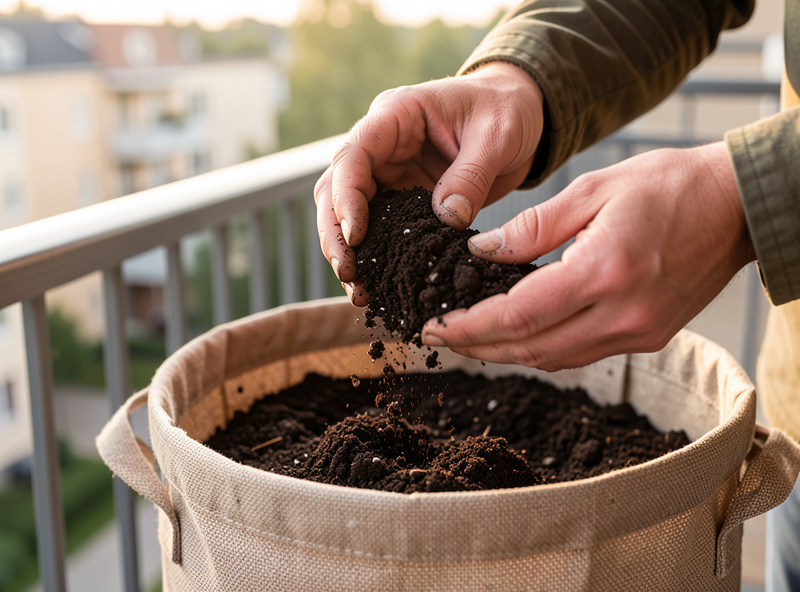
That changes priorities. In a container up north I lean on biology that works in cool soil (finished compost and worm castings rather than raw manures), I avoid early high-nitrogen pushes that produce frost-tender growth, and I treat drainage as non-negotiable because a cold, waterlogged pot in April kills more seedlings than any pest. The short season also means there is no time to fix a fertility mistake mid-summer — you set the soil up right before sowing, not after. This is the part the homestead channels skip, and it is the whole reason this site exists.
The Three Levers in Practice
Structure first. In containers I never use bagged “garden soil,” which compacts into a brick, and I treat most cheap “potting soil” with suspicion too — it slumps within a season. My base is a custom mix built for pore space, and the logic behind that is its own project; see the DIY potting mix recipes for the exact ratios I run, and potting soil vs garden soil for why the bag label matters.
Biology next. A handful of worm castings does more for a container than a scoop of synthetic feed, because it inoculates the pot with microbes and provides slow, gentle nutrition. I keep a small worm bin running year-round as the kitchen-scrap loop that feeds the balcony — the same slow microbial chemistry as everything else fermenting in the kitchen. The full case for it is in worm castings benefits and vermicomposting for beginners.
Nutrients last — because if structure and biology are sound, you are topping up a working system rather than force-feeding a dead one. That is where organic fertilizers and an honest understanding of the numbers on the bag come in, covered in depth below.
Read Before You Feed: Soil Testing
The most common fertility mistake I see is feeding blind. Pale leaves get nitrogen, but pale leaves can mean cold roots, waterlogging, or a pH lockout that no amount of feed will fix. Before adding anything, find out what the soil actually holds. A simple home kit tells you pH and rough nitrogen, phosphorus, and potassium levels, which is usually enough to make a sensible decision in a container.
Testing matters more in pots than in the ground because the volume is small enough that you can genuinely correct it. The full method — what to test, how to read the result, and how often it is worth doing — is in soil testing for container gardens. As an Amazon Associate I earn from qualifying purchases. A basic soil test kit costs little and pays for itself the first time it stops you wasting fertilizer on a pH problem.
Fertility Management by Growing Method
How you manage fertility depends heavily on where you grow. Containers, raised beds, and open ground behave like three different systems, and the table below is how I think about the trade-offs before deciding where a crop goes.
| Factor | Containers | Raised beds | In-ground |
|---|---|---|---|
| Soil volume | Very small, depletes fast | Moderate, buffered | Effectively unlimited |
| Feeding frequency | Little and often, all season | Top-dress monthly | Amend once or twice a year |
| Leaching risk | High (water runs through) | Moderate | Low |
| Biology stability | Fragile, needs reinoculating | Good if undisturbed | Self-sustaining |
| Best fertility approach | Rich mix plus liquid feed | Compost mulch, no-dig | Cover crops, annual compost |
| Nordic concern | Cold, fast-drying root zone | Slow spring warm-up | Late soil thaw |
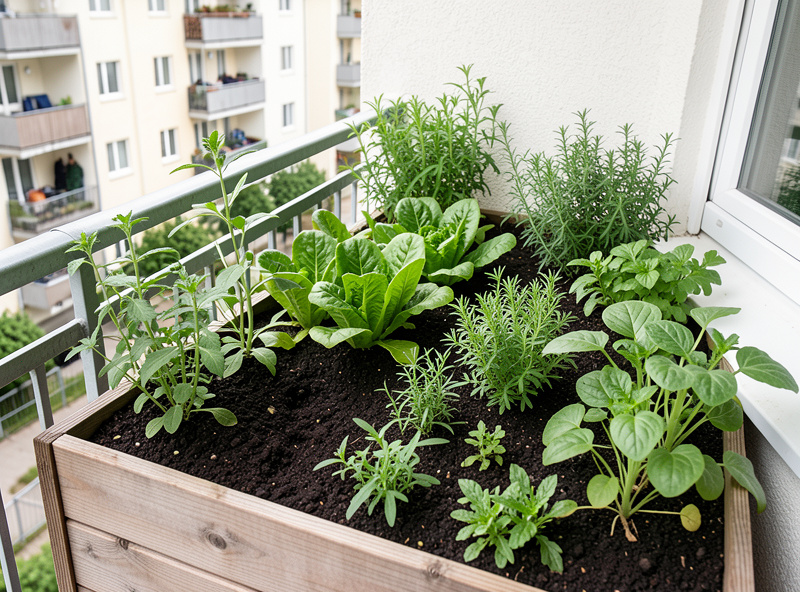
The pattern that falls out of this: in containers you feed little and often because everything leaches; in raised beds you build a self-feeding surface with compost and mulch; in the ground you work on a yearly cycle. Most apartment growers live in the first two columns, which is why so much of this guide is about topping up a small, leaky system without burning it out.
Feeding: Organic Fertilizers and the NPK Numbers
Every fertilizer carries three numbers — the NPK ratio — and once you can read them, the marketing falls away. Nitrogen (N) drives leafy green growth, phosphorus (P) supports roots and flowering, and potassium (K) handles overall vigor, fruiting, and stress tolerance. A 10-5-5 feed is a leaf-pusher; a 4-6-8 leans toward fruit and roots. I match the number to the crop and the stage, not to whatever is on sale.
The full breakdown of what those numbers mean and how to choose by crop is in NPK explained for home growers. For the actual feeds I reach for — and why I run organic, slow-release options in a container rather than fast synthetic salts that spike then crash the biology — see organic fertilizers for vegetables. The principle is simple: feed the soil and let the soil feed the plant. A crop-specific example of staging the numbers across a season is in fertilizing tomatoes, which shifts from high-N early to high-K once fruit sets.
Amendments That Earn Their Place
An amendment changes the soil itself rather than just feeding the plant — improving structure, water-holding, drainage, or biology for the long term. The worm castings I keep coming back to are an amendment; so is the perlite or pumice I add for drainage and the coir that holds moisture without the compaction peat eventually causes. The mistake is treating amendments as a shopping list rather than a fix for a specific problem.
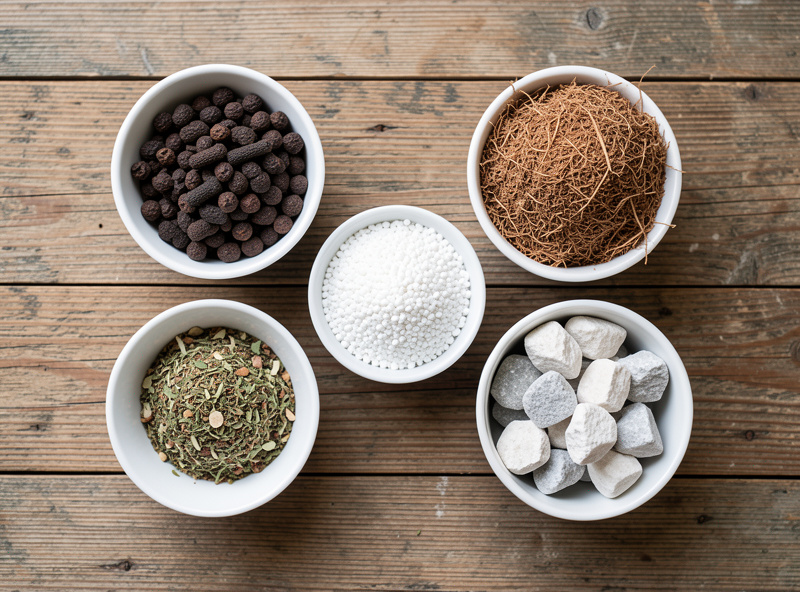
Diagnose first: a pot that stays soggy needs drainage (perlite, pumice, grit), one that dries in a day needs water-holding (coir, compost, castings), and a tired mix needs biology and slow nutrition (compost, castings). The full decision tree — which amendment for which symptom, and how much — is in the best garden soil amendments guide. Good compost for the vegetable garden is the single most useful one, and making your own closes the loop cheaply.
Protecting the Soil You Build: Mulch and No-Dig
Building fertility is wasted effort if you let it erode, bake, or wash out. Two practices protect it. Mulch — a layer of organic material over the surface — holds moisture, moderates the soil temperature swings that hammer containers, and slowly feeds the soil as it breaks down. In a Nordic spring it also buys a little warmth retention once the soil has woken up. The how and what is in mulching containers and raised beds.
No-dig takes the same logic deeper: stop turning the soil, feed from the top with compost, and let the worms and fungi build structure for you. It is the lowest-effort, highest-biology approach for a raised bed, and it suits a short season because the soil warms and is workable earlier when its structure is intact. The full method is in the no-dig garden method, and it pairs naturally with the surface mulching above and with a productive raised-bed soil mix.
pH: The Master Dial
Nutrients can be present and still locked away if the pH is wrong. Most vegetables want a slightly acidic to neutral range, roughly 6.0 to 7.0, where the widest spread of nutrients stays available. Drift too acidic or too alkaline and elements lock out — you see deficiency symptoms in a soil that technically contains plenty. This is why I test pH before ever reaching for fertilizer.
Adjusting it is slow and worth doing carefully: a little garden lime raises pH over weeks, elemental sulfur or an acidic amendment lowers it, and in containers you can simply rebuild the mix if it has drifted badly. The full, cautious method — including why you adjust gradually and re-test — is in adjusting soil pH for plants.
Build Your Own Mix
Everything above comes together in the soil you actually fill a pot with. I stopped buying bagged “potting soil” years ago because the cheap stuff compacts and drowns roots within a season. My own container mix is built from a structural base, water-holding organic matter, drainage material, and a biology-and-nutrient charge of compost and castings — adjusted for what the crop wants. The exact recipes, including a moisture-retentive blend for leafy greens and a free-draining one for herbs and strawberries, are in DIY potting mix recipes. For ready-made options worth the money when you do buy, see best potting soil for vegetables.
A Season-Long Fertility Plan for Containers
Here is how it sequences across a short Nordic season. Before sowing, I build or refresh the mix and test pH — fertility is set at the start, not chased later. Through spring I go light on nitrogen to avoid frost-tender growth and let the soil biology wake as it warms. From early summer, once plants are established and growing hard, I feed little and often with a balanced organic liquid feed, because containers leach fast. As fruiting crops set, I shift toward potassium. By late season I ease off and let plants finish, then return spent mix to the worm bin and compost rather than throwing it out.
That cycle — build, test, feed gently, shift for fruit, recover the soil — is the whole fertility loop in one paragraph. It scales from a single windowsill pot to a balcony full of containers, and it sits under the broader soil and compost picture for the whole garden.
Common Fertility Mistakes in Small Spaces
Most container fertility problems come down to a handful of repeat offenders, and I have made all of them. The first is reaching for fertilizer when the real issue is structure or water — a soggy, compacted pot starves roots of oxygen, and no feed fixes that. The second is overfeeding nitrogen, which produces lush, soft, frost-tender growth that pests love and a Nordic May night kills; early in the season I deliberately go light on N.
The third is using fast synthetic salts in a small soil volume, which spikes the nutrient concentration, stresses the biology, and then leaches out within a couple of waterings, leaving you back where you started. The fourth is letting the mix run for years without renewal — old container soil compacts, loses pore space, and goes biologically flat, no matter how much you feed it. And the fifth is ignoring pH entirely, then chasing phantom deficiencies in a soil that actually holds the nutrients but has locked them away. Every one of these is cheaper to prevent than to fix, which is the whole argument for testing first and building good soil from the start.
The thread running through all five is impatience. Fertility is a slow, biological process, and the small-space grower’s temptation is to force it chemically. The pots that consistently outperform on my balcony are the ones with the most stable biology and the least intervention — rich mix, surface compost, gentle liquid feed, and otherwise left alone.
Closing the Loop: Compost, Worms, and the Kitchen
The most sustainable fertility comes from inside your own kitchen. A small worm bin turns vegetable scraps into the worm castings that are, pound for pound, the best amendment I use in containers, and a compost setup — even a balcony-scale one — recycles spent mix and trimmings into next season’s fertility. This is the same slow microbial chemistry happening across the whole kitchen: the compost bin, the worm bin, and the ferment crock are all running variations of it.
Closing the loop matters more in a small space because you are not hauling in trailer-loads of manure; you are managing a tight nutrient budget. Spent container mix goes back to the worm bin or compost rather than the bin, gets recharged with biology, and returns to the pots. Over a few seasons this builds a self-supplying fertility system that costs almost nothing. The mechanics of the indoor and balcony-scale versions are in apartment composting, and the worm side is covered in vermicomposting for beginners. It is the quiet engine under everything else in this guide.
Frequently Asked Questions
How do I make my garden soil more fertile?
Build three things together: structure (add compost and drainage material so roots get air and water), biology (work in worm castings or finished compost to feed soil life), and nutrients (top up with a balanced organic feed). In containers, feed little and often because nutrients leach out fast.
What is the difference between fertilizer and soil amendment?
Fertilizer feeds the plant directly with nutrients, mostly nitrogen, phosphorus, and potassium. An amendment changes the soil itself — improving structure, drainage, water-holding, or biology for the long term. Compost and worm castings do both, which is why they are so useful in containers.
How often should I fertilize container vegetables?
Little and often through the growing season. Because water runs straight through a pot and carries nutrients with it, a light liquid feed every week or two beats a single heavy dose. Start once plants are established and growing actively, not at sowing.
Why are my plant leaves pale even after I fertilize?
Pale leaves are not always a nitrogen shortage. Cold roots, waterlogged soil, or a pH lockout can all cause it, and none are fixed by more feed. Test the soil first: check pH and drainage before assuming the plant is hungry.
Do I need to test my soil before adding fertilizer?
In containers, yes — it is the cheapest way to stop wasting feed. A basic kit shows pH and rough nutrient levels, which is enough to tell whether the problem is a deficiency or a lockout. Testing matters more in pots because the small volume is easy to correct.
What is the best soil pH for growing vegetables?
Most vegetables do best in a slightly acidic to neutral range, roughly 6.0 to 7.0, where the widest spread of nutrients stays available to roots. Adjust slowly with lime to raise pH or sulfur to lower it, and re-test rather than over-correcting.