Yes, you can grow real peppers in a Nordic climate, but only if you treat them as the long-season crop they are: start seed indoors under light by late February, grow them in containers you can move, and overwinter your best plants for a head start. That single shift in timing is the difference between a windowsill full of green, unripe fruit in October and a balcony that actually colours up by August.
Peppers are the crop that exposes every weakness in cold-climate growing advice written for warmer places. A US seed packet says “sow after last frost, harvest in 70 days” and assumes you have five months of strong sun afterwards. Up here you have a late frost, a short window, and months of low winter light on either side. This guide is how I run peppers around all of that, from the kitchen window to the balcony rail, and it ties together every deeper guide in the cluster.
Why peppers break standard Nordic timing
Peppers are slow. A sweet bell needs roughly 60 to 90 days from transplant to a ripe coloured fruit, and a hot chili can need 90 to 120 or more. Add the 8 to 10 weeks they need indoors before they are even ready to go outside, and you are looking at a plant that has to start its life in winter. That is the whole problem in one sentence: the pepper has to be a sizeable seedling sitting on your windowsill while there is still snow on the balcony.
This is exactly why peppers reward the indoor-start and grow-light competence that small-space Nordic growing forces you to build anyway. If you can keep microgreens and strawberries going under a bar through December, you already own the hardest part of pepper growing. The plant is not difficult once it is established; it is difficult to get established early enough in a place where the season is two months shorter than the packet assumes. Everything below is built around buying back that time.
Choosing pepper types for a short season and low light
Cultivar choice is where most cold-climate pepper attempts are won or lost. The single most useful number on the seed packet is days to maturity, and for a Nordic season you want to bias hard toward the lower end. A 60-day sweet pepper or an early jalapeno will ripen; a 120-day habanero or a giant blocky bell often will not, or will only do so if you overwinter it into a second year. Pick early, and pick varieties bred for cooler northern conditions where you can find them.
Smaller-fruited types ripen faster and more reliably than large blocky bells, which is the opposite of what most beginners reach for. A snacking pepper, a small lunchbox type, or a thin-walled frying pepper will colour up weeks before a fist-sized bell. For heat, the early jalapenos, serranos and cayennes are far more forgiving of a short, cool summer than the superhots, which need both more time and more steady warmth than a Swedish balcony gives. The table below is how I sort them when I plan a season.
| Pepper type | Approx. days to ripe | Nordic short-season fit | Container depth |
|---|---|---|---|
| Small sweet / snacking peppers | 55-65 | Excellent | 20-25 cm (7-10 L) |
| Frying / thin-walled sweet | 60-70 | Very good | 25 cm (10 L) |
| Blocky bell peppers | 70-90 | Marginal, start earliest | 25-30 cm (12 L) |
| Early hot (jalapeno, serrano, cayenne) | 70-85 | Good | 20-25 cm (10 L) |
| Superhots (habanero, scotch bonnet) | 100-120+ | Overwinter only | 25-30 cm (12 L) |
If you are deciding between a sweet and a hot crop, or want the full breakdown of each, I split them into two dedicated guides: growing sweet peppers in containers and growing hot chili peppers. The cultivar logic differs enough between the two that they each earn their own page.

Starting from seed indoors is non-negotiable up north
This is the step you cannot skip and cannot rush. In a Nordic season you sow pepper seed indoors in late February to early March, which is far earlier than almost anything else you grow. Pepper seed germinates slowly and wants warmth: a consistent 25 to 28 C at the soil surface, which on a cool windowsill means a seedling heat mat is the single most worthwhile bit of kit you can buy. Cold compost is why most people think their pepper seed “didn’t come up” when it was simply sitting there sulking at 16 C.
Once they germinate, peppers need strong light immediately or they stretch into thin, leggy stems that never recover. A bright windowsill in March this far north is not enough; the seedlings lean and pale. Under the bar I run, they stay stocky and dark green. The full process, from sowing depth to potting up and hardening off, is its own guide: starting peppers from seed indoors. If you only read one spoke before your first season, read that one. I also keep a dedicated lighting guide, grow lights for peppers, because the spectrum and PPFD questions come up constantly. As an Amazon Associate I earn from qualifying purchases. A simple seedling heat mat pays for itself the first season in seed you don’t waste.
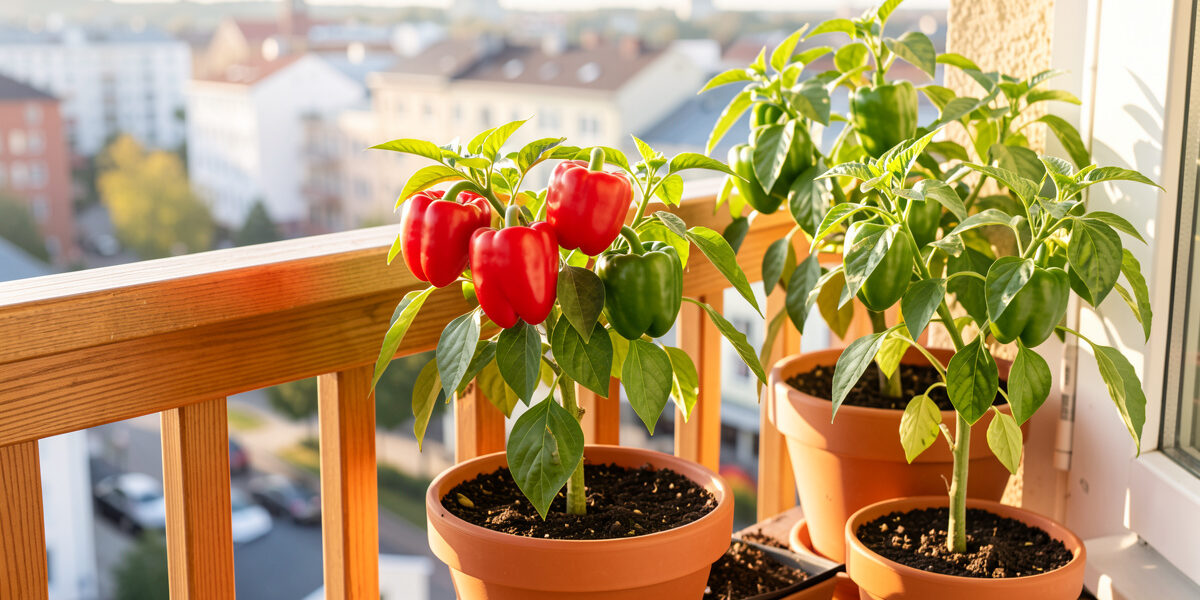
Containers, depth and the balcony-weight problem
Peppers are happy in containers, which is lucky, because a container is exactly what an apartment grower has. The thing they care about is root depth and drainage, not floor space. A single plant wants a pot of at least 7 to 10 litres, roughly 20 to 25 cm deep; go smaller and the plant stays stunted and dries out twice a day in July. Fabric grow bags are my default because they air-prune the roots and never waterlog, and a 10 litre bag weighs almost nothing dry.
That last point matters more than any guide written for a garden will tell you. On a balcony, weight is a real constraint: wet soil is heavy, and a row of large ceramic pots full of saturated mix is a load your structure and your lease may not love. I cover the full balcony calculus, from weight to wind to the few hours of direct sun a north-facing rail actually gets, in container peppers on a balcony. For the soil itself, peppers want a free-draining container mix, not bagged “potting soil” that compacts and drowns the roots; I build my own with coir, pumice and worm castings, which is the same mix I use across nearly everything on the balcony.

Light, heat and making the most of a Nordic summer
Outdoors in summer, the Nordic problem flips from too little light to too little heat. We actually get long days in June and July, so light hours are generous, but peppers are warmth-driven plants that sulk below about 15 C at night and stop setting fruit in a cold snap. The single best trick is to put them against a south or west-facing wall that holds the day’s heat, or to keep them in a sheltered corner out of the wind, which steals more warmth than people realise.
Early in the season and again in autumn, supplemental light or simply keeping the plants indoors under a grow bar buys you weeks at both ends. I start mine inside under the bar, move them out only once nights are reliably above 10 C, and bring the best ones back inside when the cold returns. Treating the grow light as a measured system, with spectrum and PPFD that actually matter rather than a wattage number on a box, is the same competence that makes indoor strawberries and microgreens work through winter. A decent full-spectrum LED grow bar is the one piece of gear that underpins all of it.
Feeding, watering and self-watering inserts
Peppers in pots are hungry and thirsty in midsummer, but easy to overdo early. The classic mistake is heavy nitrogen, which gives you a lush green bush and almost no fruit. Once flowers appear, I switch to a feed higher in potassium, the same logic as feeding tomatoes, and the fruit set improves noticeably. Before flowering, a container mix amended with worm castings carries them fine with little extra.
Watering is the daily chore that breaks people in July, when a sunny balcony can dry a 10 litre pot out by afternoon. This is where self-watering setups earn their keep. A reservoir under the pot, a wicking conversion, or one of the 3D-printed self-watering inserts I print for my containers cuts watering to roughly twice a week and, just as importantly, keeps the moisture even, which prevents the blossom-end rot that uneven watering causes in peppers. If you have a printer, the self-watering reservoir inserts I design and print are a genuine crossover; if you don’t, a ready-made self-watering planter does the same job.
Diagnosing problems before they cost you the crop
Most pepper failures are environmental, not pests, and they show up as a handful of recognisable symptoms: flowers dropping without setting fruit, leaves curling or yellowing, dark sunken patches on the fruit, or plants that simply stall. Each has a specific cause and a specific fix, and almost all of them trace back to temperature swings, watering, or feeding rather than disease. Catching them in week one rather than week four is usually the whole game.
Flower drop, for instance, is almost always heat stress, cold nights, or erratic watering rather than anything you need to spray for. I keep a full symptom-by-symptom walkthrough in diagnosing pepper plant problems, organised so you can find your symptom and act the same day. It is the page I reach for most in midseason.
Overwintering for a second-year head start
This is the cold-climate grower’s secret weapon, and the reason the Nordic season is less of a hard limit than it looks. Peppers are perennials that we usually grow as annuals; if you bring a plant indoors before the first frost, cut it back, and keep it ticking over under low light through winter, it wakes up the following spring already months ahead of any seedling. An overwintered plant can fruit a full month or more earlier and crop far more heavily, because it skips the slow seedling phase entirely.
It is also how you grow the long-season peppers that won’t otherwise ripen here: a habanero or scotch bonnet that needs 120 days simply gets there in its second year. The whole process, from when to cut back to how much light and water a dormant pepper actually needs, is in overwintering pepper plants indoors. Pair it with the seed-starting guide and you have a rolling system rather than a once-a-year gamble.
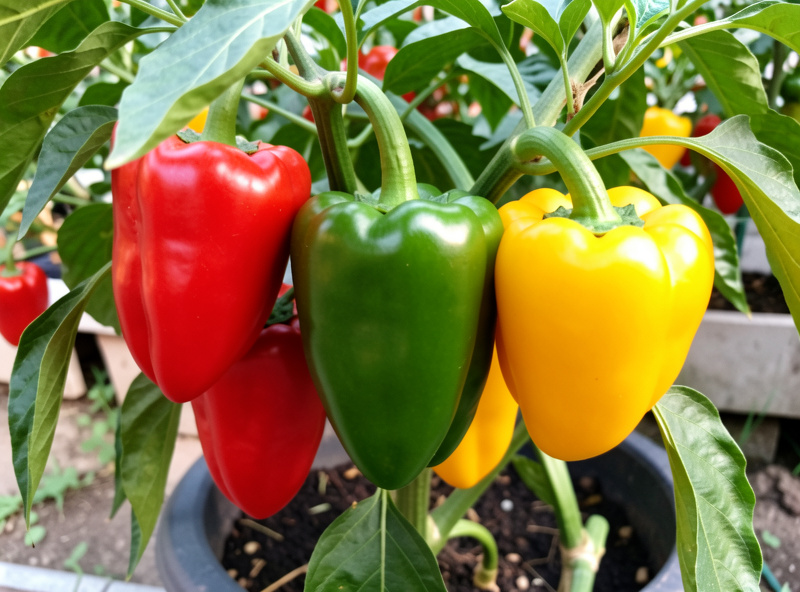
Harvest and ripening in a short window
You can pick peppers green at full size, or wait for them to colour up to red, yellow or orange, which is when sweetness and vitamin content peak. The catch up north is time: a fruit that sets in mid-August may not have enough warm days left to ripen on the plant. Two things help. First, pick the earliest fruit green to push the plant into setting more. Second, when frost threatens, pull whole plants and hang them indoors, or bring fruit inside to finish on a warm windowsill, where many peppers will continue to colour up off the plant.
For anyone who wants to push the season hardest, growing the whole crop indoors under lights sidesteps the weather entirely; I cover that route in growing peppers indoors. Between an early indoor start, container mobility, supplemental light, and overwintering your best plants, a Nordic balcony can produce a genuinely worthwhile pepper harvest, which is more than the seed-packet timing would ever lead you to believe.
Pollination when the bees can’t reach the balcony
Peppers are self-fertile, so a single plant will set fruit on its own, but the flowers still need movement to shake the pollen loose inside the bloom. Outdoors a light breeze and the odd insect handle it. On a sheltered fourth-floor balcony, or indoors under a bar, there is often neither, and you get healthy plants covered in flowers that quietly drop without ever setting. This catches a lot of apartment growers who assume something is wrong with the plant.
The fix takes ten seconds a day. Once flowers are open, either tap or gently flick each cluster with a finger, or run a soft brush over the blooms, which is the same hand-pollination trick that makes indoor strawberries and tomatoes set. A small fan on the plants for an hour a day does the same job hands-free and toughens the stems into the bargain. I treat it as part of the morning round when I water, and the difference in fruit set on a still balcony is hard to overstate. If your plant is flowering well but never holding fruit, and the temperatures are reasonable, pollination is the first thing to rule out before you start worrying about feed or pests.
What is actually worth spending money on
Peppers reward a small amount of the right gear and almost nothing else. If I were starting from zero in an apartment, my spend would go, in order, on a seedling heat mat for germination, a full-spectrum LED grow bar for the late-winter seedling stage, and a few fabric grow bags with a free-draining mix. That is the whole system. Everything past that is convenience: self-watering inserts to cut the midsummer watering chore, a small fan for pollination and sturdier stems, and a potassium-rich feed once flowering starts.
What is not worth your money is a big blocky-bell seed packet that won’t ripen here, a cheap “blurple” panel sold on wattage alone, or bagged potting soil that compacts in a pot. Spend on the start of the season and on the light, because those are the two places the Nordic climate actually fights you. Once a strong, early seedling is sitting in a decent container in a warm spot, the plant mostly takes care of itself through the long days of June and July. The money and attention belong at the front of the season, not the middle.
Frequently Asked Questions
Can you grow peppers outdoors in Sweden or a similar Nordic climate?
Yes, but only with an early indoor start. Sow seed indoors under light in late February to early March, grow strong seedlings, and move them outside once nights stay above 10 C. Choose early, smaller-fruited varieties of 55 to 85 days to maturity rather than slow blocky bells or superhots.
When should I start pepper seeds indoors in a cold climate?
Late February to early March, roughly 8 to 10 weeks before your last frost. Peppers are slow to germinate and slow to mature, so they need the earliest start of almost any crop you grow. A seedling heat mat at 25 to 28 C dramatically improves and speeds germination.
What size container does a pepper plant need?
At least 7 to 10 litres per plant, around 20 to 25 cm deep, with good drainage. Smaller pots stall the plant and dry out twice a day in summer. Fabric grow bags are ideal because they air-prune roots, never waterlog, and stay light enough for a balcony.
Why are my pepper flowers falling off without making fruit?
Flower drop is almost always environmental: heat above roughly 32 C, cold nights below 15 C, or erratic watering, rather than pests or disease. Steady moisture, a sheltered warm spot, and a potassium-rich feed once flowering starts usually fix it within a couple of weeks.
Can pepper plants survive winter and grow again next year?
Yes. Peppers are perennials grown as annuals. Bring a plant indoors before frost, cut it back hard, and keep it under low light through winter. It wakes the next spring months ahead of any seedling, fruiting earlier and more heavily, and is the only reliable way to ripen long-season superhots up north.
Do peppers need a grow light, or is a windowsill enough?
For seedlings in late winter, a windowsill this far north is not enough; they stretch leggy and pale. A full-spectrum LED grow bar keeps them stocky. Outdoors in summer the long Nordic days provide plenty of light, so the grow light matters most at the start and end of the season.