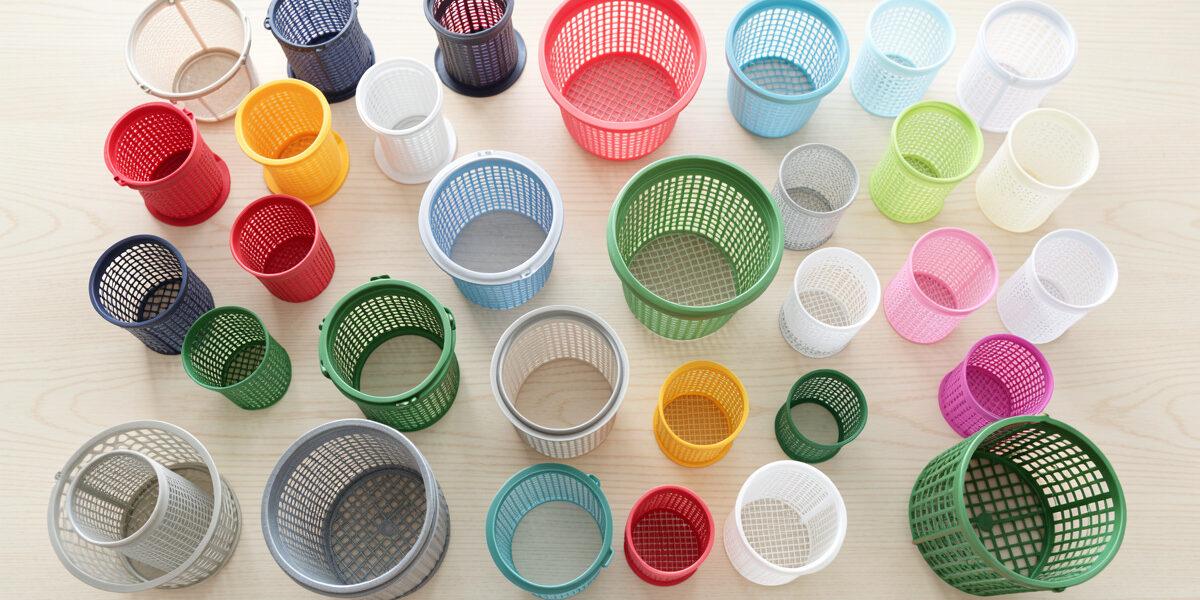
For small-space passive hydroponics, a 2 inch or 3 inch mesh net cup is the workhorse — big enough to hold a lettuce or herb securely, small enough to fit a mason jar or a hole in a tub lid. The net cup is the cheapest part of the whole system and the one beginners overthink the least, yet the wrong size or a slippery lip is behind a surprising number of toppled, floppy plants. Get this small choice right and everything above it sits steady.
I have a drawer of them now — different diameters, mesh patterns, and lip styles, bought over several winters of testing what actually holds a plant upright in a jar versus what looks good in a product photo. A few I would buy again by the bagful; a couple I regret. Here is what a net cup actually needs to do in a Kratky or passive setup, which sizes fit what, and where the cheap ones let you down.
What Size Net Cup Do You Need for Hydroponics?
For most apartment crops, a 2 inch net cup suits lettuce, herbs, and greens in a jar, while a 3 inch cup gives bigger plants like kale, chard, or a bushy basil more stability and root room. The rule is simple: match the cup to the mature size of the plant and to the opening in your reservoir, not to the seedling you are planting today.
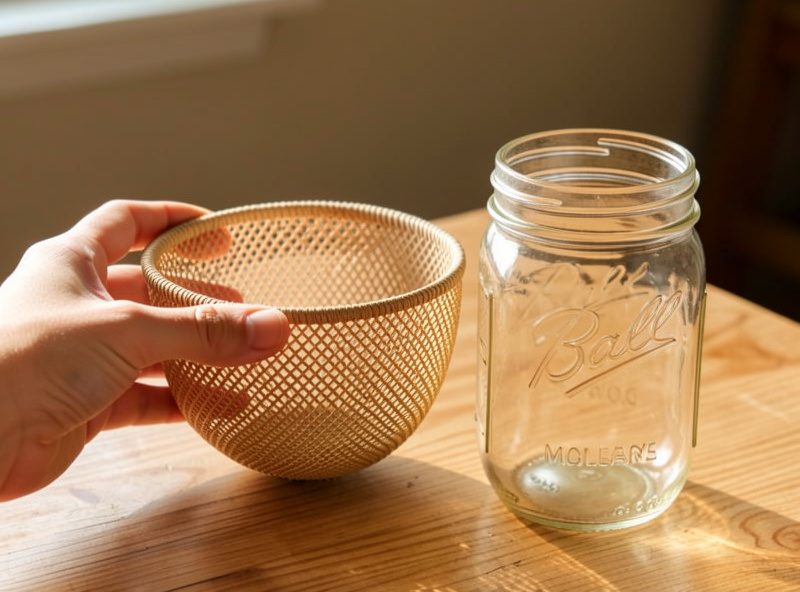
A 2 inch cup is my default for a single lettuce in a widemouth mason jar — it drops neatly into the standard jar mouth and holds a head without tipping. When I move up to a storage-tub reservoir growing something heavier, I go to 3 inch cups because the wider base resists the top-heavy flop that a mature kale develops. Undersizing is the common mistake: a big plant in a tiny cup becomes a lever that eventually pulls itself sideways out of the lid. Oversizing is rarely a problem except that a huge cup wastes growing medium and can sit too deep in a shallow reservoir. When in doubt, size up slightly rather than down.
What Makes a Good Net Cup for Passive Hydroponics?
A good net cup has a wide, rigid lip that rests securely on the reservoir opening, plenty of mesh slots for roots and air, and enough rigidity that it does not collapse when packed with wet clay pebbles. The lip is the part that matters most and the part cheap cups get wrong — a thin, narrow lip slips through an oversized hole and drops your whole plant into the water.
Mesh openness is the second thing I look at. Generous side and bottom slots let the roots escape early into the solution and let air reach the upper root zone, which is the whole point in a passive system. Cups with stingy little holes root more slowly. Rigidity is the third: I want a cup that holds its shape when I lift a plant heavy with a wet pebble fill, not one that folds and spills. The flimsiest ones I own crease permanently after one grow. None of this is expensive to get right — good net cups still cost pennies each — it is just a matter of buying the sturdier version. The University of Hawaii’s College of Tropical Agriculture and Human Resources, the same programme behind the original Kratky research, documents this split-root behaviour as the core of why non-circulating systems need that open mesh in the first place.
Net Cup Sizes Compared for Small-Space Growing
Here is how the common sizes map to crops and reservoirs in a passive setup. These are the pairings I actually use, refined over several winters of what stays upright and what does not:
| Net cup size | Best crops | Fits | Medium needed | Notes |
|---|---|---|---|---|
| 1.5 inch | Herbs, single small greens | Narrow jars, small builds | Little | Tips easily with big plants |
| 2 inch | Lettuce, basil, pak choi | Widemouth mason jars | Moderate | The all-round default |
| 3 inch | Kale, chard, big basil | Tub lids, deep builds | More | Best stability for tall plants |
| Mesh basket (wide) | Larger or multiple plants | Cut tub lids | Most | Great grip, needs a big hole |
| Slotted cup (rigid) | Any, reusable | Most openings | Moderate | Lasts many grows |
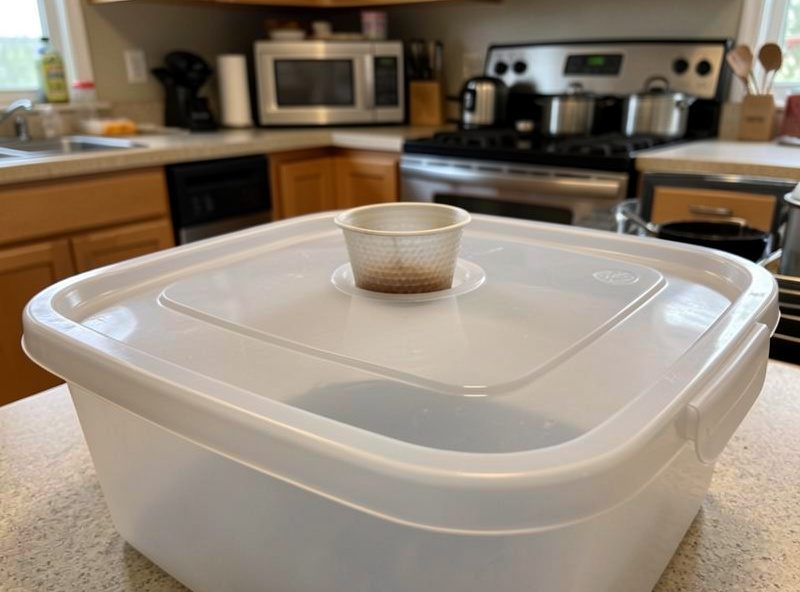
If you are cutting your own holes in a tub lid, a hole saw sized just under the cup’s lip diameter gives the snug rest you want — the lip should sit on the lid, not fall through it. That fit is the difference between a stable shelf and a plant swimming in its own reservoir.
Do You Need to Buy Net Cups, or Can You Make Them?
You can improvise net cups from plastic cups with slots cut in the sides, and for a first mason-jar experiment that works fine — but manufactured mesh cups are so cheap that DIY only makes sense if you literally have nothing to buy them with tonight. A yoghurt pot with a hot skewer melted through it in a grid pattern will hold a lettuce well enough to prove the method.
The polymath route I actually enjoy is printing them. The same 3D printer that prints my self-watering planter inserts will run off a batch of net cups sized exactly to my jars and tub lids, which is handy when I want an odd diameter no shop stocks. For most people, though, a bag of manufactured cups is the sensible buy — a mixed bag of 2 inch and 3 inch net cups costs less than a coffee and lasts years. If you want the fully improvised approach with zero shopping, that is the whole premise of my Kratky method for beginners starter build and the mason-jar version linked from it.
As an Amazon Associate I earn from qualifying purchases.
What Do You Put Inside a Net Cup?
You fill a net cup with an inert growing medium that holds the seedling upright and wicks solution up to the roots — usually clay pebbles, rockwool, or a coir plug, often in combination. The medium’s only jobs are physical support and moisture wicking; the plant feeds from the nutrient solution, not from the medium.
My usual fill is a rockwool cube holding the seedling, nestled into a collar of clay pebbles that steady it and stop light reaching down into the cup. The pebbles are reusable, rinse clean, and last for years, which is why I keep coming back to them despite their dusty first rinse. Each medium behaves differently — rockwool holds more water, pebbles drain and aerate, coir sits in between — and choosing well genuinely affects how fast a seedling establishes. I put all three head-to-head in rockwool vs clay pebbles vs coir plugs, which is the natural next read once you have your cups sorted. Whatever you use, pack it snugly enough that the plant does not wobble but loosely enough that roots and air move freely.
Where Do Net Cups Cause Problems?
The two failures I see are cups sitting too deep — submerging the whole medium so roots never get air — and cups too loose in their hole, letting the plant tip or the medium slump. Both come down to the fit between the cup, the lid, and the water line, and both are set at assembly.
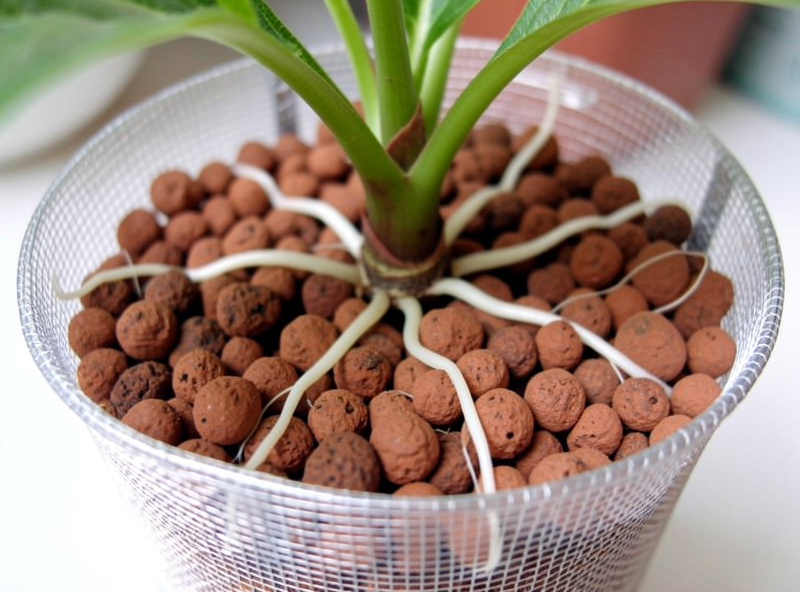
My own early error was a net cup that sat a good centimetre too low in a tub lid I had cut too generously; the medium stayed saturated, the seedling sulked, and I could not work out why until I lifted it and saw the waterlogged pebbles. A collar of extra pebbles or a lid hole cut to the right diameter fixes it. The other classic is starting a seed with the water touching the bottom of the cup, then never letting the level drop because you keep topping up — the medium stays wet, the air gap never forms, and you get the same soggy stall. Set the cup so its base just meets the solution at planting, then let physics do the rest. A steady, well-fitted cup is quietly responsible for most of a passive system working at all. Cornell’s Controlled Environment Agriculture program covers the same root-zone oxygen principle at commercial scale, which is a useful sanity check that the physics on a windowsill and the physics in a research greenhouse are the same physics.
Related Guides
- The Kratky Method for Beginners: Passive Hydroponics
- Growing Lettuce With the Kratky Method
- Rockwool vs Clay Pebbles vs Coir Plugs
- DIY 3D-Printed Self-Watering Planter Inserts
What size net cup is best for hydroponic lettuce?
A 2 inch net cup is the best all-round size for lettuce, herbs, and greens in a passive setup. It fits a standard widemouth mason jar and holds a full head without tipping. Move up to a 3 inch cup for larger, top-heavy plants like kale or chard.
Can you reuse hydroponic net cups?
Yes. Rigid mesh net cups are reusable for many grows. Rinse them clean between crops to remove old roots and any mineral buildup. The sturdier slotted and rigid-lip cups hold their shape best, while the flimsiest thin-walled cups can crease after one use.
What do you put inside a net cup for hydroponics?
You fill a net cup with an inert growing medium such as clay pebbles, a rockwool cube, or a coir plug. A common approach is a rockwool cube holding the seedling surrounded by clay pebbles for support. The medium only holds the plant and wicks solution; the plant feeds from the nutrient water.
Do net cups need to touch the water?
At planting, the solution should just touch the bottom of the net cup so the medium wicks moisture up to the seedling. After that, you let the water level fall as the plant drinks, which forms the air gap the passive method depends on. Keeping the cup submerged causes the roots to rot.
Can you make your own net cups?
Yes. You can cut slots into a plastic cup or melt a grid of holes into a yoghurt pot for a first experiment. Manufactured mesh cups are so cheap, though, that DIY mainly makes sense for improvised builds or, if you have a 3D printer, for custom sizes no shop stocks.