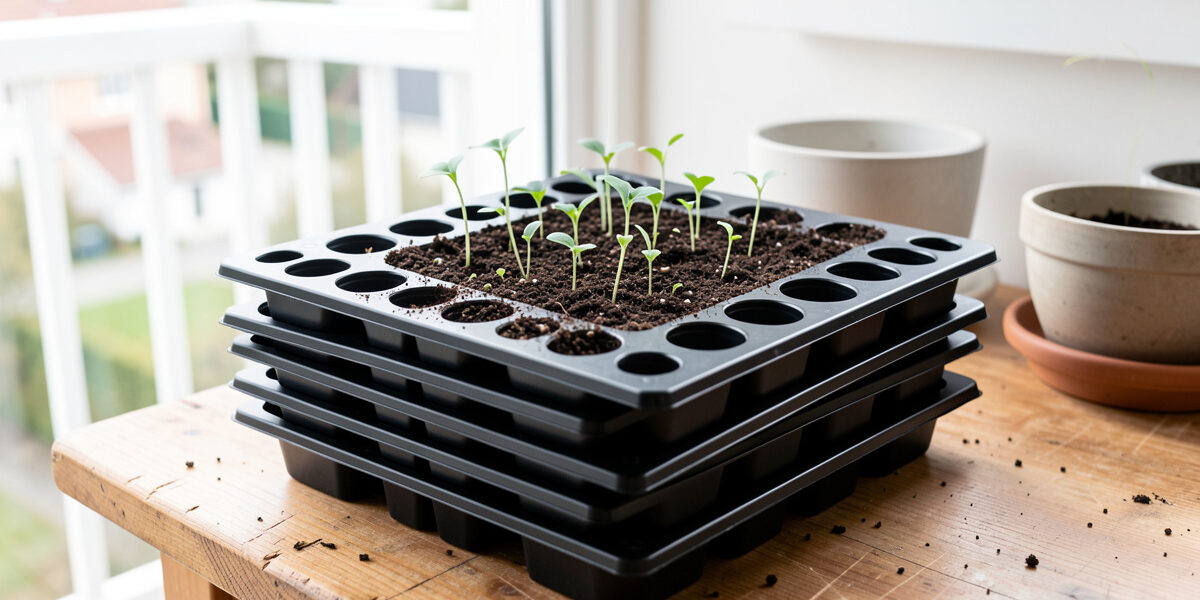
Buy seed-starting trays that drain freely, in a cell size matched to how long the plant sits before it goes out, and sit them inside a solid base tray so you can bottom-water. Drainage is the one non-negotiable — a tray that pools water at the bottom drowns roots and breeds the same fungal rot that kills seedlings under a dome. Everything else is a preference; drainage is a rule.
I have started seeds in everything from yoghurt pots with holes poked in the bottom to proper 1020 systems, and the trays that keep earning shelf space share three traits: real drainage, a cell depth that matches the crop, and enough rigidity to survive years of reuse. The flimsy trays are a false economy — they crack on the second sowing and warp when wet. Here is how I choose trays that last, and why the cell size decision matters more than most beginners realise.
Why Is Drainage the Non-Negotiable in a Seed Tray?
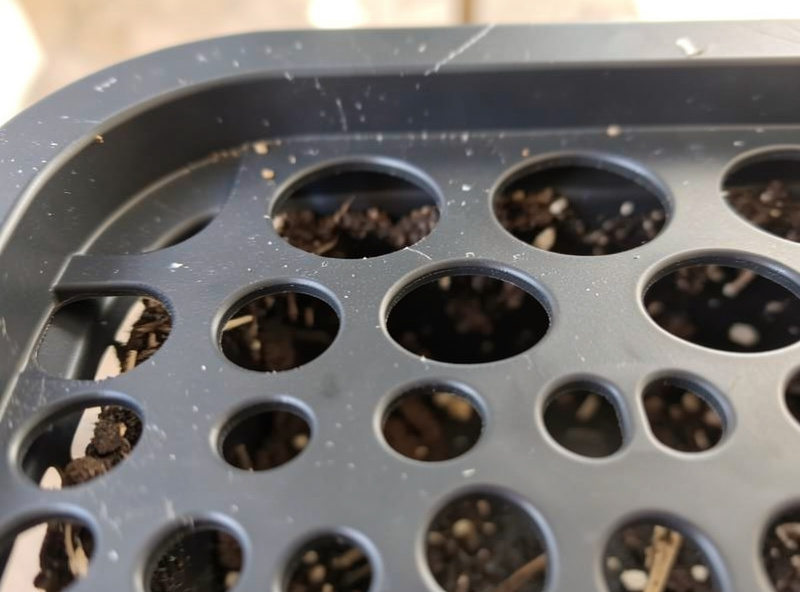
Because roots need air as much as water, and a tray with no drainage suffocates them. Seedling roots sitting in waterlogged medium cannot take up oxygen, they rot, and the constantly wet surface hands damping-off fungus exactly the conditions it wants. A tray that drains lets excess water leave and pulls air back into the medium as it does — that wet-then-breathe cycle is what healthy roots run on.
This is why I will not sow into a solid container with no holes, however pretty. If a tray has no drainage, water collects invisibly at the base and the bottom layer of medium stays saturated even when the surface looks dry. I have drowned seedlings this way in a cute windowsill planter that had no holes — the top felt fine while the roots were sitting in a swamp. Every cell in a good seed tray has an open bottom or clear drainage holes, and it sits raised inside a base tray so the drained water has somewhere to go. Drainage is also why bagged, dense potting soil fails in small cells: it holds too much water and compacts, undoing the drainage the tray provides. I get into that in best potting soil for indoor plants, and the whole equipment picture is in my seed-starting equipment list.
What Cell Size Do You Need?
Match cell size to how long the seedling lives in the tray before it moves. Small cells (2–3 cm) suit fast crops and anything you pot up quickly; medium cells (4–5 cm) suit most vegetables to transplant size; and deep cells or larger pots suit slow, big crops like tomatoes and peppers that sit for weeks and would go root-bound in anything shallow.
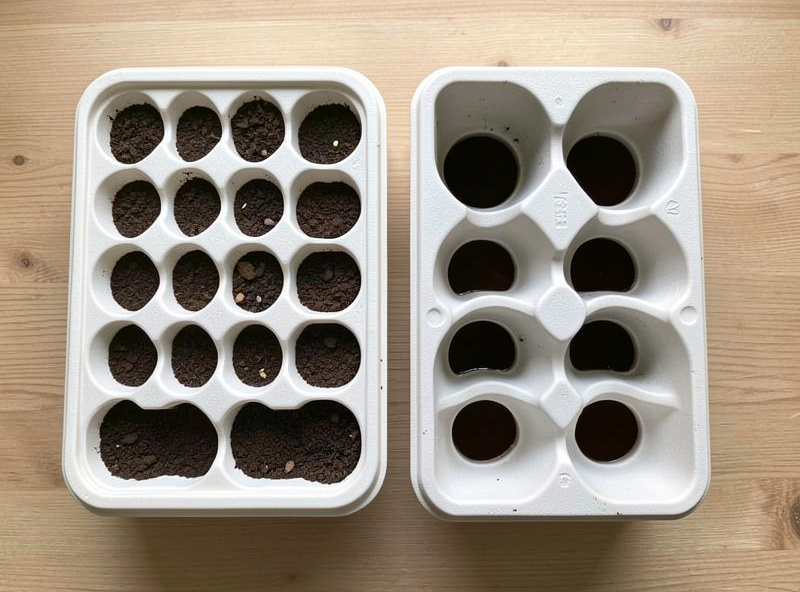
The mistake is defaulting to tiny cells for everything because you fit more per tray. Cram a tomato into a 2 cm cell and within a couple of weeks it is root-bound — roots spiralling the walls, growth stalling, the plant checking hard when you finally pot it up. I sow big, slow crops straight into deeper cells so they never hit that wall, and reserve the small cells for greens and anything headed for a quick pot-up. Get this wrong and you fight transplant shock all spring; get it right and seedlings transplant cleanly, roots holding the plug together without circling it. If you grow microgreens rather than transplants, the cell logic flips entirely — shallow open trays are the point — which I cover in microgreens trays.
| Tray type | Cell size | Drainage | Best for |
|---|---|---|---|
| Small-cell insert (e.g. 72-cell) | ~2–3 cm | Open bottom | Greens, fast crops, quick pot-up |
| Medium-cell insert (e.g. 36/40-cell) | ~4–5 cm | Open bottom | Most vegetables to transplant size |
| Deep-cell / root trainer | ~6–8 cm deep | Open bottom | Tomatoes, peppers, long-sitting crops |
| Open 1020 flat (no cells) | — | Slotted | Microgreens, prick-out sowing, cut greens |
| Solid 1020 base tray | — | None (by design) | Holding water for bottom-watering |
Why the Solid 1020 Base Tray Matters for Watering
The solid base tray is the one tray you want without drainage — because its job is to hold water so the cells above can drink from the bottom. I run open-bottom cell inserts sitting inside a solid 1020 tray, and I water by pouring into the base and letting the medium wick moisture up through the drainage holes. Bottom-watering gives even moisture without hammering the fragile surface, and it keeps the crown of each seedling drier, which is the crown that rots first.
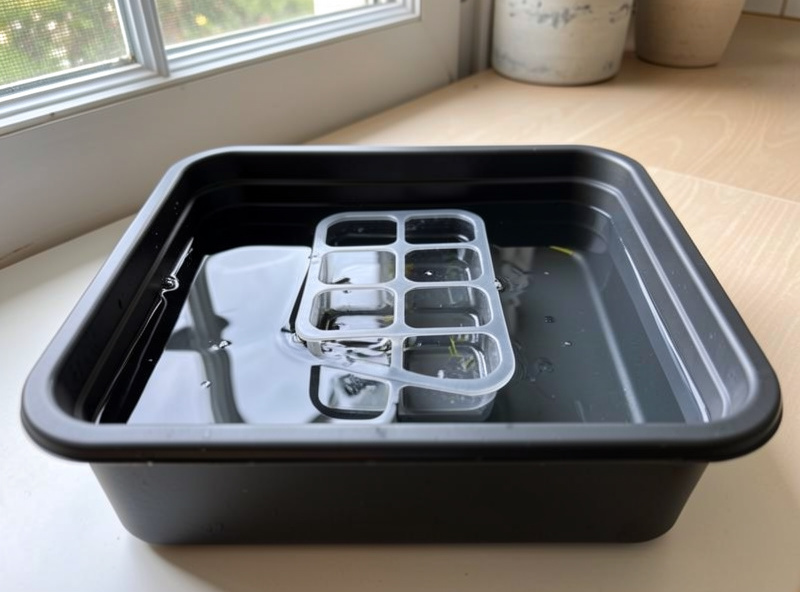
This is the same capillary principle behind the self-watering rigs I use elsewhere in the flat — water moves up into dry medium by wicking, no pump, no fuss. The trick is not to leave the cells standing in water indefinitely: I pour in what the tray wicks up within an hour or so, then pour off any that is still sitting, because permanently waterlogged plugs drown just as surely as a tray with no drainage. Top-watering emerging seedlings, by contrast, compacts the surface, dislodges seed, and keeps the crown wet — three ways to invite trouble. My full watering cadence is in how often to water seedlings.
How Many Times Can You Reuse Seed Trays?
A good rigid tray lasts many seasons; a flimsy one barely lasts one. This is exactly where the cheap-versus-durable calculation lands. Thin, brittle trays crack at the cell walls the second time you flex them to pop out plugs, and they warp when wet, so within a season you are buying replacements. A sturdy tray — thicker plastic, or the reinforced 1020 systems — I reuse for years, which makes the higher up-front price the cheaper choice over time.
I treat trays as buy-once infrastructure, not a consumable. The rigid ones survive being scrubbed, stacked, and flexed to release root plugs season after season. If you are buying now, spend on a couple of solid base trays and durable cell inserts rather than a big pack of thin disposable ones; a quick Amazon search for 1020 seed trays with drainage turns up both the flimsy and the heavy-duty versions, and the heavy-duty ones are the ones that pay off. The exception is peat and paper pots, which are single-use by design — biodegradable convenience at a recurring cost.
As an Amazon Associate I earn from qualifying purchases.
Cleaning and Reusing Trays Without Spreading Disease
Reused trays carry over last season’s fungal spores unless you clean them, and dirty trays are a real damping-off vector. Between sowings I knock out the old medium, scrub the trays with hot water to remove all soil residue, and let them dry fully in the sun — sunlight and a thorough clean handle most of what matters for a home grower. For trays that held a diseased crop, a dilute cleaning solution and a rinse adds insurance before they go back into rotation.
The reason this matters: damping-off organisms and other pathogens survive in the crusted soil left in cell corners, so a tray that looks clean but still has old medium wedged in it can reinfect a fresh sowing. It only takes a few minutes and it protects the whole next tray. What I would do starting today: buy fewer, sturdier trays with genuine drainage, match the cell depth to the crop rather than defaulting to the smallest cells, sit everything in a solid base tray for bottom-watering, and scrub them between sowings. Trays are the least glamorous part of a seed-starting setup and one of the few pieces you truly buy once — so buy them well. For the sowing technique that goes on top, see seed starting in small spaces, and if you are pairing trays with bottom heat, my guide to the best seedling heat mat covers how the tray sits on the mat.
Choosing Trays for a Cold Windowsill and a Small Balcony
A cold sill changes what a tray has to do, and it is the part US tray advice never mentions. A single-glazed window in a Swedish winter is a cold sink — the air right at the glass can sit several degrees below the room, and a tray parked there loses heat through its base all night. That cold, damp base is exactly where roots stall and rot. So on a cold sill I never sit trays directly on the stone or metal ledge; they go on an insulating board or a folded towel, and ideally on a heat mat, so the base stays in the range roots can work in.
Weight and footprint matter too when the whole operation lives on a windowsill or a narrow balcony rail. A full 1020 tray of wet medium is surprisingly heavy, and a flimsy tray flexes and dumps its cells when you lift it one-handed onto a shelf. Rigid trays hold their shape loaded and wet, which is not a luxury when you are shuffling flats between a bright sill by day and a shelf under the bar. I also favour standard 1020 footprints precisely because they stack and interchange — base trays, cell inserts, and domes from different sources fit together, so I am not locked into one maker’s oddball size when a tray finally cracks. That interchangeability is quietly one of the best reasons to standardise on the 1020 system rather than a drawer of mismatched pots.
The balcony brings one more constraint: once seedlings harden off and move out, the trays and pots have to survive wind and temperature swings that a warm kitchen never sees. Thin trays go brittle in cold and crack; UV over a season makes cheap plastic chalky. The sturdier trays that cost more up front are the ones that come back in one piece for the next round.
Do seed starting trays need drainage holes?
Yes. Roots need air as well as water, and a tray with no drainage keeps the lower medium waterlogged, which suffocates roots and encourages damping-off fungus. Use cell trays with open bottoms or drainage holes, sitting inside a solid base tray that catches the water.
What size cells do I need for seed starting?
Match cell size to how long the seedling stays in the tray. Small 2 to 3 centimetre cells suit fast greens and quick pot-ups, medium 4 to 5 centimetre cells suit most vegetables, and deep cells suit slow crops like tomatoes and peppers that would otherwise become root-bound.
Should I bottom-water or top-water seed trays?
Bottom-water when you can. Pour water into the solid base tray and let the medium wick it up through the drainage holes. This gives even moisture, keeps the seedling crowns drier, and avoids the surface compaction and seed displacement that top-watering causes. Pour off any water not absorbed within an hour.
How many times can you reuse seed starting trays?
A sturdy rigid tray lasts many seasons, while a thin flimsy one may not survive one. Buy heavier-duty trays and treat them as reusable infrastructure. Peat and paper pots are the exception and are single-use by design.
How do you clean seed trays for reuse?
Knock out the old medium, scrub the trays in hot water until no soil residue remains, and dry them fully in the sun. This removes the crusted old soil where fungal spores survive. For trays that held a diseased crop, add a dilute cleaning solution and rinse before reusing.