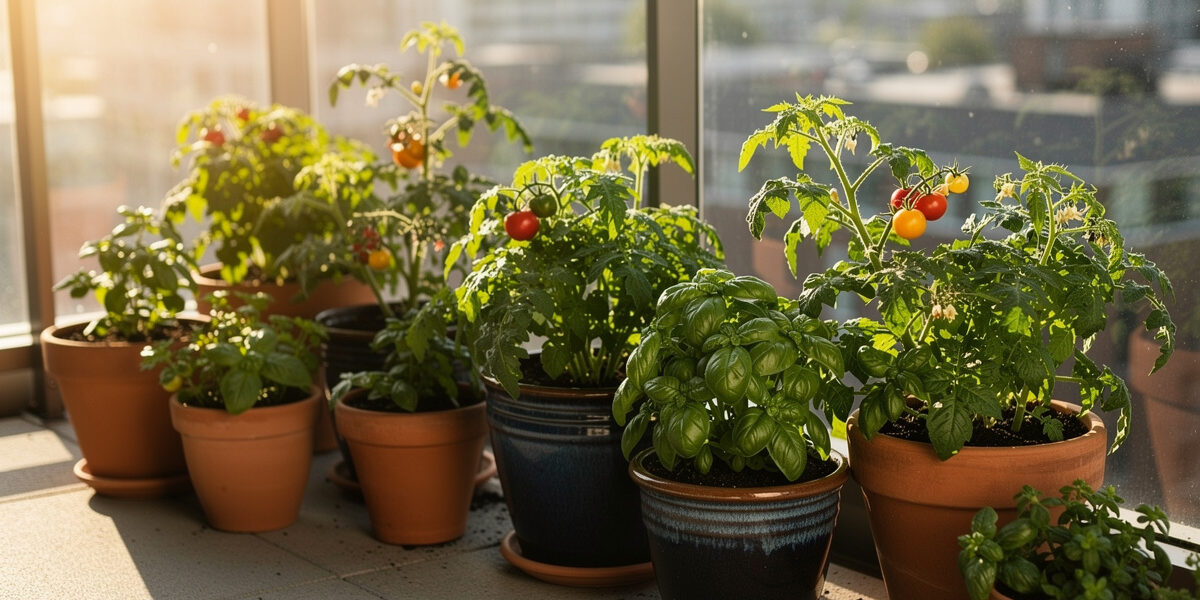
I print self-watering reservoir inserts on the same 3D printer I use for hydroponic parts — it’s one of my favourite crossovers between the workshop and the windowsill. A printed insert turns any pot I already own into a 7–14 day wicking reservoir: the soil pulls water up only when the roots actually want it, which kills both the overwatering and the holiday dry-outs that finish off most container plants. Print time is roughly 8–12 hours in PETG, about $2–4 of filament for a 6-inch model, and one parametric file scales from a 4-inch herb pot to a 14-inch tomato planter. It is one of the self-watering routes I compare in my complete garden watering guide.
This guide covers the four parts that make a working insert, the printer settings PETG actually needs, and how to size the system so the wicking distance never exceeds 4 inches — the single point where most DIY designs fail. The dimensions here are bench-tested against three commercial self-watering pots (Lechuza, Mayne, EarthBox) so the homebrew version performs the same.
A quick note: some links below are affiliate links — if you buy through them I may earn a small commission at no extra cost to you. I only point to gear I actually use. Details on my disclaimer page.
Why Print a Reservoir Instead of Buying a Self-Watering Pot
A printed insert wins on three fronts: cost, fit, and fix. A 6-inch Lechuza Classico costs around $24; a roll of PETG filament that prints six inserts costs about $22. The gap widens once you count decorative pots — that nice ceramic planter you already own can be retrofitted in a couple of hours instead of replaced.
The function is better too. Commercial pots run a single capillary column down the middle; a printed insert can run four shorter columns in the corners, which is what makes 14-day wicking possible in pots over 10 inches — exactly the size range the commercial brands avoid. Capillary rise in standard rope wick tops out around 4 inches before the flow rate drops below what an actively transpiring plant needs (Cornell extension greenhouse data, 2024). Four corner columns keep every root inside that distance.
The Four-Part Insert (And What Each Part Does)
A working insert isn’t one printed object — it’s four parts, each with one job. Confusing those jobs is the most common reason a build fails in month two.
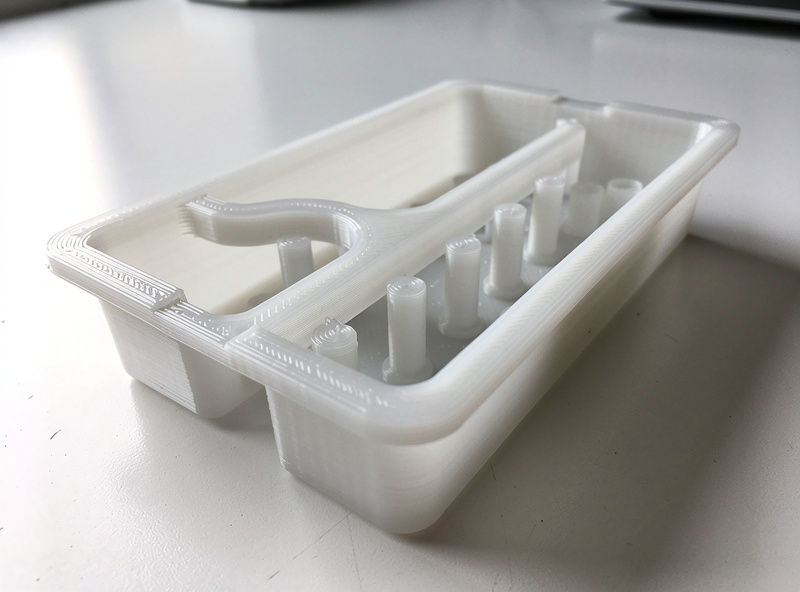
1. The false floor. The platform that separates soil from water. It has to carry 8–12 lb of wet soil without sagging — so 3 mm walls and a 25% hex/gyroid infill. Print the vapour holes 4 mm across at 1 cm spacing: big enough to breathe, small enough that soil won’t fall through. A 12 × 12 cm floor weighs about 38 g, roughly $0.60 in PETG.
2. The wicking columns. Four 75 mm hollow columns drop below the false floor into the reservoir. The print is just structure — the actual capillary work is done by 100% cotton rope threaded through them. Use cotton, not synthetic: synthetic fibre holds water but won’t release it to the soil readily.
3. The fill tube. A 25 mm vertical tube from the reservoir up to the surface, so you refill without disturbing roots. Print it a little taller than your soil depth (18–22 cm for a 6-inch pot) with a small flange at the top so it can’t slide down.
4. The overflow port. A 4 mm hole at the top of the reservoir level — about 25 mm above the false floor — so an overfilled reservoir drains instead of drowning the roots. Its height sets your maximum reservoir depth, which sets how long you can go between fills.
Sizing the Insert for Your Pot
Self-watering systems fail when wicking distance beats capillary capacity. Match the geometry to the pot:
| Pot diameter | Soil depth | Reservoir depth | Wicking columns | Days between fills |
|---|---|---|---|---|
| 4 inch (10 cm) | 10 cm | 3 cm | 2 columns | 5-7 days |
| 6 inch (15 cm) | 14 cm | 4 cm | 4 columns | 7-10 days |
| 8 inch (20 cm) | 18 cm | 5 cm | 4 columns | 10-12 days |
| 10 inch (25 cm) | 22 cm | 6 cm | 6 columns | 12-14 days |
| 14 inch (35 cm) | 28 cm | 8 cm | 8 columns | 14-18 days |
Days-between-fills doesn’t scale linearly with pot size — a 14-inch pot holds far more soil with proportionally higher transpiration, so the reservoir grows but the multiplier shrinks. Plan refills from the table, not from raw reservoir volume.
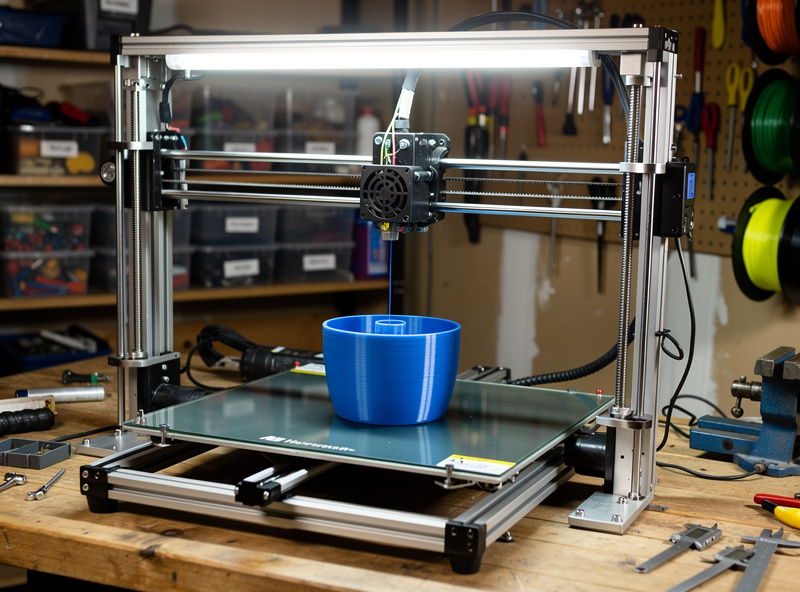
Printer Settings for PETG (the Right Material Here)
PLA fails for this. It takes on water at the print boundary, layer adhesion weakens after weeks of moisture, and parts warp or split within 60–90 days. PETG stays hydrolytically stable at room temperature for years and bonds reliably layer-to-layer at the right temperature.
The profile that actually holds water:
- Nozzle: 240C first layer, 235C after
- Bed: 80C
- Speed: 40 mm/s (slower than PLA — layer bonding is the goal)
- Layer height: 0.2 mm
- Walls: 4 perimeters (the single most important setting — 3 will leak)
- Top/bottom: 6 layers each
- Infill: 25% gyroid for the false floor, 100% concentric for reservoir walls
- Cooling: 30% fan after layer 4, 0% on layers 1–3
Colour matters more than you’d think: opaque filament blocks the light that feeds reservoir algae. Black or dark-green PETG buys you 6–8 extra weeks before algae shows versus clear or white. Only clear on the shelf? Plan on monthly reservoir cleaning.
If you want to go deeper on garden parts that reward 3D printing — drip emitters, seed trays, plant tags, irrigation manifolds, reservoir parts on this same PETG profile — my colleagues at PrintForgeHQ have a tested breakdown of ten garden parts worth printing in PETG, including which actually beat their shop-bought versions and which aren’t worth the print time. Same printer profile, same waterproofing concerns, wider set of parts — it pairs directly with this build.
Assembly and First Fill
Assembly is about 25 minutes once the four parts are off the bed:
- Drop the four wicking columns onto the pot floor, evenly spaced.
- Thread cotton rope (5 mm, 60 cm) through each, leaving 15 cm coiled in the reservoir.
- Set the false floor on the columns and check it’s level — an uneven floor pools water on one side.
- Insert the fill tube through the false-floor cutout; the flange sits flush.
- Drill (or print) the 4 mm overflow hole 25 mm above the false floor. Use a step drill bit for ceramic.
- Fill through the tube until water reaches the overflow.
- Add a peat-perlite-coir blend at 50/25/25 — the perlite keeps the cotton from going anaerobic, which standard potting mix won’t.
Water once thoroughly from the top to wet the wicks, then refill only through the tube. If water ever pools on the surface, the false floor is sitting too high and over-supplying — reset it to the reservoir depth from the table.
Soil and Plant Choice
These systems suit plants that like evenly moist soil and tolerate a little root-zone humidity — and they’re genuinely useful in a Nordic winter, when low light has me misjudging how much (or little) a plant is actually drinking. They do not suit plants that want a clear wet/dry cycle.
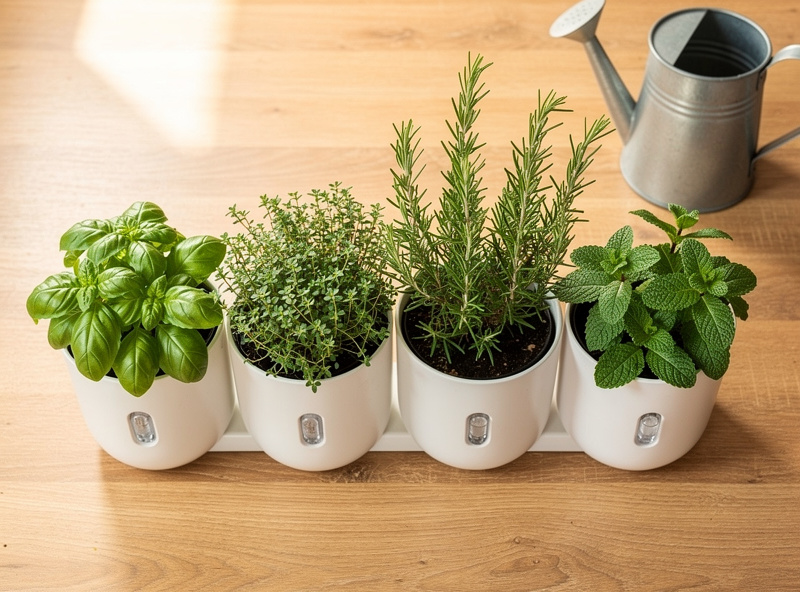
Thrive: soft-stem herbs (basil, parsley, mint, lemon balm, dill, cilantro), leafy greens (lettuce, arugula, chard, spinach, kale), container veg (tomatoes with a cage, peppers, eggplant), and houseplants (pothos, monstera, peace lily, philodendron, calathea).
Avoid: Mediterranean herbs (rosemary, thyme, sage, oregano — root rot in 30–45 days), succulents and cacti, dry-cycle bonsai, and annuals about to flower (constant moisture delays bloom a week or two).
For matching soil to plant, my container gardening guide covers pH, drainage, and feeding for everything above, and the soil and compost reference has the exact peat-perlite-coir ratios that work in wicking systems — they differ from a normal pot, and the wrong mix rots roots within six weeks.
Maintenance and Common Problems
Three failure modes account for nearly every first-year problem:
Algae in the reservoir. Light is reaching the water through clear PETG or the fill tube. Fix: opaque dark filament, or wrap the reservoir in matte vinyl, and cap the fill tube between waterings. Per the University of Maryland Extension, a clean-out every 60–90 days is normal even with opaque construction.
Wicks stop pulling. Cotton mineralises from hard water over 6–12 months. Fix: replace wicks annually, ideally in winter when demand is lowest; a 1:1 white-vinegar soak (30 min) extends life on calcium-heavy water.
Soil compaction. Wicking soil compacts at the bottom over time and blocks capillary rise. Fix: top up with the same blend each spring, replace fully every 18–24 months. My raised-bed soil guide covers the long-term rebuild that applies here.
Roots into the reservoir. Tomatoes and other vigorous feeders will eventually push roots down the columns into the standing water — fine for a season, but they tear the insert at pull-out. Fix: a finer 2 mm false-floor grid for the heavy feeders.
Cost and Time Per Unit
A 6-inch insert in PETG: about 38 g false floor ($0.60), four columns (~$0.75), a 22 cm fill tube (~$0.30), and cotton rope (~$0.40) — roughly $2 in materials, about 9 hours of print time and 25 minutes of assembly, no special tools beyond a printer and a step bit. Against a $24 commercial pot the break-even is a single insert; against retrofitting a $40–90 decorative ceramic it’s immediate — and you keep the pot you actually like.
The four STLs are parametric: set pot diameter, soil depth, and reservoir depth as variables and they regenerate, so the same design scales from a 4-inch herb pot to a 14-inch tomato planter without a redraw. A peer-reviewed study on capillary irrigation in container plants documents the wick-distance threshold and supports the four-column geometry above 10 inches. Growing on a balcony rather than a windowsill? My balcony gardening guide covers the wind, runoff, and pot-weight factors that change which plants suit a self-watering setup outdoors.
Frequently Asked Questions
Can I use PLA instead of PETG for self-watering inserts?
No. PLA fails at the layer boundary after 60-90 days of constant water contact, splitting along stress lines. PETG is hydrolytically stable for years at room temperature and bonds layer-to-layer reliably when printed at 240C with 4 perimeter walls.
How often does the reservoir need refilling?
A 6-inch insert with a 4cm reservoir and 4 wicking columns lasts 7-10 days for soft-stem herbs. Larger pots scale up: a 10-inch insert with a 6cm reservoir reaches 12-14 days. Refill through the fill tube only, never from the top after first wetting.
Will a self-watering insert work for tomatoes or peppers?
Yes, but use a 10-inch or larger outer pot and a finer 2mm false-floor mesh. Tomato roots will eventually grow into the reservoir, which is fine for one season but will require replacing the false floor at season end.
Why does my reservoir keep growing algae?
Light is reaching the water. Clear or translucent PETG lets enough through to start algae growth in 2-3 weeks. Switch to opaque dark green or black filament, or wrap the reservoir in matte vinyl tape. Cap the fill tube between waterings as well.
Can I retrofit an existing decorative pot?
Yes. Drill or print a 4mm overflow port at the chosen reservoir height, then drop the printed false floor and wicking columns inside. Most ceramic pots accept retrofitting cleanly, though glazed terracotta needs a tile bit for the overflow hole.
What soil mix works best?
A 50% peat / 25% perlite / 25% coir blend. The perlite creates air channels that keep cotton wicks from going anaerobic. Avoid heavy moisture-control potting mixes with added polymer crystals — they over-saturate the wicking columns.
How long do the cotton wicks last?
6-12 months on soft water, 4-8 months on hard water. Mineralization from calcium and magnesium gradually clogs the cotton fiber. A monthly 1:1 white vinegar soak extends life by 4-6 months. Replace during winter dormancy when plant water demand is lowest.