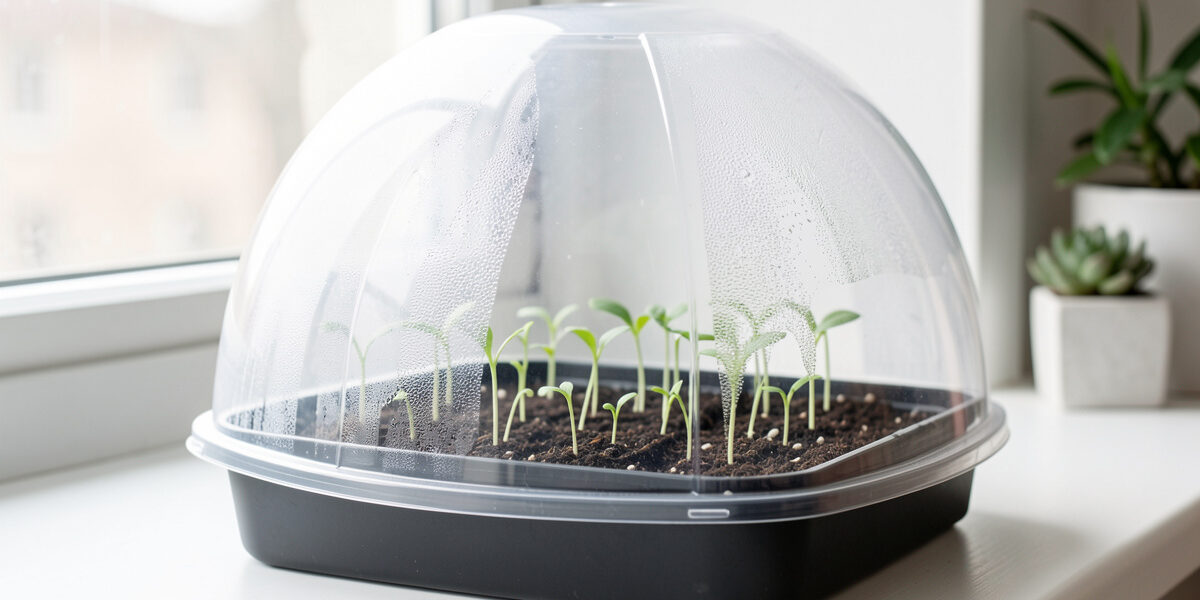
A humidity dome helps seeds until they germinate and starts hurting seedlings the moment they are up. Its one job is to hold moisture at the soil surface so fine seed does not dry out while it swells and cracks — genuinely useful for the first few days. Leave it on past emergence and the trapped, still, humid air becomes the perfect breeding ground for damping-off, the fungal collapse that flattens a whole tray overnight.
Most seed-starting failures I get asked about are not the seed and not the mix — they are a dome left on too long. It is the single most misused piece of seed-starting kit, precisely because it feels helpful and looks like it is doing something. Here is exactly what a dome does, the narrow window where it earns its place, and the clear signs it is time to take it off for good.
What Does a Humidity Dome Actually Do?
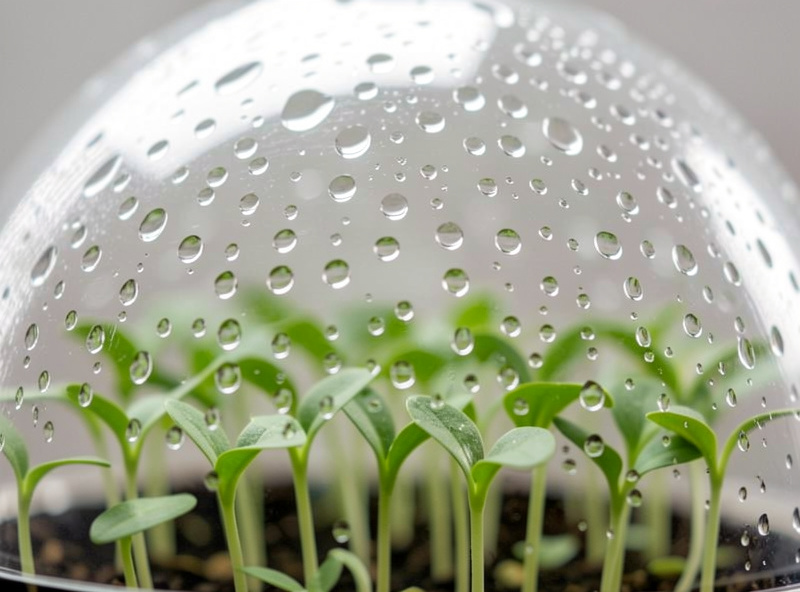
A dome traps evaporating moisture to keep the soil surface humid, which stops fine seed from drying out during germination. Seeds do not need light to germinate, but they do need consistent moisture — a seed that swells, starts to crack, and then dries out is a dead seed. The clear cover slows evaporation so the top layer of medium stays damp without you misting it every few hours.
That is the whole function, and it is a real one. Surface-sown fine seed — lettuce, many herbs, anything you barely cover — sits right at the drying zone and benefits most. The dome also nudges the surface temperature up a touch, which pairs with bottom heat during germination. But notice what it does not do: it does nothing useful for the seedling once the seedling exists. The moment a plant has a stem and leaves, humid stagnant air stops being a help and becomes a liability. The dome is a germination tool with an expiry date, and knowing that date is the whole skill. It sits alongside the mat and trays on my seed-starting equipment list.
When Should You Use a Humidity Dome?
Use a dome for fine, slow, or surface-sown seed, and pair it with bottom heat so the germination environment is warm and moist together. The crops where I bother: lettuce and other tiny surface-sown seed, slow herbs like thyme and oregano, and anything the packet says can take two weeks or more to come up, because that is a long time to keep a surface from drying without help. On my shelf, the dome goes on the same trays that go on the heat mat — a warm, humid start is what the heat-lovers want too.
Bottom heat and a dome work together during germination: the mat warms the soil, the dome keeps the moisture in, and the two collapse the germination window. If you are running a mat, see my notes on choosing one in best seedling heat mat and whether you even need it in do you need a heat mat for seeds — the dome is the third piece of that same germination setup. But use it only where the seed genuinely needs the moisture buffer. For big, fast, easy seed you can often skip it entirely.
When Should You Take the Dome Off?
Take the dome off the instant you see the first seedlings breaking the surface — not a day later. Once seeds have germinated, they need light and airflow, and the dome blocks both. Every extra day it stays on after emergence raises the odds of leggy stretch and fungal collapse without adding anything. I go by sight: the first loops of stem showing above the soil is my signal to lift it.
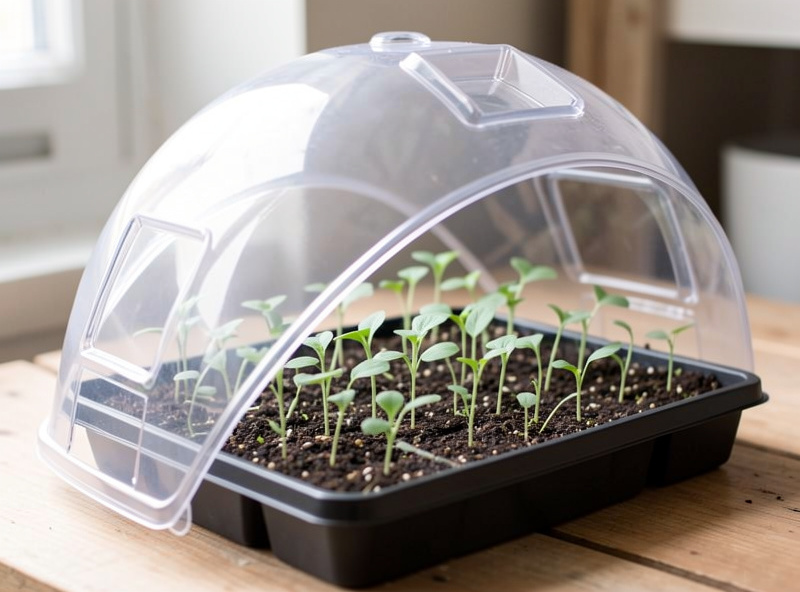
The signs it is time to lift the dome, in order of urgency:
- The first seedlings have broken the surface — lift it now, this is the trigger.
- Heavy condensation is running down the inside and dripping onto seedlings — the air is saturated, get it off.
- You see any thin, water-soaked collapse at a seedling’s base — that is damping-off starting; remove the dome and add airflow immediately.
- A faint musty or earthy-sour smell under the dome — mould is establishing before you can see it.
If different cells germinate at different times, I still lift the dome once a meaningful share is up and mist the stragglers by hand rather than keeping the whole tray covered for the few that lag. Protecting the seedlings that exist beats coddling the seeds that haven’t come up yet. After the dome comes off, watering technique matters more — the surface dries faster in open air, so check how often to water seedlings to keep young roots from drying out.
Humidity Domes and Damping-Off: The Real Risk
Damping-off is why the dome has an expiry date. It is a fungal disease — several soil organisms cause it — that attacks seedlings right at the soil line, where a healthy stem suddenly goes thin, dark, and water-soaked, and the seedling topples. It moves through a tray in a night, and there is no cure once it starts; you can only prevent it. The conditions it loves are exactly the conditions a dome creates after germination: still air, high humidity, and constantly wet soil.
I lost most of a tray of brassica seedlings to it early on, and the smell is what I remember — a damp, sour, mushroom-cellar note under the dome that I now recognise as the warning. Since then my prevention is simple and it works: lift the dome at emergence, put a small fan on the shelf for gentle air movement, bottom-water rather than soaking the crown, and use a clean fine medium rather than reusing old, contaminated mix. Airflow is the single biggest lever — seedlings that grow up with a breeze stand straighter and shrug off the fungus that fells the coddled ones. University extension services list the same controls; the University of Minnesota Extension’s seed-starting guidance stresses ventilation and not overwatering as the core defences.
Do You Even Need a Humidity Dome?
Often, no. Plenty of seed germinates fine without one, and for fast crops a dome only raises the damping-off odds for no benefit. On my microgreen shelf I skip the dome entirely for quick germinators like radish, pea, and broccoli — they are up in two or three days, well before drying is a real risk, so a cover just traps humidity I do not want. The same goes for big-seeded, vigorous crops that push through fast.
If you do want a moisture buffer without buying a dome, a loose sheet of clear plastic or a propagator lid you already own does the same job — the point is slowing evaporation, not the specific product. What matters far more than owning a dome is knowing when to remove whatever cover you use. A grower with no dome who mists a surface twice a day will beat a grower with a fancy vented dome who leaves it clamped on for a week. If you are starting microgreens rather than transplants, my guide to microgreens trays covers the blackout-then-light approach I use instead of a dome, and the full sowing technique lives in seed starting in small spaces.
How I Use Vents and Airflow
If your dome has adjustable vents, they are a transition tool, not a reason to keep the dome on longer. Vents let you start reducing humidity a day or two before germination finishes, easing the seedlings toward open air rather than shocking them. I crack the vents as soon as I see the earliest emergence, then lift the dome entirely within a day. Think of the vents as the off-ramp, not a way to run the dome indefinitely.
The bigger airflow point is what happens after the dome is gone. A small clip fan on low, aimed to move air across the tray rather than blast it, does more for seedling health than any cover. It dries the surface between waterings, strengthens stems through gentle motion, and keeps the fungal spores that cause damping-off from settling. The sound of a quiet fan on the shelf is, to me, the sound of a tray that is going to make it. What I would do starting today: use the dome only for the fine, slow seed that needs it, treat first emergence as a hard deadline to lift it, and put a small fan where the dome used to be. The moisture buffer keeps seeds alive; the airflow keeps seedlings alive — and those are two different jobs.
How long should you leave a humidity dome on seedlings?
Only until the seeds germinate. Take the dome off the moment the first seedlings break the surface. After emergence, seedlings need light and airflow, and a dome left on traps humidity that encourages leggy growth and damping-off disease.
Do you need a humidity dome to start seeds?
Not always. Domes help fine, slow, or surface-sown seed that would otherwise dry out during germination. Fast, big-seeded crops often germinate fine without one, and covering them only raises the risk of fungal problems. A loose sheet of clear plastic can do the same job if you want a cheap alternative.
Why did my seedlings collapse under the humidity dome?
Almost certainly damping-off, a fungal disease that thrives in the still, humid, wet conditions a dome creates after germination. It attacks seedlings at the soil line and spreads fast. Prevent it by removing the dome at emergence, adding airflow, bottom-watering, and using clean fresh medium.
Should I use a humidity dome with a heat mat?
Yes, during germination they work well together. The heat mat warms the soil and the dome keeps moisture in, which speeds up germination for warm-season crops. Remove the dome as soon as seedlings emerge, and take the tray off the heat mat once the crop is up and growing.
What are the vents on a humidity dome for?
The vents let you gradually reduce humidity as germination finishes, easing seedlings toward open air. Use them as a short transition, cracking them at first emergence, then lift the dome entirely within a day rather than using the vents to justify leaving it on longer.