A microgreens growing kit is the single easiest way to get your first tray of greens off the counter and into a salad, but the kits on sale range from genuinely useful starter bundles to overpriced boxes of things you could buy better separately. I have run trays out of branded all-in-one kits, out of a stack of bare 1020 trays, and out of a homemade rack lashed together from a shelving unit — and the honest answer to “should I buy a kit?” is “it depends entirely on whether you want convenience or value.” This guide sorts out which kit is worth it, what a good one actually contains, and when you should skip the kit altogether and assemble your own.
If you have not yet decided this is your hobby, my complete microgreens guide walks the whole process first; come back here when you are ready to buy.
What a Microgreens Kit Actually Is
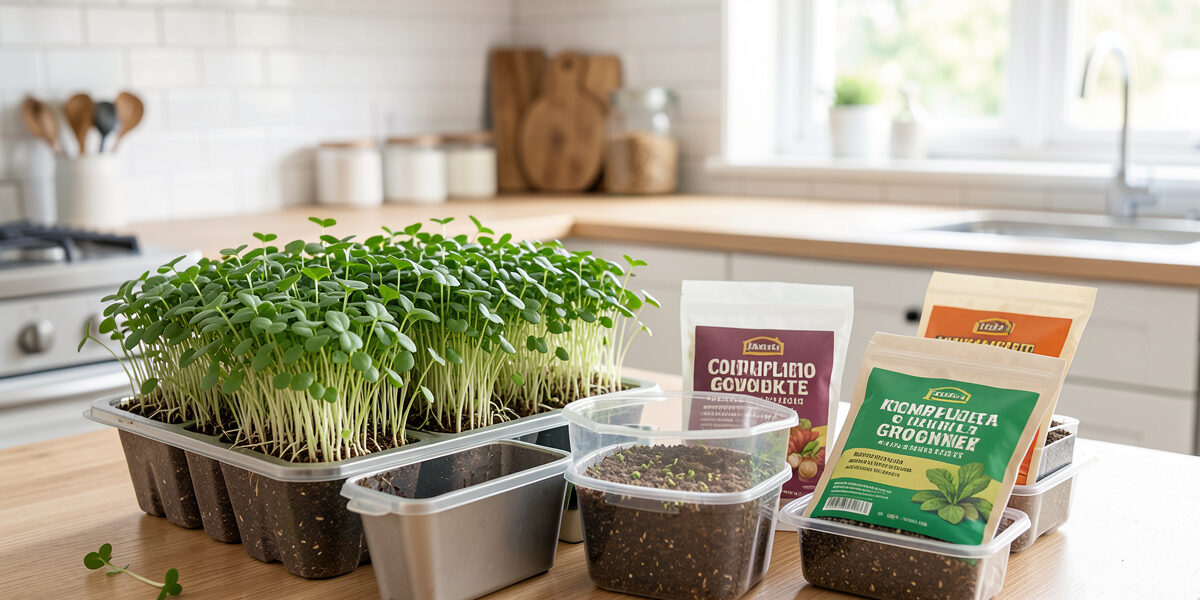
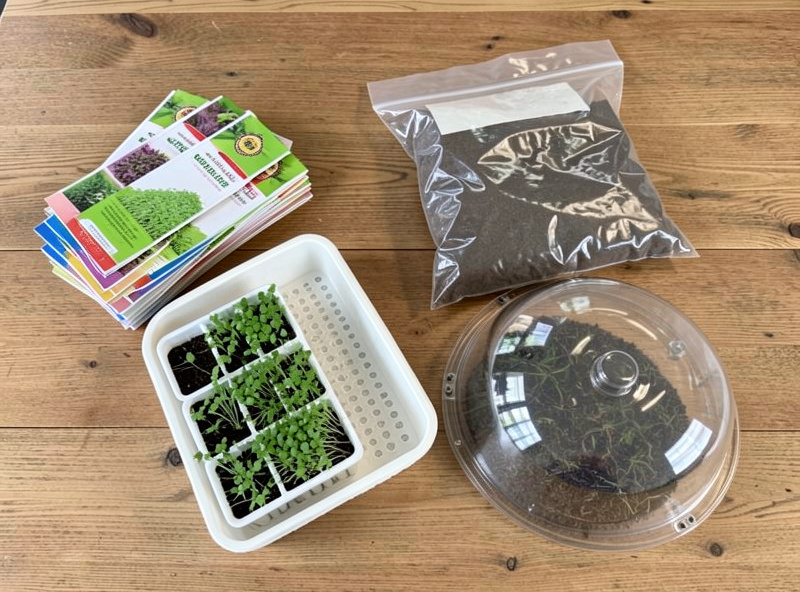
At its core a microgreens kit is the six things every tray needs, packaged together: a growing tray (ideally two — one with drain holes, one solid for bottom-watering), a growing medium or a few fibre mats, a selection of seeds, sometimes a humidity dome, occasionally a small light, and a set of instructions. The appeal is obvious — one purchase and you are growing the same evening, with no decisions to make and nothing missing. For a gift, for a kid’s first grow, or for anyone who wants to test the waters before committing, that frictionlessness is the whole value, and it is real.
The catch is that “everything in one box” is also where the markup hides. Some kits bundle a generous run of trays, seed, and medium at a fair price; others charge a premium for a single tray, a thimble of seed, and a branded card, and you have spent kit money for one harvest. Knowing which is which is the entire game.
The Kit Types, Compared
Kits fall into a few honest categories. Here is how they actually compare once you have grown a few trays from each rather than judged them by the photography.
| Kit type | Typical contents | Best for | Value verdict |
|---|---|---|---|
| Countertop starter kit | 1–2 trays, dome, seed sampler, medium | First-timers, gifts | Convenient; check seed quantity |
| Tray + seed bulk bundle | Multiple 1020 trays, larger seed bags, soil | Anyone planning to keep growing | Best value per tray |
| Tiered rack kit (with light) | Shelf or rack, trays, grow light, seed | Volume growers, dark climates | Pricey but a complete system |
| Hydroponic mat kit | Trays, fibre mats, seed | Clean, soil-free growing | Tidy; mats cost more per grow |
| DIY (assemble yourself) | You source each part | Value-focused, tinkerers | Cheapest at any scale |
For most people taking their first run at this, a sensible microgreens growing kit with two or more trays and a decent seed selection is the cleanest start — you learn the process once without sourcing parts. The moment you know you will keep going, though, the economics flip hard toward buying a stack of 1020 trays and bulk seed separately, which I will come back to.
Disclosure: CityRooted is reader-supported. As an Amazon Associate I earn from qualifying purchases made through links in this article, at no extra cost to you. I only point to gear I actually use or would buy for my own microgreen shelf.
What a Good Kit Must Contain
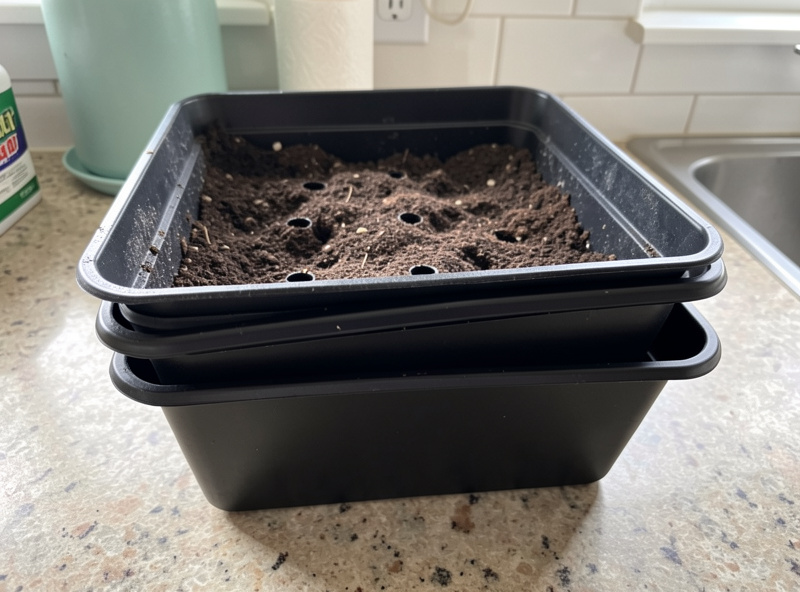
Whether you buy a kit or build one, the same checklist applies, and it is short. First, two trays per growing slot, not one — a tray with drain holes to grow in and a solid tray beneath it for bottom-watering, which is how you water microgreens without battering the seedlings from above. A kit with a single tray and no drainage is a red flag. Second, enough seed to grow more than once — a “sampler” of five pinches of seed is a taste, not a kit; you want quantities you can actually sow a few full trays from. Third, a humidity dome or blackout lid for the germination phase, since the first few days in the dark under cover are what give you even, sturdy germination.
What a kit does not need is anything exotic. You do not need proprietary “microgreen soil” at a premium — a fine seed-starting mix or coir does the job, as I cover in my guide to the best soil for microgreens. You do not need branded nutrients; microgreens feed themselves from the seed. And you only need a light bundled in if the kit is a tiered-rack system, since a single counter tray can finish on a windowsill in summer — though in a dark climate a light quickly stops being optional, which is the whole subject of my grow lights for microgreens guide.
Kit vs Building Your Own
This is the decision most people are really asking about. A kit’s value is convenience and zero decisions; its cost is that you pay a packaging premium and usually get a limited run of seed. Building your own — a stack of 1020 trays, a brick of coir, and seed bought in proper bags rather than sample packets — costs noticeably less per tray and lets you scale to a rack the moment you want to, but you have to make the choices and place a few orders instead of one.
My honest steer: if this is a gift or a genuine “I’m not sure I’ll stick with it” trial, buy a modest kit and enjoy the simplicity. If you already suspect you will be growing trays weekly through the winter — and most people who try it do — skip straight to buying trays, a coir brick, and bulk seed separately, because you will out-grow a starter kit within a month and the per-tray cost of going your own way is a fraction of restocking little kit refills. The kit teaches you the process; the DIY route is what you settle into. For storing and turning over the trays you end up with, my microgreens trays guide covers the 1020 system in detail.

Which Seeds to Reach For First in a Kit
One thing the kit photography rarely tells you is that not all the seed in the sampler is equally beginner-friendly, and starting with the wrong one sours people on the whole hobby. If your kit came with a mix, sow the easy, fast, forgiving crops first — radish, broccoli, pea, and sunflower all germinate quickly, grow sturdily, and are hard to fail. Save the slow, fiddly ones like cilantro, basil, and beet for once you have a couple of clean trays under your belt and understand the blackout-then-light rhythm. A first success on radish in eight days does more for your confidence than struggling through a three-week cilantro tray that may not even come up evenly.
The other early lesson is restraint with watering and seed density. The instinct is to sow thickly and water generously; both invite mould and rot rather than a denser harvest. Sow an even, single-seed-deep layer, bottom-water from the solid tray, and let the dome do the humidity work for the first few days. A kit gives you the parts — these two habits are what turn the parts into a tray you actually want to eat. If you want the full crop-by-crop rundown, my guide to the easiest microgreens to grow ranks them by difficulty.
Frequently Asked Questions
Are microgreens kits worth it?
For a first grow or a gift, yes — a kit packages the trays, seed, medium, and dome into one purchase so you can start the same day with no decisions. For anyone planning to grow regularly, building your own from bulk trays, a coir brick, and proper seed bags is far better value per tray, since kits carry a packaging premium and limited seed.
What should a good microgreens kit include?
Two trays per slot (a drain-holed grow tray and a solid bottom-watering tray), enough seed to sow more than once, a humidity dome or blackout lid for germination, and a clean fine growing medium. A single tray with no drainage or a tiny seed sample are the main red flags.
Do I need a special soil in a microgreens kit?
No. A fine seed-starting mix or rehydrated coco coir works perfectly and is cheaper than proprietary ‘microgreen soil’. Microgreens draw their food from the seed, so the medium just needs to be fine, clean, evenly moist, and well-draining rather than rich or branded.
Does a microgreens kit need a grow light?
Only if it is a tiered-rack system or you are growing in low light. A single counter tray can finish on a bright windowsill in summer, but in a dark-winter climate a light stops being optional. A full-spectrum LED bar or shop light gives even coverage and sturdy, non-leggy greens.
Is it cheaper to build my own microgreens setup?
Yes, noticeably so at any scale. A stack of 1020 trays, a brick of coir, and seed bought in proper bags costs much less per tray than restocking kit refills, and lets you expand to a rack whenever you want. A kit is best for the first grow; DIY is what most growers settle into.