Planting peppermint without a containment plan is the single most-regretted decision in home herb gardening. The plant spreads by underground rhizomes that travel 12 to 18 inches per season, send up new shoots from any node, and laugh at half-buried plastic edging. A 4-inch nursery plant put in an open bed colonizes 8 to 10 square feet within 2 years and is genuinely difficult to remove afterward. Peppermint is worth growing — the leaf flavor and the productivity are unmatched among mint-family herbs — but the planting decision must include a real containment strategy from day one. This guide covers the three reliable containment methods, peppermint care, and why spearmint is sometimes the better choice.
As an Amazon Associate I earn from qualifying purchases.
Why Peppermint Spreads So Aggressively
Peppermint (Mentha × piperita) is a sterile hybrid between watermint (M. aquatica) and spearmint (M. spicata). Because it cannot reproduce by seed, the plant evolved aggressive vegetative spread by underground rhizomes — horizontal stems that travel through the top 4 to 8 inches of soil and produce new vertical shoots at every node. Mint is vigorous enough that the standard advice is to confine it to a container or a sunken bottomless pot to stop it taking over a bed (RHS mint growing guide).
The practical consequences:
- Single 4 inch transplant becomes 8 to 10 square feet of mint within 24 months in good soil with adequate moisture.
- Rhizomes pass through cracks in concrete and around the edges of any barrier shorter than 12 inches deep.
- Removal requires excavation, not weeding. Every rhizome fragment left in soil regrows. Multi-season removal is normal for established stands.
- Peppermint outcompetes nearly every neighboring herb by year two — sage, oregano, parsley, basil, all displaced as the rhizome network expands.
For the herb-cluster planning context (where peppermint fits relative to other herbs), see Herb Garden: Complete Outdoor Growing Guide. The hub guide covers why mint always lives in an isolated container in a planned herb bed.
Three Reliable Containment Methods
The only acceptable peppermint planting setups are ones that physically prevent rhizome spread. Three methods, ranked by reliability:
| Method | Reliability | Setup Cost | Maintenance | Best For |
|---|---|---|---|---|
| Above-ground container | Highest — physically impossible to escape | $15-$40 (12+ inch pot) | Repot every 2 years | All gardens; renters; anyone wanting zero risk |
| Buried bottomless pot | High — rhizomes confined inside pot walls | $10-$20 (large nursery pot) | Watch for escape over rim | In-ground look without spread |
| Buried 12+ inch root barrier | Moderate — relies on perfect installation | $30-$60 (rigid HDPE barrier) | Inspect annually for breach | Larger mint stands; established gardens |
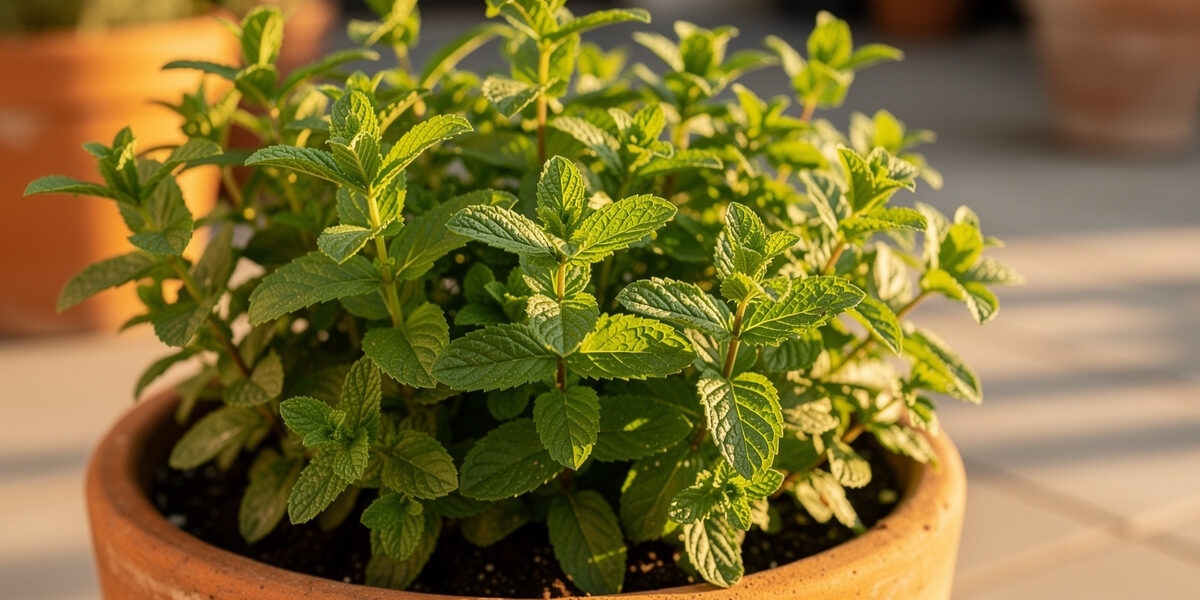
The container method is the right answer for nearly every household. A 12 to 14 inch pot supports a single peppermint plant indefinitely, produces enough leaf for routine kitchen and tea use (roughly 2 to 3 cups dried per year), and removes any worry about spread. The buried bottomless pot method is for gardeners who want the in-ground aesthetic — sink a 14 inch nursery pot 12 inches deep, leave 2 inches of rim above grade to block surface runners, plant the peppermint inside. The plant looks naturalized but stays contained.

Peppermint Site and Soil Preferences
Peppermint is forgiving across a wide range of conditions:
- Sun: 4 to 6 hours of direct sun ideal. Tolerates 3 hours but produces leggy stems. Full sun (8+ hours) requires more frequent watering.
- Soil: Average garden loam, pH 6.0 to 7.0. Peppermint tolerates clay and rocky soil better than most herbs.
- Moisture: Even moisture preferred. Tolerates short drought but flavor weakens. Cannot survive prolonged dry conditions like Mediterranean herbs can.
- Drainage: Required despite the moisture preference. Standing water rots the rhizome system.
The single best peppermint location is partial shade with morning sun and afternoon shade in zones 7+, full sun in zones 3-6. Avoid hot afternoon sun in southern zones — leaves scorch and flavor turns weaker.
Planting Method: Transplant or Division
Peppermint is sterile (no viable seed). Two propagation methods:
- Nursery transplant: Buy a 4 inch potted peppermint in spring for $4 to $6. The plant is harvestable within 6 weeks and well-established by end of season one.
- Division (free if you know someone with established peppermint): Dig any portion of an established stand in spring or fall — every chunk with at least one rhizome and one shoot will grow. Division is genuinely the most cost-effective method since established peppermint produces excess plant material constantly.
The “rooted cuttings in a glass of water” method also works for peppermint — strip lower leaves from a 4 inch tip cutting, place in water in indirect light, transplant once 1 inch of root develops (typically 2 to 3 weeks).
Watering, Mulching, and Feeding
Peppermint care is moderate input across all three variables:
- Water: 1 inch per week in-ground; 1.5 inches per week in containers. Keep soil consistently moist but not waterlogged. Containers may need watering every 3 to 4 days in summer heat.
- Mulch: 2 inches of straw or shredded leaves around the base of in-ground plants. Skip mulch on container plants — pots dry slowly enough already.
- Fertilizer: Light. One feeding of balanced 5-5-5 organic fertilizer in early spring is enough. Over-fertilized peppermint grows lush stems with weaker menthol concentration.
For the closely related mint-family species that shares similar care, see Grow Lemon Balm: Perennial Mint-Family Herb Guide. Lemon balm shares the partial-shade preferences but spreads by seed rather than runners, making it the easier option for in-ground beds.
Pinching, Pruning, and the Mid-Summer Hard Cut
Peppermint productivity peaks with regular harvesting. The pruning routine:
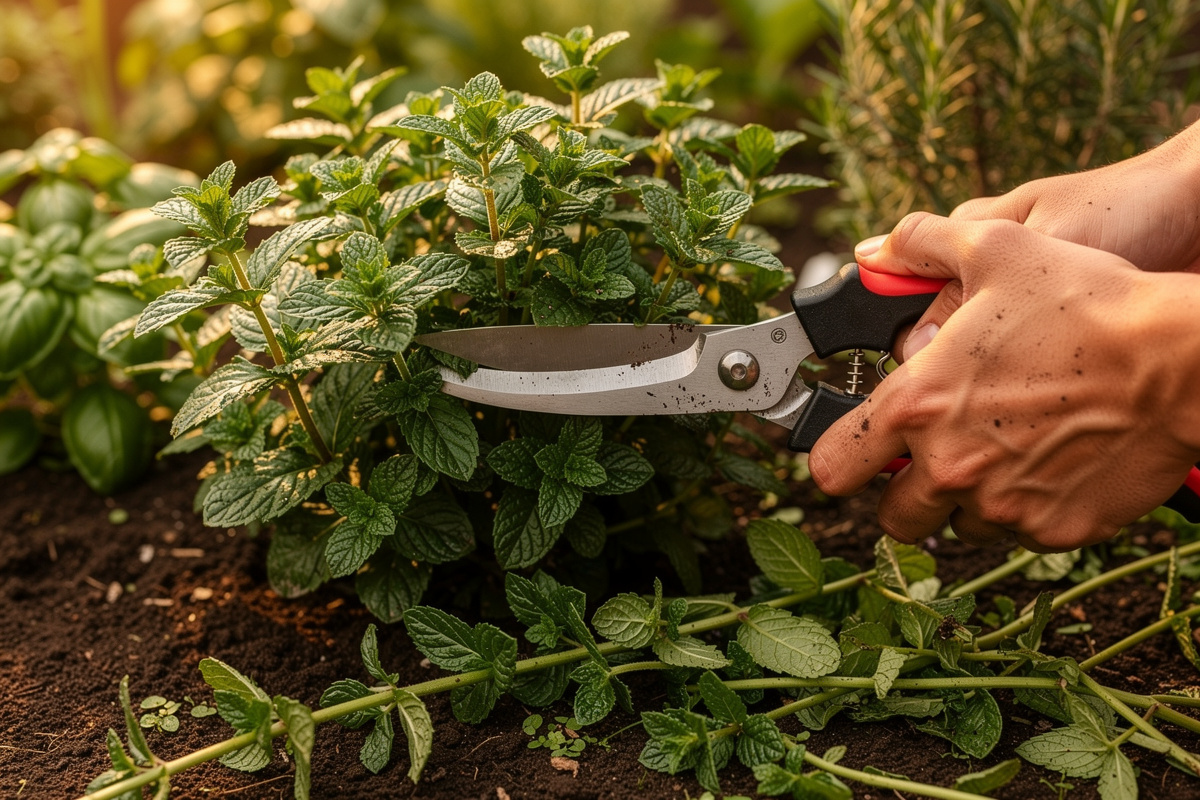
- Continuous pinching: Pinch growing tips weekly to encourage branching. Each pinch is a kitchen harvest.
- Mid-summer hard cut: Cut entire plant back to 4 inches above the soil in late June or early July, just as flower spikes appear. Plant rebounds within 2 to 3 weeks with fresh leaf flush.
- Late fall cleanup: Cut back to 2 inches after first hard frost. Apply 2 inches of mulch in zones 3-5.
- Division every 3 years: Container peppermint gets root-bound by year 3. Repot or divide and replant in fresh potting mix. In-ground peppermint should be excavated and reset every 3 to 4 years to maintain leaf size and vigor.
The mid-summer hard cut is essential for peppermint. Plants that flower untreated produce spindly stems with smaller leaves for the rest of the season; cutting at flower-bud emergence resets the plant for a second productive flush.
Harvesting Peppermint Through the Season
Peppermint is harvestable from week 5 of year one onward. The rules:
- Take from stem tips first. Snip 4 to 6 inches off any stem; the plant branches at the cut and regrows.
- Take no more than one-third of the plant per cut. Peppermint rebounds quickly from this level; heavier harvests stress it.
- Time of day: Morning after dew dries. Menthol concentration peaks overnight and declines through the day.
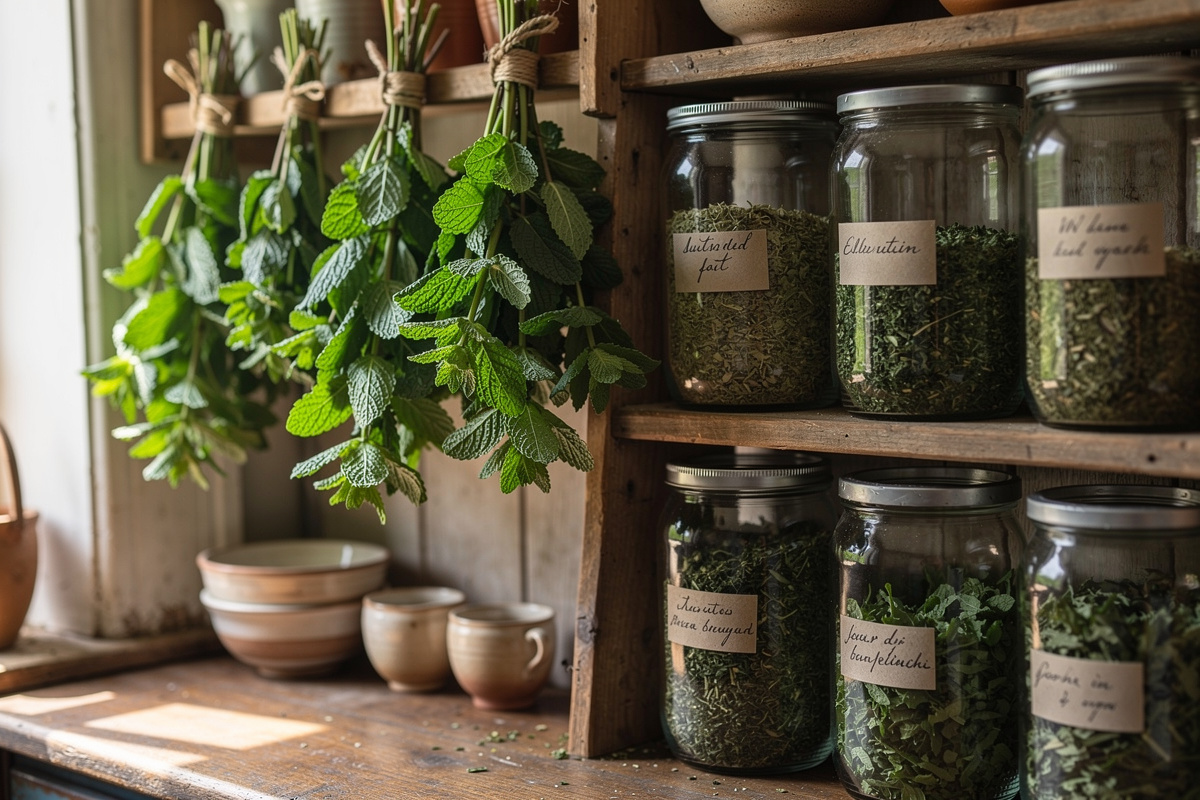
- Drying: Hang stems upside down in bundles in a dark, warm, well-ventilated space for 7 to 10 days. Strip dried leaves from stems and store in airtight glass jars away from light.
Dried peppermint keeps usable flavor for 9 to 12 months — the menthol that drives the flavor evaporates faster than carvacrol or thymol in oregano and sage. Keep dried mint in opaque or amber glass to slow flavor loss further.
Spearmint vs Peppermint: Picking the Right Mint
Most “mint” recipes work better with spearmint (Mentha spicata) than peppermint, despite peppermint being more famous. The differences matter:
- Spearmint: Milder, sweeter flavor. Lower menthol. Better for mojitos, lamb dishes, fresh salads, mint chutney. Spreads slightly less aggressively than peppermint.
- Peppermint: Sharp menthol punch. Best for tea, ice cream, candy, cold drinks. The flavor that says “mint” in commercial products is peppermint, not spearmint.
- Chocolate mint, apple mint, pineapple mint: Specialty cultivars with subtle flavor variations. All share peppermint’s runner-spreading habit.
If unsure which to plant, spearmint is the better default for general culinary use. Peppermint is for households that drink mint tea regularly or make peppermint extract. Either way, the containment rules apply identically.
Common Mistakes That Lead to Mint Takeovers
Five mistakes account for nearly every peppermint regret:
- Planting directly in an open garden bed. The single decision that creates the mint problem. Container or buried bottomless pot only.
- Trusting half-buried plastic edging as a barrier. Rhizomes go under any barrier shorter than 12 inches deep. Use a real root barrier or skip the in-ground option.
- Not noticing surface runners. Peppermint can also spread by surface stolons that root where they touch moist soil. Check container rims monthly and cut any escaping runners immediately.
- Skipping the mid-summer hard cut. Plants flower, drop leaf production, and produce smaller leaves for the rest of the season. The hard cut at bud emergence resets productivity.
- Buying ornamental cultivars expecting culinary value. Variegated mints and “specialty” cultivars often have weaker flavor than basic peppermint or spearmint. Buy the plain culinary varieties for kitchen use.
Peppermint Through a Nordic Summer
I grow peppermint in a 14-inch fabric pot in the shadiest corner of the balcony because the 18-hour Nordic summer days scorch the leaves if they get full afternoon sun. The fabric pot keeps the roots cool, the partial shade keeps the leaves tender, and by August I am cutting a handful every other day. Peppermint is the most vigorous plant on the balcony and one of the few that genuinely produces more than a household can consume.
Unlike spearmint, which I find produces mostly leaves on long straggly stems, peppermint grows as a compact bushy mound that is easier to harvest from and looks tidier on the balcony. The menthol content peaks just before flowering in July, and that is when I harvest the bulk of the crop for drying.
Frequently Asked Questions
How do I keep peppermint from taking over my garden?
The only reliable methods are container planting (12+ inch pot), buried bottomless pot (14 inch nursery pot sunk 12 inches deep with 2 inches of rim above grade), or a 12+ inch deep buried root barrier. Half-buried edging strips fail within 18 months. Even with these methods, check monthly for surface runners escaping over container rims.
Can I plant peppermint in the ground at all?
Yes, but only with a buried bottomless pot or a properly installed 12 inch deep rigid root barrier surrounding the planting area. A naked in-ground planting will colonize 8 to 10 square feet within 2 years. The container option is more reliable and easier to install for nearly every gardener.
How big a pot does peppermint need?
12 to 14 inch diameter and depth minimum. The plant is vigorous and quickly fills smaller containers, becoming root-bound and producing smaller leaves. Repot every 2 years or divide and reset in fresh potting mix to maintain productivity.
How much sun does peppermint need?
4 to 6 hours of direct sun is ideal. The plant tolerates 3 hours minimum but produces leggy stems. In zones 7+, partial afternoon shade is preferable to hot direct afternoon sun, which scorches leaves and weakens flavor.
Why does my peppermint taste weak?
Most often over-fertilization (lush growth at expense of flavor compound development), too much shade (4 hour minimum), or harvesting after flowering when plant energy shifts from leaves to flower production. The mid-summer hard cut at flower-bud emergence prevents the post-flower flavor decline.
How long do peppermint plants live?
Indefinitely with proper care. Container peppermint should be repotted or divided every 2 to 3 years to prevent root-binding. In-ground stands benefit from excavation and reset every 3 to 4 years to maintain leaf size. The plant itself is essentially immortal — properly maintained, the same genetic line continues through divisions for decades.
Should I plant peppermint or spearmint?
Spearmint is the better default for general culinary use — milder, sweeter flavor that works for mojitos, lamb dishes, salads, and chutneys. Peppermint is for households that make herbal tea regularly or want the strong menthol flavor used in candy and ice cream. Both share identical containment requirements; runner spread is similar between the two.