Most urban gardens fail because of preventable mistakes, not bad luck or a lack of skill. I have made every one of these errors on my own Swedish balcony at least once, and these seven are the ones that kill more plants than pests, weather, and disease combined. Learn them now and you skip the frustration that pushes so many beginners to quit by midsummer — the broader setup these mistakes fit into lives in the urban gardening beginner guide.
Mistake #1: Overwatering (The #1 Killer)
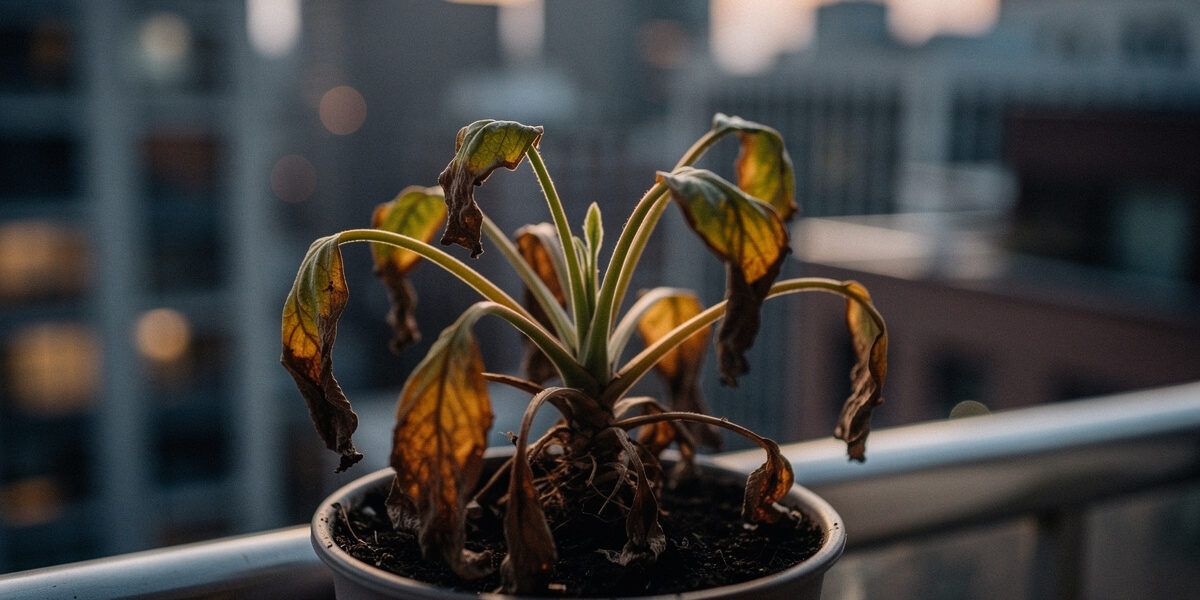
Overwatering is the single most common cause of plant death in urban container gardens. Beginners often mistake a dry soil surface for a thirsty plant, leading to frequent shallow waterings that actually suffocate the roots. When soil is constantly saturated, oxygen cannot reach the root zone, causing them to rot and eventually killing the plant from the bottom up despite regular care.
Why It Happens
- Surface soil dries faster than deeper soil where roots live
- Small daily waterings encourage shallow, weak roots
- We equate “dry surface” with “thirsty plant”
- Container plants seem more fragile, so we over-care
The Damage
Overwatering suffocates roots by filling soil pores with water instead of air. Roots need oxygen to function. When constantly wet, they rot. Above ground, you’ll see yellowing leaves, wilting (ironically), and stunted growth. By the time symptoms appear, root damage is often severe.
How to Avoid It
Learn the finger test: Insert your finger 2 inches into the soil. If it feels moist at that depth, don’t water. If dry, water thoroughly until it drains from the bottom. This simple test prevents most overwatering mistakes before they do real damage.
Water deeply, less often: Give plants a thorough soaking (until water drains from bottom holes) every 2-3 days in summer, rather than a little bit daily. This encourages deep, drought-resistant root systems.
Watch for signs:
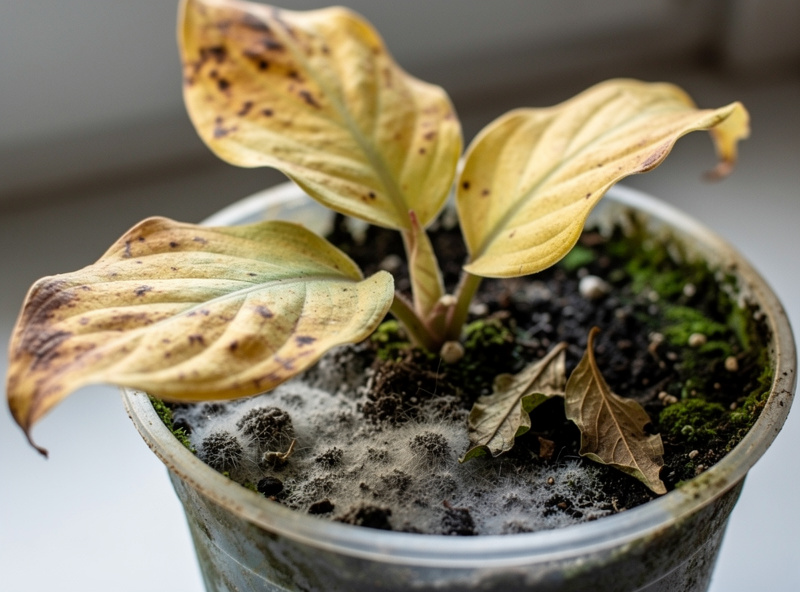
- Yellow lower leaves often indicate overwatering
- Wilting despite wet soil means root rot from overwatering
- Fungus gnats flying around containers signal constantly moist conditions
Mistake #2: Using Containers Too Small
That adorable 6-inch pot looks perfect on your windowsill. Three months later, your tomato plant is stunted, producing nothing, and wilting every afternoon despite constant watering. The pot was the problem from day one.
Why It Happens
- Small containers look proportional in small spaces
- We don’t realize how big vegetable roots need to grow
- Nursery pots give us a false sense of adequate size
- Space constraints make large containers feel impractical
The Damage
Small containers restrict root development, which limits the entire plant. Cramped roots can’t access enough water or nutrients. In summer heat, small pots can go from moist to bone-dry in hours. Root-bound plants (roots circling the container) become permanently stunted, even if transplanted later.
Signs of this mistake: Plants need watering multiple times daily. Growth stops prematurely. Plants wilt in afternoon heat despite morning watering. Roots grow out of drainage holes.
How to Avoid It
Minimum container sizes by plant type:
- Herbs and greens: 1-2 gallons
- Peppers and compact plants: 3-5 gallons
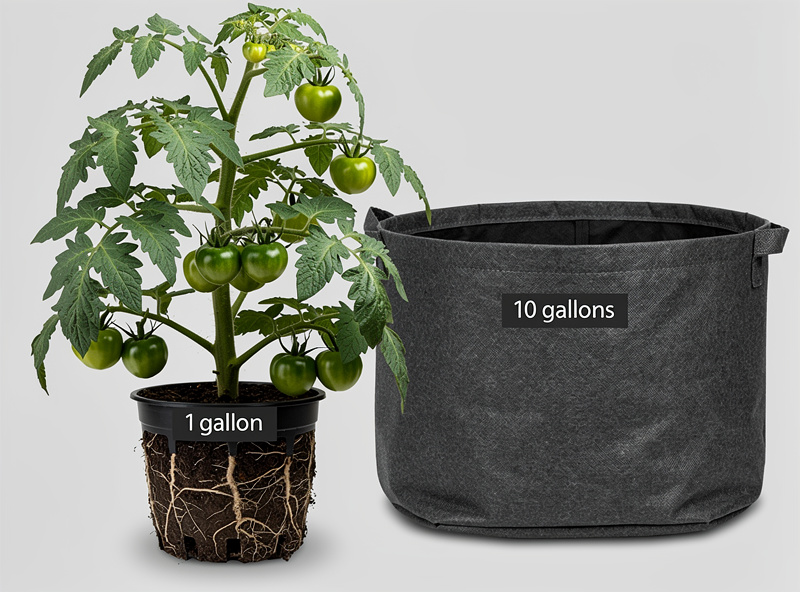
- Tomatoes and cucumbers: 5-10 gallons (bigger is better)
When in doubt, go bigger: A tomato in a 10-gallon container produces noticeably more fruit than the same variety cramped into a 5-gallon pot. The extra soil volume provides insurance against heat and missed waterings. See our complete beginner guide for container sizing recommendations across all common vegetables.
Food-grade 5-gallon buckets (often free from bakeries and restaurants) work perfectly for most vegetables. Drill drainage holes and you’re set.
Mistake #3: Misjudging Light Conditions
You selected “full sun” vegetables for your balcony that gets “plenty of light.” By July, your tomatoes are tall and leafy but producing no fruit. Meanwhile, your neighbor’s identical plants on a different balcony are covered in tomatoes. The difference? Light.
Why It Happens
- “Sunny” is subjective—what looks bright to us may be 4 hours of direct sun
- Morning sun is gentler; afternoon sun is more intense but we count them equally
- Seasonal changes alter light patterns—we plan in winter for summer sun
- Reflected light seems adequate but isn’t photosynthetically equivalent to direct sun
The Damage
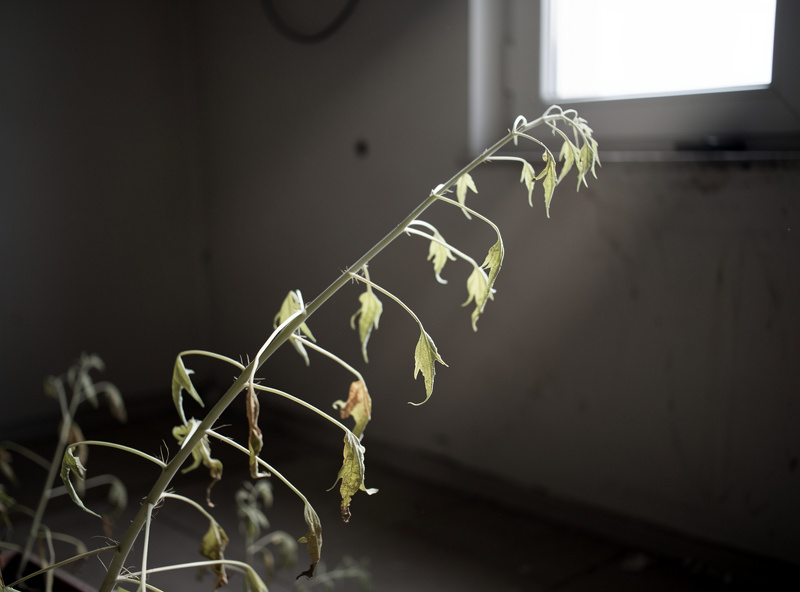
Vegetables use light to produce energy via photosynthesis. Without adequate light, plants grow weak and leggy, stretching toward any light source. Fruiting vegetables (tomatoes, peppers, cucumbers) won’t produce flowers or fruit without enough energy. Leafy greens become tough and bitter.
How to Avoid It
Track your light: Before planting, observe your space for a full day. Note when direct sun hits and when shadows appear. An hour in the morning plus an hour in the evening doesn’t equal 2 hours of useful light.
Match plants to conditions: If you have 4 hours of sun, grow what thrives in 4 hours—lettuce, spinach, herbs, arugula. Don’t force a tomato into conditions it can’t succeed in.
Use reflective surfaces: White walls, mirrors, and reflective mulch can bounce meaningful extra light onto nearby plants. On my north-facing balcony, I line the back wall with aluminum foil during March-April to bounce extra light onto seedlings — it is crude but it works, and it costs nothing. Every bit helps in marginal conditions.
Maximize what you have: Place sun-loving plants at the front/edge of your space and shade-tolerant plants behind them.
Mistake #4: Using Garden Soil in Containers
Soil is soil, right? If it grows plants in the ground, it should work in pots. This logic is so intuitive—and so wrong.
Why It Happens
- Garden soil is free (or cheap)
- It looks and feels the same as potting mix
- It works in the ground, so why not?
- “Potting mix” sounds like a marketing gimmick
The Damage
Garden soil compacts in containers, blocking airflow to roots. It holds too much water in some spots and not enough in others. It contains weed seeds, soil-borne diseases, and insects. What works in a garden bed fails completely in the constrained environment of a pot.
Signs of this mistake: Water pools on the surface instead of soaking in. Soil shrinks from container edges when dry. Plants wilt despite regular watering. Weeds sprout everywhere.
How to Avoid It
Always use potting mix for containers: Real potting mix contains ingredients like peat moss, perlite, and vermiculite that maintain the loose, well-draining structure containers require — the University of Wisconsin Extension’s guide to growing vegetables in containers explains why that structure matters.
Make your own: Equal parts peat moss (or coco coir), perlite, and compost creates an excellent homemade potting mix at lower cost. For the full recipe and bulk-buying strategies, see our budget gardening guide.
Check bag labels: “Garden soil” and “topsoil” are NOT the same as “potting mix” or “container mix.” Read labels carefully.
Mistake #5: Ignoring Drainage
You found the perfect decorative pot to match your balcony décor. There’s no drainage hole, but you’ll just water carefully, right? Wrong.
Why It Happens
- Decorative pots often lack holes
- Holes in balcony containers “make a mess”
- “Drainage layers” of rocks seem like a solution
- Careful watering feels like it should work
The Damage
Without drainage, water accumulates at the bottom of containers. Roots sit in stagnant water and rot. The “drainage layer” myth—adding rocks or gravel to the bottom—actually makes things worse by creating a perched water table that keeps the root zone wetter than it would be without the rocks; Illinois Extension’s container drainage guide walks through the soil-physics of why.
How to Avoid It
Always ensure containers have drainage holes: Every pot needs at least one hole in the bottom. If you find a perfect pot without one, use a masonry drill bit to add holes yourself.
The Cachepot Method: Use the decorative pot as an outer container (cachepot). Place a slightly smaller functional pot with drainage inside it. Remove the inner pot to water, let it drain completely, then return it to the decorative container. For specific container recommendations, see our equipment guide with price breakdowns for every option.
Mistake #6: Neglecting to Feed Container Plants
Plants growing in the ground can send roots deep to find nutrients. Container plants are stuck with whatever’s in their pot—and that supply depletes quickly.
Why It Happens
- We assume potting mix has enough fertilizer for the season
- We forget to fertilize because the plant looks healthy initially
- Over-fertilizing fear leads to under-fertilizing reality
- The connection between feeding and fruiting isn’t always clear
The Damage
Nutrient deficiencies cause stunted growth, yellowing leaves, poor flowering, and minimal fruiting. A tomato plant can’t produce tomatoes without adequate nutrition. Heavy feeders (tomatoes, peppers, squash) can deplete container nutrients in just 4-6 weeks.
How to Avoid It
Start with slow-release fertilizer: Mix granular slow-release fertilizer into your potting mix at planting time. This provides a steady base of nutrition for 3-4 months.
Supplement with liquid fertilizer: Once flowering and fruiting begin, feed every 1-2 weeks with half-strength liquid fertilizer to provide the extra energy required for production. For a complete nutrient strategy using kitchen scraps, see our budget gardening guide.
Mistake #7: Waiting Too Late to Start
You wait until it’s “perfect gardening weather” in late June to plant your garden. By the time your plants are ready to produce, the season is ending or the heat is too intense for young seedlings.
Why It Happens
- Spring weather in cities can be unpredictable
- We don’t realize how long some vegetables take to mature
- Gardening isn’t on our minds until we see others doing it
- The “nursery rush” happens all at once in May
The Damage
Plants like tomatoes and peppers need a long, warm season to produce fruit. Starting late means you might only get a few weeks of harvest before frost. Late-planted seedlings also struggle more in the intense July heat than those established in late spring.
How to Avoid It
Know your last frost date: Find out the average last frost date for your city. Plan to have your cold-tolerant plants (greens, peas) out 2-4 weeks before that, and heat-lovers (tomatoes, peppers) out 1-2 weeks after.
Use your windowsills: Start seeds indoors 6-8 weeks before your outdoor planting date to give your garden a massive head start.
The One Tool That Catches Overwatering Early
Overwatering is the mistake I see trip up first-year gardeners more than any other, and it works fast — it suffocates roots, encourages fungus gnats and damping-off, and washes nutrients out of the potting mix before the plant can use them. The cheapest fix is a basic moisture meter: insert the probe a few inches into the soil and, if it reads moist, skip watering no matter how dry the surface looks. I keep one on my indoor grow shelf and another out on the balcony, and they have saved more seedlings than I can count. Browse moisture meters on Amazon. As an Amazon Associate I earn from qualifying purchases.
How do I know if I’m overwatering my plants?
Use the finger test: insert your finger 2 inches into the soil. If it feels moist, don’t water. Signs of overwatering include yellow lower leaves, wilting despite wet soil, fungus gnats flying around containers, and a musty smell from the soil. Water deeply but less frequently rather than a little bit every day.
What size container do I need for tomatoes?
Tomatoes need a minimum 5-gallon container, but 7-10 gallons is ideal. A tomato in a 10-gallon container produces noticeably more fruit than the same variety cramped into a 5-gallon pot. The extra soil volume provides insurance against heat stress and missed waterings. Food-grade 5-gallon buckets work perfectly as a budget option.
Can I use rocks at the bottom of pots for drainage?
No, this is a common myth. Adding rocks or gravel to the bottom actually makes drainage worse by creating a perched water table that keeps the root zone wetter. Every container needs drainage holes drilled in the bottom. Fill with potting mix from bottom to top without any drainage layer.
How often should I fertilize container plants?
Start with slow-release granular fertilizer mixed into soil at planting (feeds 3-4 months). Once flowering begins, supplement with liquid fertilizer every 1-2 weeks at half strength. Heavy feeders like tomatoes and peppers need more frequent feeding. Watch for yellow leaves as a sign of nutrient deficiency.
Why are my container plants wilting in the afternoon?
Afternoon wilting usually means the container is too small or it’s too hot. Small containers dry out rapidly in summer heat. Check soil moisture first—if dry, water immediately. If soil is moist, the plant may be root-bound and needs a larger container. Consider moving containers to a location with afternoon shade during extreme heat.