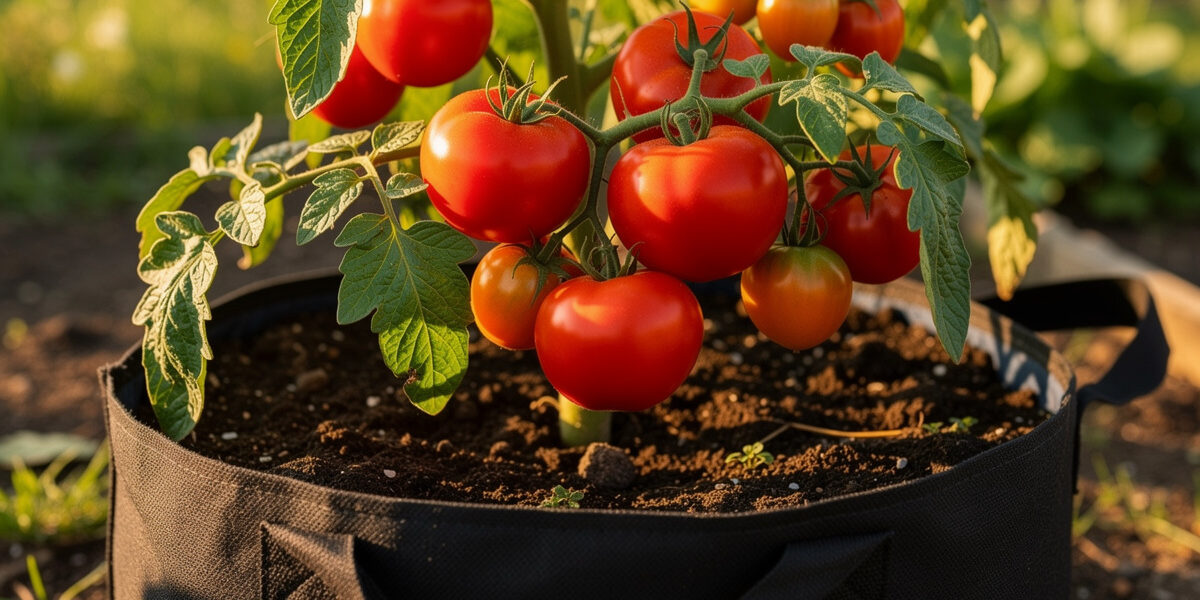
Tomatoes reward properly formulated potting soil with noticeably better yields than they manage in dense garden soil crammed into a pot. The difference comes down to drainage, calcium availability, and root oxygen. Blossom end rot, the most common tomato problem in containers, traces back to a localized calcium shortage in the fruit — usually driven by inconsistent moisture and insufficient root space rather than a lack of calcium in the soil itself, as University of Maryland Extension explains. This guide provides specific soil recipes for determinate patio tomatoes and indeterminate full-season producers.
As an Amazon Associate I earn from qualifying purchases.
Why Tomatoes Need Special Soil
Tomatoes are heavy feeders that demand consistent nutrition throughout their 60-90 day fruiting cycle, drawing more potassium out of a container than almost anything else I grow on the balcony. Standard bagged potting soils carry a starter fertilizer charge that runs out within 4-6 weeks, leaving plants malnourished during critical flowering and fruit development stages — exactly when the demand peaks.
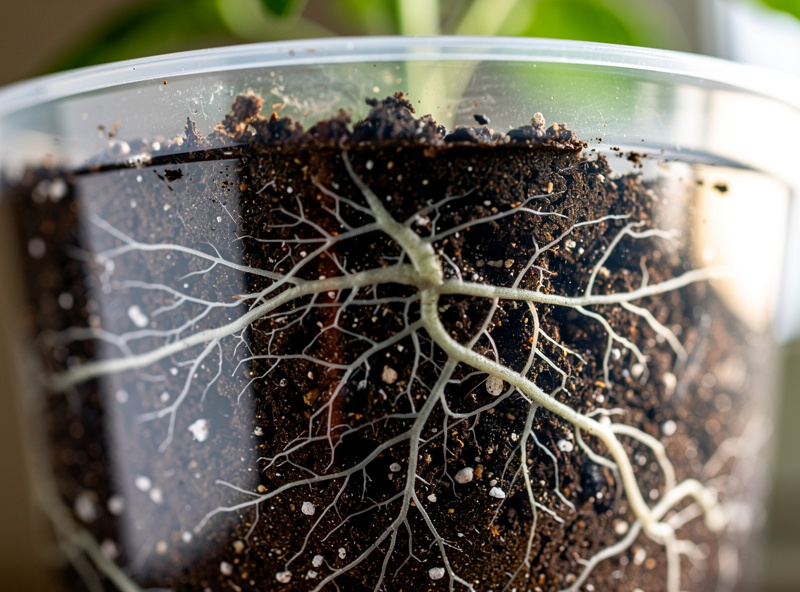
Beyond nutrition, tomato roots need oxygen. These plants evolved in well-drained mountain soils in South America, not waterlogged river bottoms. When roots lack oxygen, calcium uptake decreases even when calcium is present in the soil. This is why overwatered tomatoes develop blossom end rot despite appearing well-fed. Soil structure affects nutrient availability as much as nutrient content itself.
Container Tomato Soil Recipe
Container tomatoes need a balance between moisture retention and drainage: a mix that stays evenly moist after watering yet still lets air back into the root zone within an hour or two. That balance rarely occurs in standard potting soils, which prioritize moisture retention over aeration and slump into a wet slab by midsummer.
For a 5-gallon container, combine: 4 gallons peat moss or coco coir, 2 gallons perlite, 2 gallons compost, 1/2 cup bone meal, 1/2 cup kelp meal, and 1/4 cup lime. This recipe provides slow-release phosphorus for root development and flowering, calcium to prevent blossom end rot, and potassium for fruit quality. Mix thoroughly before planting and amend with water-soluble fertilizer every 2 weeks during fruiting.
Preventing Blossom End Rot
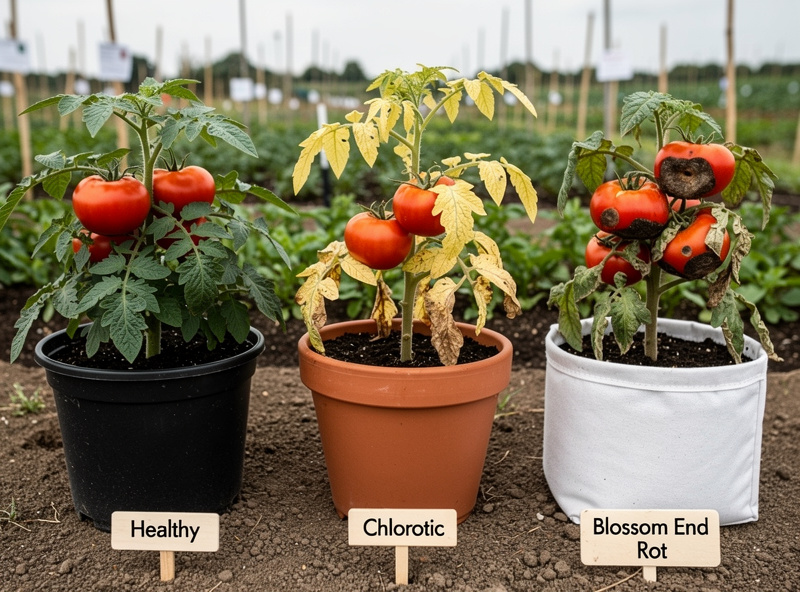
Blossom end rot appears as dark, sunken spots on the bottom of tomatoes, making fruit inedible. The cause is calcium deficiency in developing fruit tissue, not overall soil calcium. Calcium moves through plants via water transport, so inconsistent watering interrupts this flow even when soil calcium is adequate.
Prevent blossom end rot by maintaining even soil moisture. Mulch container tomatoes with 2 inches of straw to reduce temperature fluctuations that stress roots. Water when the top 2 inches of soil feel dry, not on a fixed schedule. If blossom end rot appears, resist the urge to reach for a calcium spray — Clemson Extension notes that foliar calcium sprays do little, because the fruit moves calcium through its own water flow; steadying your watering is what actually stops it.
Essential Amendments for Tomato Soil
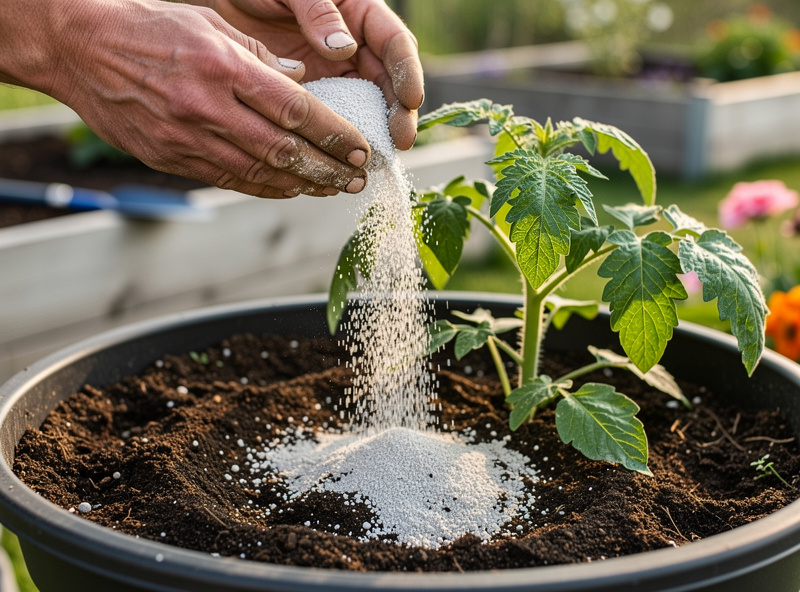
I keep three amendments on hand for tomato containers and add them at planting time — once the season starts, the window for working them into the root zone closes. Bone meal provides slow-release phosphorus critical for flower and fruit development. Tomatoes need phosphorus during both vegetative growth and flowering, but standard fertilizers often deplete phosphorus before fruit sets. Add 1 cup of bone meal per cubic foot of potting mix for season-long availability.
Lime raises soil pH and provides calcium simultaneously. Tomatoes prefer slightly acidic soil (pH 6.2-6.8), where calcium remains available for root absorption. Add 1 tablespoon of hydrated lime per gallon of potting mix if your soil test indicates pH below 6.0. Peppers share similar soil preferences and benefit from the same amendments.
Kelp meal adds potassium and 60+ trace minerals that improve tomato flavor and disease resistance. Unlike synthetic potassium chloride, kelp potassium is bonded to organic matter that releases slowly over the growing season. This prevents salt buildup that damages fine root hairs.
Matching the Mix to the Container Type
The same recipe behaves very differently depending on what you pour it into, and this is where most container-tomato advice falls apart. I have run the same determinate cherry variety in plastic pots, terracotta, fabric bags, and my self-watering setups side by side on the balcony, and each container wants the base mix nudged in a different direction. University of New Hampshire Extension recommends a minimum of five gallons and 12 to 18 inches of depth per plant regardless of container style, and warns that container tomatoes may need water once or even twice a day in peak summer — the mix adjustments below are about managing exactly that.
| Container | How it dries | Mix adjustment | My July watering rhythm |
|---|---|---|---|
| Plastic pot | Slowly, from the top only | Push perlite up to 30% so the bottom third never goes anaerobic | Every 2-3 days |
| Terracotta | Through the walls as well as the top | More coir, slightly less perlite — the pot itself provides the air exchange | Every 1-2 days |
| Fabric grow bag | From every surface at once | Richest blend: extra compost and worm castings to buffer the fast drying | Daily in a warm spell |
| Self-watering planter | Barely — the reservoir wicks constantly | Higher coir fraction so the wick actually pulls; skip water-holding crystals | Top up reservoir twice a week |
The self-watering row deserves a note: the reservoir inserts I print for my planters only work if the mix wicks reliably, which means coir-heavy blends. A perlite-heavy mix breaks the capillary column and the top half of the pot stays dry while the reservoir sits full. Whatever the container, the base should be a soilless mix — Wisconsin Horticulture Extension is blunt that garden topsoil alone is a poor choice in pots, and my own compacted-slab failures back that up completely.
Seed-Starting Soil Is a Different Job Than the Final Pot
One mistake I made for two seasons running: sowing tomato seeds directly into the rich container mix above. Rich mixes are exactly wrong for germination. The compost fraction carries fungi that cause damping off, and the coarse perlite makes poor contact with a tiny seed. Seeds want a fine, low-nutrient, sterile seed-starting mix — the seedling lives off its own reserves for the first week or two anyway.
In my apartment the tomato season starts under the LED bar in the second half of March: seeds in a fine seed-starting mix, then potted up into a half-strength version of the container recipe once the first true leaves appear. By the time the plants move to the balcony after the last frost risk passes in late May, they are in the full-strength mix and have been hardened off over a week of gradually longer outdoor stints. That stepwise soil progression — sterile and lean, then moderate, then rich — produces stockier transplants than any single mix can, because the roots chase nutrition downward at each repotting instead of sitting comfortable.
Managing Soil Through the Growing Season
On my balcony I side-dress tomatoes every 3 weeks without fail — the difference between a plant that produces for 6 weeks and one that fades after 3 is whether the soil stays fed. Tomato soil quality declines as plants consume nutrients. Side-dress plants with 1/4 cup balanced organic fertilizer every 3 weeks during flowering and fruiting. Scratch the fertilizer into the top 2 inches of soil and water thoroughly.
At mid-season, inspect roots by gently sliding the plant out of its container. If roots circle the pot edge or form a dense mat, transplant to a larger container immediately. Circling roots indicate the plant has outgrown its space, which stresses plants and reduces fruit production regardless of soil quality.
At season end, do not reuse tomato soil for tomatoes or peppers the following year. Soil-borne diseases like Fusarium wilt and Verticillium persist in old soil and infect new plants. Instead, add old tomato soil to compost piles where beneficial microorganisms break down pathogens over 6-12 months.
Growing Tomatoes on a Balcony Through a Short Season
On my balcony through a Swedish summer, the tomato window is tight — roughly mid-May to mid-September, with nights still dipping below 10°C in early June. I grow determinate cherry varieties because they set fruit in one concentrated flush that finishes before the autumn chill shuts everything down. The soil strategy changes with that short season: I mix my containers richer than the standard recipe — an extra half-cup of kelp meal and a full cup of worm castings per 5-gallon pot — because the plants do not have 90 days to coast on slow-release fertilizer. They need everything available fast, and the richer mix delivers.
Weight matters on a balcony too. A 10-gallon tomato container with saturated soil can weigh 80 pounds. I run fabric grow bags for my tomatoes specifically because they drain faster than plastic pots and weigh less when wet — the water exits the sides, not just the bottom. More drainage means I water slightly more often (every other day in July instead of every third day), but the root zone stays oxygenated, and I have not seen blossom end rot in three seasons since switching. For determinate patio tomatoes, a 5-gallon fabric grow bag is the sweet spot — enough root room, light enough to move if a storm is coming, and the air-pruned roots never circle the pot the way they do in plastic.
Tomato Soil Mix for a Short-Season Container Garden
The tomato soil mix I use on my balcony is equal parts coco coir, perlite, and compost with a handful of worm castings per 5-gallon fabric pot. The coir drains fast enough that the roots never sit wet through a rainy July week, the perlite prevents compaction, and the compost provides a slow-release nutrient baseline that carries the plants through the first six weeks. By August I side-dress each pot with another handful of compost and the plants finish the season strong through September.
Why Bagged Potting Mix Fails Container Tomatoes
Bagged potting mix is mostly peat and perlite with a starter charge of synthetic fertiliser that runs out after three to four weeks. The peat compacts with daily watering and by mid-summer the mix has collapsed into a dense slab that roots cannot penetrate. Building your own mix with coir instead of peat prevents the compaction problem, and adding compost instead of relying on synthetic fertiliser means the nutrient supply lasts the entire season. If you are weighing up bagged options anyway, the distinction that actually matters is potting soil versus garden soil — the two are not interchangeable in a pot, whatever the bag art implies.
What I Do With Tomato Soil at Season’s End
Every October I face the same question: eight fabric bags of spent tomato mix, and no garden to dump them in. Throwing it away is wasteful and hauling fresh mix up to a balcony every spring gets old fast, so my routine is a compromise that respects the disease problem without pretending it does not exist.
Mix that grew healthy tomatoes gets recycled — but never back into tomatoes or peppers. Fusarium and Verticillium wilt fungi persist in spent media, so that soil moves to my salad and herb containers the following spring, refreshed roughly half-and-half with new compost to restore the nutrients and structure the tomatoes consumed. Extension horticulturists commonly suggest this kind of 50:50 refresh for reused media, because the organic fraction physically breaks down over a season and loses the aeration that made it work. Mix from any plant that showed wilt, root rot, or leaf disease is different: that goes into the hot compost where months of microbial activity deal with it, and the container itself gets scrubbed and disinfected before reuse — a soak in dilute bleach is the standard extension recommendation for pots that held diseased plants.
The one thing I never do is top off last year’s tomato bag with fresh mix and replant a tomato in it. It works for exactly one season — until the year it does not, and you lose a July plant to wilt with no time left to restart. On a 100-day growing season, that gamble is not worth the cost of new coir.
Frequently Asked Questions
What is the best potting soil for tomatoes in containers?
Combine 4 gallons peat moss or coco coir, 2 gallons perlite, 2 gallons compost, 1/2 cup bone meal, 1/2 cup kelp meal, and 1/4 cup lime per 5-gallon container. This provides drainage, nutrition, and calcium to prevent blossom end rot throughout the growing season.
Why are my tomatoes getting blossom end rot?
Blossom end rot is caused by calcium deficiency in developing fruit tissue, usually from inconsistent watering rather than low soil calcium. Calcium moves through plants via water transport, so fluctuating moisture interrupts this flow. Maintain even soil moisture with mulch and consistent watering schedules.
Can I use garden soil for tomato containers?
Garden soil compacts in containers and harbors soil-borne diseases that kill tomato plants. Use a soilless potting mix with perlite for drainage. Add compost at 30% volume for nutrition, and amend with bone meal and kelp meal for phosphorus and potassium.
How often should I fertilize tomato containers?
Apply balanced organic fertilizer every 2 weeks during vegetative growth, then switch to lower-nitrogen fertilizer when flowering begins. Overfertilizing with nitrogen produces lush foliage but few fruits. Consistency matters more than concentration.
What pH do tomatoes need in containers?
Tomatoes thrive in slightly acidic soil with pH between 6.2 and 6.8. Within this range, calcium and phosphorus remain available for root absorption. Test soil pH monthly and adjust with lime (to raise) or sulfur (to lower) as needed.
How big should containers be for tomatoes?
Determinate patio tomatoes need at least 5 gallons per plant. Indeterminate full-season tomatoes need 15-20 gallons for adequate root development. Larger containers reduce watering frequency and temperature stress on roots during hot weather.
Should I add perlite to tomato soil?
Yes, add 20-30% perlite by volume to tomato potting soil. Perlite prevents compaction, improves drainage, and adds air space that tomato roots need for oxygen. Without perlite, standard potting soils stay too wet between waterings.