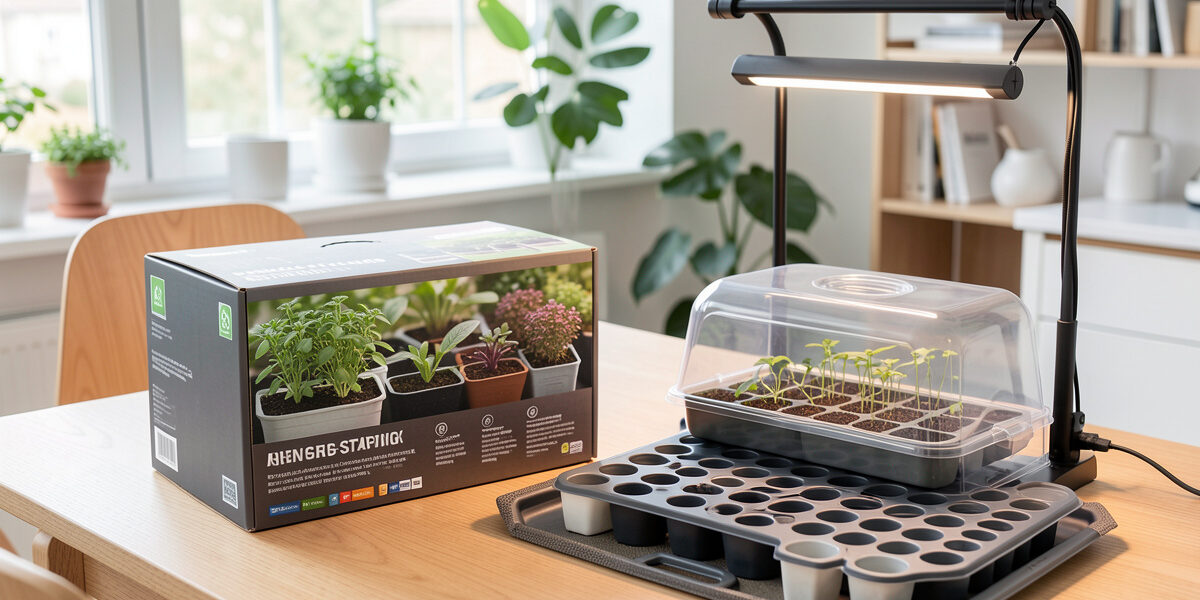
Buy a seed-starting kit for your first season to skip decision paralysis; build your own the moment you know what you actually use, because a from-parts setup costs less per season and performs better. The best boxed kits bundle a tray, cells, and a dome into one tidy purchase — but they almost never include the grow light a Nordic winter demands, and the bundled parts are usually the cheapest version of each.
I have bought the kits and I have built the shelf, and my honest verdict is that a kit is a fine on-ramp and a poor destination. For a beginner staring at a wall of separate components, one box removes the paralysis and gets seeds sown. But once you have a season behind you, you will find yourself replacing the flimsy parts and adding the light that mattered all along. Here is exactly what a kit gets right, where it falls short, and the parts list I would build instead.
What’s Actually in a Seed-Starting Kit?
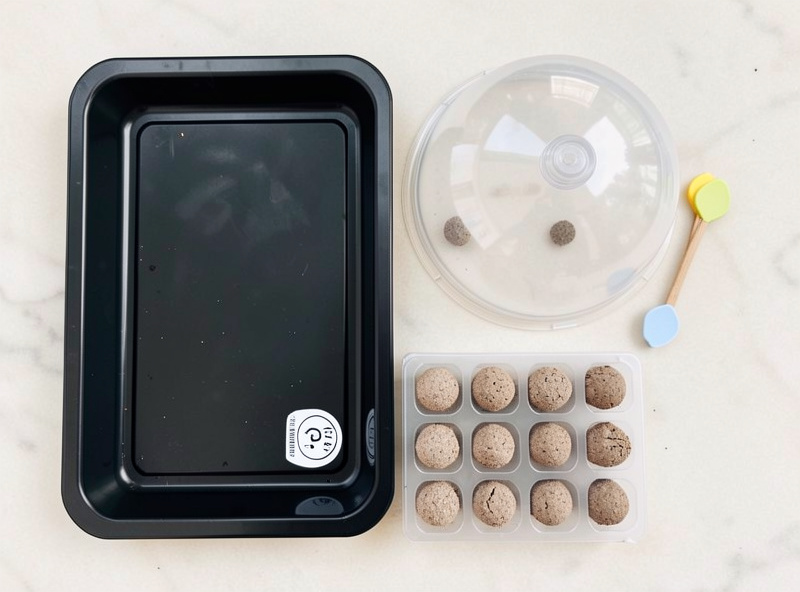
A typical boxed kit contains a solid base tray, a cell insert or a set of peat pellets, a clear humidity dome, and usually some plant labels. Better kits add a small heat mat; the best add a modest grow light. That covers three of the five jobs a seed-starting setup needs to do — a container, a moisture buffer, and sometimes bottom heat — which is why a kit works well enough to get a beginner germinating.
What it almost always leaves out is the medium and the light. Kits rarely include a decent seed-starting mix, and the ones that do lean on a few peat pellets that run out fast. And the light — the single most important piece in a dark Nordic winter — is missing from most kits entirely, or included as a token panel too weak to stop seedlings stretching. So the kit gets you sowing, but it quietly skips the two things that most determine whether your seedlings thrive. For the full breakdown of those five jobs, see my seed-starting equipment list, and note how much of it a kit does not cover.
Should You Buy a Kit or Build Your Own?
Buy a kit if this is your first sowing and you want one decision instead of ten; build your own if you know your crops and plan to keep growing. The kit’s real value is not the parts — it is the removal of choice paralysis. When you have never done this, deciding between cell sizes, mat wattages, and dome types is genuinely overwhelming, and a curated box gets you past it to the part that teaches you most: actually sowing seed.
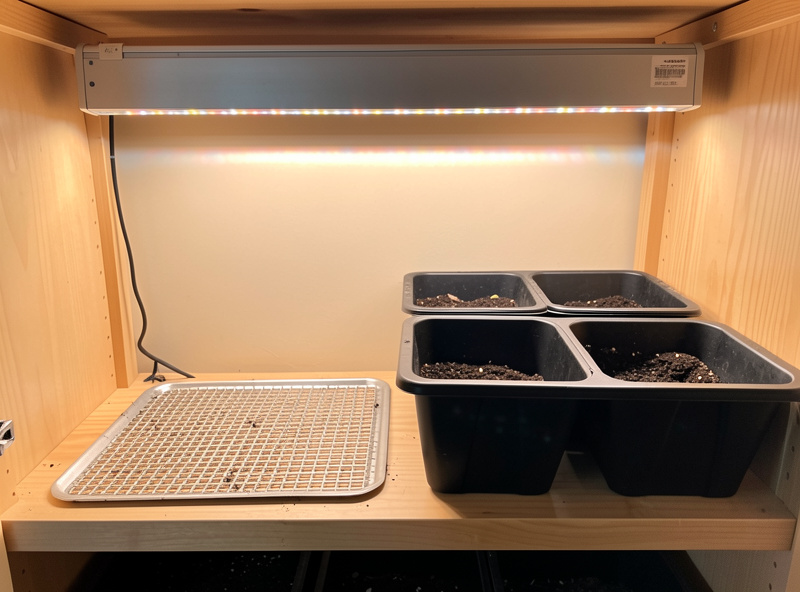
But the economics flip fast. A kit’s parts are chosen to hit a price, so the tray is thin, the dome is basic, and the pellets are a recurring cost. My built-from-parts setup cost a little more up front and then costs almost nothing per season: sturdy trays I reuse for years, a mat and thermostat, my own medium, and an LED bar doing the heavy lifting. After the first season, building wins on both cost and results. The same buy-or-build logic applies to microgreens, which I worked through in my microgreens growing kit guide — the conclusion there is the same: the bundle is a starting point, not the setup you keep.
| Factor | Boxed kit | Build your own |
|---|---|---|
| Up-front cost | Lower (150–500 kr) | Higher (600–1500 kr) |
| Cost per season after | Higher (pellets, replacing thin parts) | Very low (reuse + electricity) |
| Grow light included | Rarely, or too weak | You choose a proper bar |
| Part quality | Cheapest version of each | You pick durable pieces |
| Decision effort | None — one box | You research each part |
| Best for | First season, gift, trying it out | Anyone continuing past year one |
What I’d Put in a Built-From-Parts Setup
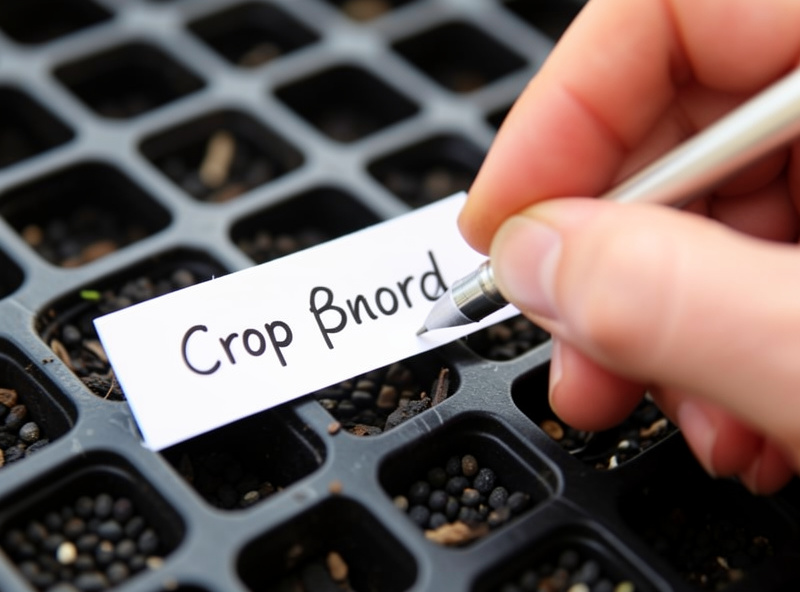
My build list is short and every piece is chosen to last. A couple of solid 1020 base trays and durable cell inserts, sized to my crops; a waterproof heat mat with a separate digital thermostat; a full-spectrum LED grow bar; a bag of fine seed-starting medium or the ingredients to mix my own; a humidity dome for the fine-seed sowings; and plant labels. That is the whole shelf, and most of it I buy once.
The order of priority matters if you are spending gradually. I would buy the light first — in a Nordic winter it is the difference between sturdy seedlings and leggy failures, no matter how good the rest is. Then durable trays, because the thin ones are a false economy I cover in seed-starting trays with drainage. Then the mat and thermostat for warm-season crops, choosing them with the guidance in best seedling heat mat. The dome comes last and cheapest — for many growers it is optional, as I explain in humidity dome for seed starting. You can source the whole list from an Amazon search for a seed-starting kit with a grow light and heat mat, but I would price the parts separately too — the bundle is rarely cheaper once you spec it properly.
As an Amazon Associate I earn from qualifying purchases.
The Mistakes That Make a Kit a Waste of Money
The kit itself is not the problem; using it wrong is. The first mistake is expecting the kit to be complete — buying the box, sowing peppers on a cold windowsill with no light, and blaming the seed when the seedlings stretch and flop. The kit is a container system, not a growing system; the light and the warmth are on you. The second is running the bundled pellets as if they were free — they are a recurring cost, and a bag of medium plus reusable cells is cheaper within two sowings.
The third mistake is the one I made: buying a bigger, fancier kit than my space justified. A four-tray kit on a two-tray windowsill is money and shelf space wasted, and half of it sat empty every season. Buy for the sowing you actually do, not the garden you imagine. What I would do starting today: if you have never sown a seed, buy a modest kit, add a proper light, and learn on it for a season — then build the durable version from the parts list above and never buy a kit again. The kit teaches you what you need; the build is what you keep. For the wider shelf that surrounds it, my indoor gardening essentials covers the rest of a working setup.
Why Most Kits Fail a Nordic Winter Specifically
Most seed-starting kits are designed around an assumption that quietly breaks up north: that a bright windowsill will supply the light. That assumption is fine in a British spring or a Californian February. It is wrong in Stockholm in January, where the sun gives a few hours of weak, low-angle light and a windowsill delivers a fraction of the intensity a seedling needs. So a grower who buys a light-less kit and follows the instructions gets exactly what the instructions promise — germinated seed — and then watches it stretch, pale, and flop, because the growing part needs a light the kit never mentioned.
This is the core reason I tell northern growers to treat any kit’s parts list as incomplete. The kit solves germination — the tray, the dome, sometimes the heat — and germination is the easy part. The hard part in a Nordic winter is the eight to ten weeks of growth after germination, in a season with almost no natural light, and no boxed kit I have seen ships a light strong enough to carry that. A cheap “grow light” clip lamp in a kit is often worse than useless: it looks like a solution and produces stretched seedlings anyway. Judge the light by spectrum and intensity, not by its presence in the box.
What I’d Add to Any Kit on Day One
If you buy a kit, three additions turn it from a starter box into a setup that actually works. First, a proper full-spectrum LED grow bar — the single most important upgrade, and the one the kit almost certainly skipped. Second, a bag of fine seed-starting medium, so you are not rationing a handful of pellets and can sow into cells with the mix you control. Third, a thermostat if the kit included a bare heat mat, because a mat with no controller is a liability rather than a help.
Those three additions cost more than the kit did, which tells you something honest about where the value actually sits. The tray and dome in the box are the cheap, easy parts; the light, the medium, and the temperature control are the parts that grow the plant, and they are the parts kits skimp on or skip. Add them and a modest kit becomes a real setup. Skip them and the prettiest kit on the shelf still gives you leggy failures on a dark windowsill.
Is a seed-starting kit worth buying?
For a first season, yes. A kit removes the paralysis of choosing individual components and gets you sowing quickly. Beyond the first year, a built-from-parts setup usually costs less per season and performs better, because kit parts are the cheapest version of each and rarely include a proper grow light.
What should a good seed-starting kit include?
At minimum a solid base tray, cell inserts or pellets, and a humidity dome. Better kits add a heat mat, and the best add a grow light. Most kits leave out a decent medium and an adequate light, which are two of the most important pieces, so check for those before buying.
Do seed-starting kits come with a grow light?
Usually not, or only a weak token panel. This is the biggest gap in most kits, especially for northern growers where winter daylight is far too weak for seedlings. Budget for a proper full-spectrum grow light separately regardless of what the kit includes.
Is it cheaper to build your own seed-starting setup?
Over time, yes. A built setup costs more up front but very little per season, because you reuse durable trays and mix your own medium. A kit costs less initially but adds recurring costs through pellets and replacing thin parts, so building wins after the first season.
What size seed-starting kit should I buy?
Buy for the sowing you actually do, not the garden you imagine. A large multi-tray kit on a small windowsill wastes money and space and sits half empty. A single or double tray suits most apartment growers who sow in waves.