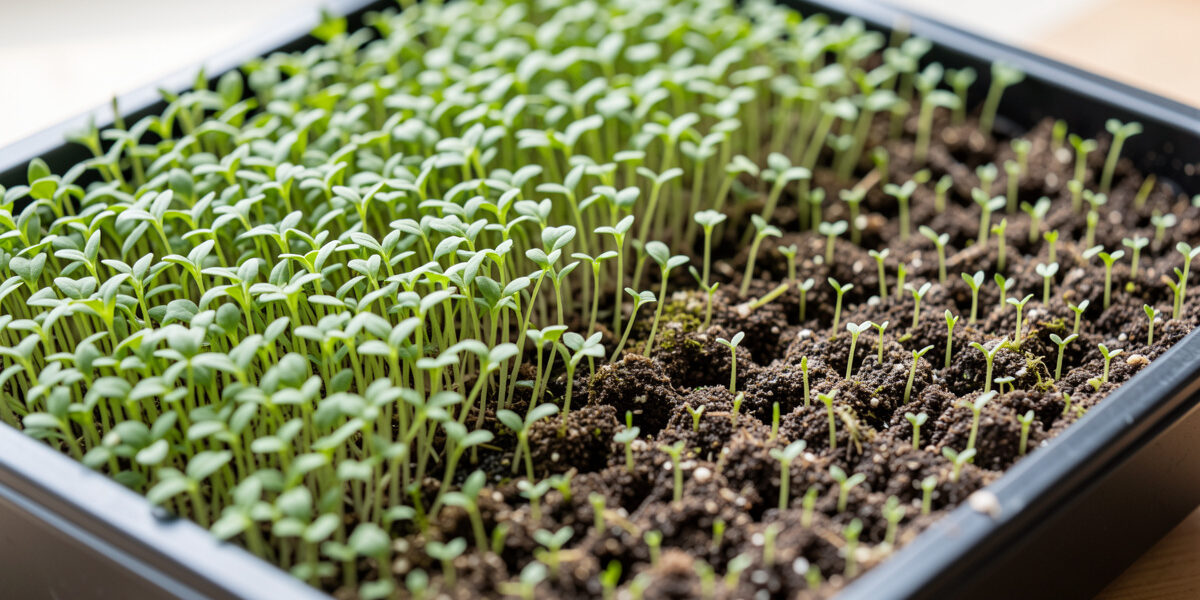
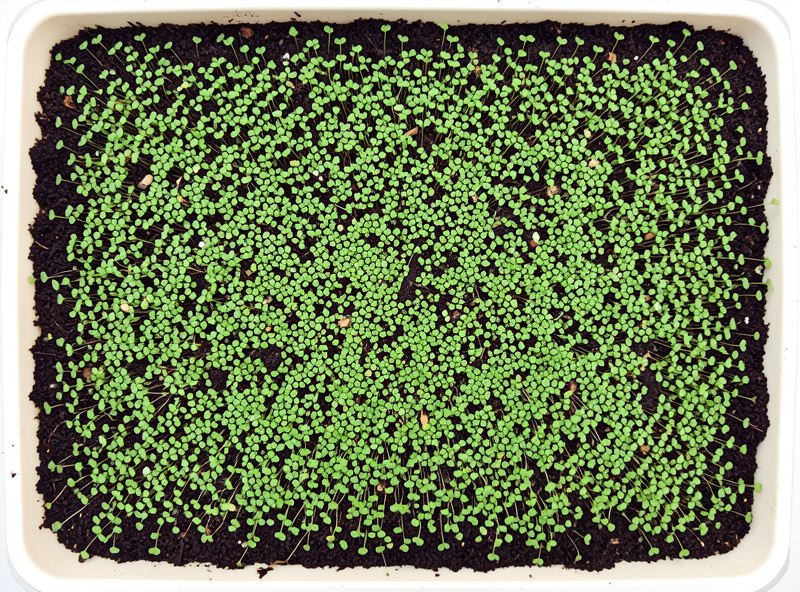
Microgreens germinate unevenly for three fixable reasons: seed sown in clumps and gaps, dry pockets in the medium, and skipping the two techniques that solve both — pre-soaking large seed and weighting the tray during germination. Get even seed contact against consistently moist medium under a little pressure, and the whole tray comes up together in a uniform push instead of straggling in over a week.
Patchy germination is the failure that makes a tray look amateur — thick jungle in one corner, bare soil in another, a few stragglers limping up days behind the rest. It’s also one of the easiest to fix once you understand it’s almost never the seed’s fault and almost always a contact-and-moisture problem. I sow trays on my microgreen shelf most weeks of the year, and the difference between my even trays now and the scattered ones I got when I started comes down to two cheap habits I’ll walk you through. Neither costs anything; both just take a little discipline at sowing.
Why Do Microgreens Germinate Unevenly?
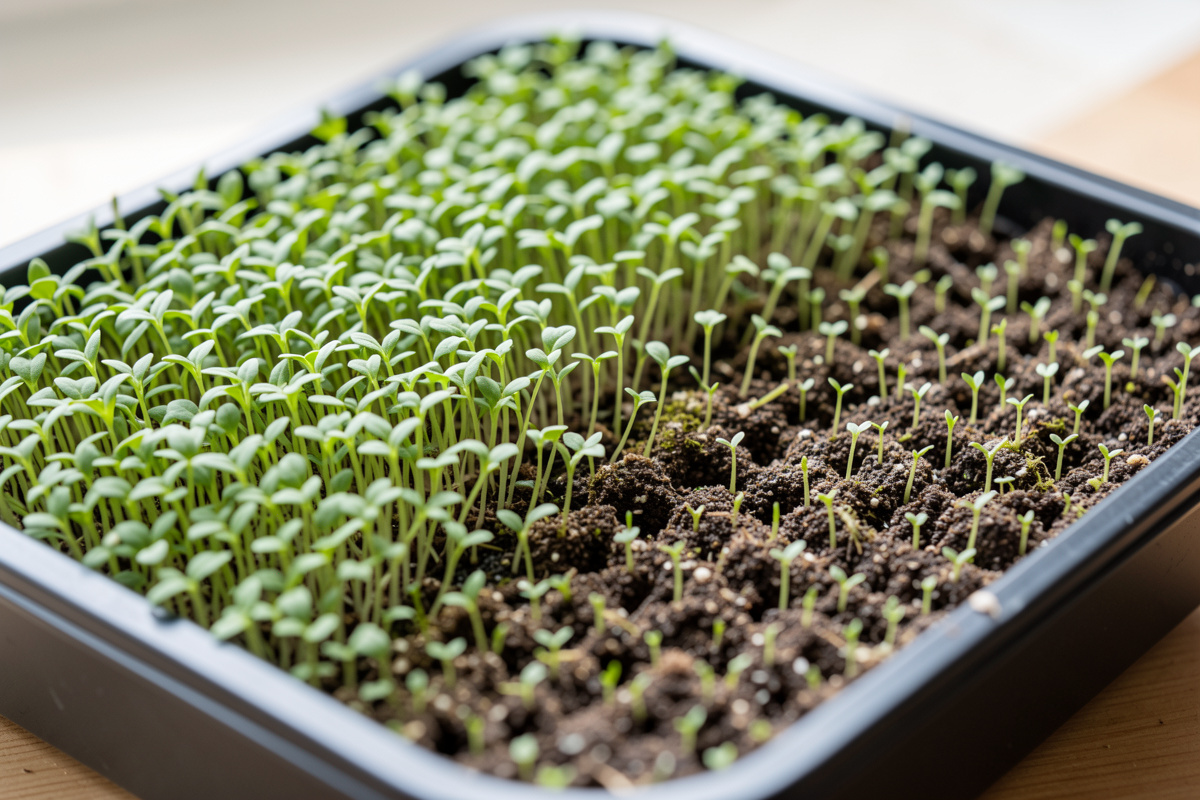
Uneven germination comes down to inconsistent seed-to-moisture contact. Where seeds sit in a clump, they compete and germinate erratically; where the medium has a dry pocket, seeds sit and wait; and where a big seed sits on the surface without firm contact, it germinates on its own lazy schedule. The whole tray only comes up together when every seed has the same firm contact against the same evenly moist medium.
Think about what a germinating seed needs: moisture, contact, and warmth. Broadcast seed unevenly and you get patches that are too crowded to germinate cleanly next to patches with nothing. Let one area of the medium dry out — a common problem near the tray edges or if the surface was uneven — and those seeds pause until they get moisture. And a large seed like a pea or sunflower, dry and sitting proud on the surface, has to imbibe a lot of water before it moves, so it lags behind smaller seed that hydrates fast. Stack those three effects and you get the classic patchy tray.
The good news is none of that is bad luck. It’s all controllable at sowing, and once you control it, even trays become the default rather than the exception. This is one branch of my wider microgreens troubleshooting guide — and the branch where a little front-end effort saves the most frustration later.
Which Microgreen Seeds Need Soaking First?
Large, hard-coated seeds benefit most from pre-soaking: peas, sunflower, beet, chard, nasturtium, and cilantro. Soaking for 4 to 12 hours before sowing lets these big seeds imbibe water and start the germination process together, so they emerge uniformly instead of straggling. Small seeds like broccoli, radish, kale, and mustard don’t need soaking and can turn gluey if you try.
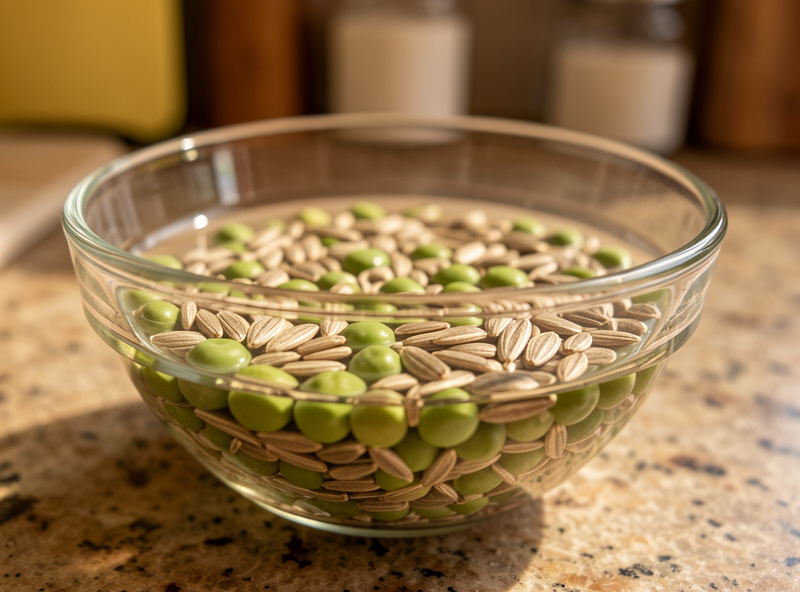
The reason is size and coat. A big seed has to absorb a lot of water relative to its surface area before the embryo activates, and a hard seed coat slows that further. Soaking front-loads the water uptake so all the seeds cross the starting line at once. On sunflower especially, the difference is night and day — a soaked sunflower tray comes up in a tight, even flush; a dry-sown one dribbles up over days with hulls stuck all over. I soak peas and sunflower routinely, usually overnight while I sleep, then drain and sow in the morning.
The small mucilaginous seeds are the exception you must not soak. Chia, basil, cress, and arugula form a gel coat when wet and become impossible to spread evenly if you soak them — they clump into a slimy mass. Those get sown dry onto moist medium. And soaking has a limit even on the big seeds: too long, over a day, and you risk the seed going anaerobic and sour in the water, which drops your germination. Match the soak to the seed and don’t overdo it. My list of the easiest microgreens for beginners flags which crops are forgiving if you’re still learning the timings.
How Does Weighting the Tray Fix Germination?
Weighting presses every seed into firm, even contact with the medium and holds moisture at the surface during germination. After sowing, you stack a second tray on top with a weight in it — a brick or a couple of full water bottles — and leave it through the first days of the blackout. The pressure forces uniform seed-to-soil contact so the whole tray germinates together, then lifts the top tray as it grows.
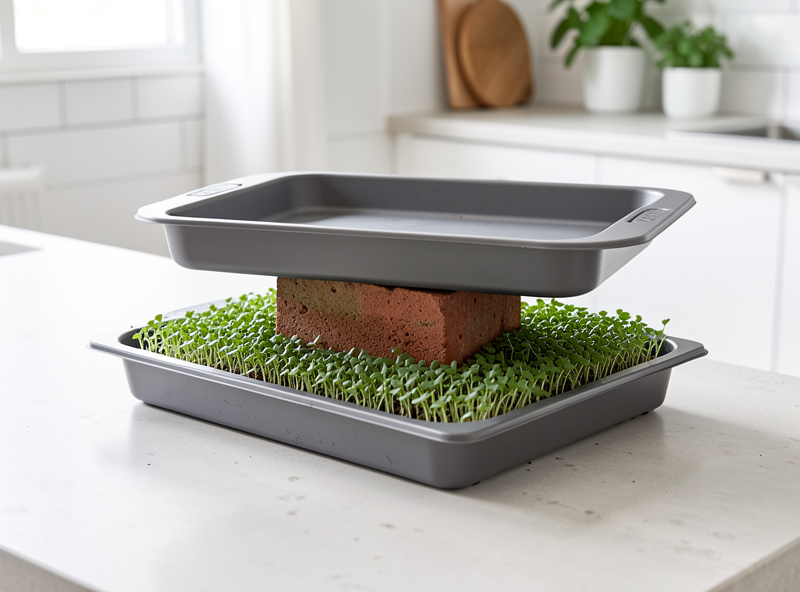
This is the trick beginners skip and pros never do, and it does two jobs at once. First, contact: the weight pushes seeds that were sitting loose down into the moist medium, eliminating the surface-sitting seeds that lag. Second, moisture: a covered, weighted tray holds humidity right at the seed layer so nothing dries out during those critical first days. The result is a uniform push — on peas and sunflower the whole mat rises together and lifts the weighted tray clean off in a couple of days, which is genuinely satisfying to see.
There’s a bonus: the resistance builds sturdier stems. Crops pushing against a weight lay down thicker, stronger tissue, which is why weighting also helps with leggy microgreens — the same step doing double duty. When I skip the weight on a sunflower tray, I get a weaker, more sprawling stand that germinates less evenly. The one caution is not to over-weight tiny-seeded crops to the point they can’t push up; a moderate weight is plenty. I use a single brick in a spare 1020 tray and it’s never let me down. Sturdy, well-draining 1020 trays matter here because they need to take the stacked weight without bowing.
What Else Causes Poor Germination?
Beyond seeding and weighting, the usual culprits are old or low-quality seed, medium that’s too wet or too dry, and the wrong temperature. Microgreen seed is used at high density, so germination rate matters more than for regular sowing — even 85% germination looks patchy across a whole tray. Fresh seed, evenly moist medium, and a warm spot fix the rest.
Seed quality is the one people overlook because a scattered tray looks like a technique problem. But at microgreen density, a seed lot with mediocre germination shows every gap. I buy seed sold specifically for sprouting or microgreens, in quantities I’ll use while it’s fresh, and I keep it cool and dry between sowings. Old seed stored warm loses vigor and comes up thin and slow no matter how well you sow it — the wrong medium is covered in my best soil for microgreens guide, but the wrong seed is just as common a cause.
Temperature is the quiet variable. Most microgreens germinate best somewhere in the comfortable-room-temperature range; a cold windowsill in a Nordic winter can stall germination for days, which reads as “uneven” when really it’s “too cold and staggered.” I germinate on a shelf in the warm part of the kitchen, not against a cold outside wall. And moisture has to stay in the Goldilocks zone — a surface that dries mid-germination halts the seeds it dried out, while a swampy tray invites mold before the crop even establishes. Even, consistent moisture under a weight, at room temperature, with fresh seed: that’s the whole recipe.
How Do You Sow Microgreens Evenly?
Sow in two passes, in different directions, onto a level, pre-moistened surface. Spread half the seed moving one way across the tray, then the rest crossing at right angles — this breaks up the clumps that a single pass leaves. Level and pre-moisten the medium first so there are no high, dry spots, and mist the seed lightly after sowing to settle it before you weight the tray.
The two-pass, cross-directional broadcast is the manual skill that separates even trays from patchy ones. In one pass, your hand naturally drops seed heavier at the start and lighter at the end, and clumps land as clumps. Splitting the seed and crossing the passes averages all that out. I level the medium with the flat of my hand or the bottom of another tray first, because a lumpy surface germinates lumpily — the seed in the low spots sits wet, the seed on the peaks dries out.
Pre-moistening matters more than people think. Sowing onto dry medium and then watering pushes seed around and creates the very unevenness you’re trying to avoid; sowing onto already-moist, leveled medium means the seed stays where you put it. A light mist to settle the seed, then the weighted cover goes on, and you don’t disturb it again until the crop lifts the weight. Get this sowing routine consistent and even germination becomes automatic — it’s the foundation the whole microgreens setup is built on. For a non-commercial reference on seed handling and moisture, the University of Minnesota Extension microgreens growing guide is solid, and Johnny’s Selected Seeds keeps crop-by-crop soak and density notes in its guide to growing microgreens.
Why are my microgreens germinating unevenly?
Uneven germination comes from inconsistent seed-to-moisture contact: seed sown in clumps and gaps, dry pockets in the medium, and large seeds sitting loose on the surface. Sowing evenly onto level, moist medium and weighting the tray during germination fixes almost all of it.
Which microgreen seeds should I soak before sowing?
Soak large, hard-coated seeds like peas, sunflower, beet, chard, and cilantro for 4 to 12 hours so they hydrate and germinate together. Do not soak small mucilaginous seeds like chia, basil, cress, or arugula, which form a gel and clump when wet. Sow those dry.
Why do you weight microgreen trays during germination?
Weighting presses every seed into firm, even contact with the moist medium and holds humidity at the seed layer during the critical first days. The result is a uniform flush of germination. It also builds sturdier stems, since the crop pushes against the resistance.
How long should I weight a microgreen tray?
Keep the weight on through the first days of the blackout period, usually until the germinating crop pushes up and starts lifting the weighted tray, often two to four days depending on the crop. Then remove the weight and continue the blackout uncovered or lightly covered.
Why did only part of my microgreen tray sprout?
Usually a dry pocket in the medium, uneven seeding, or old seed. At the high density microgreens use, even good seed shows every gap. Pre-moisten and level the medium, sow in two crossing passes, weight the tray, and use fresh seed to get a full, even stand.