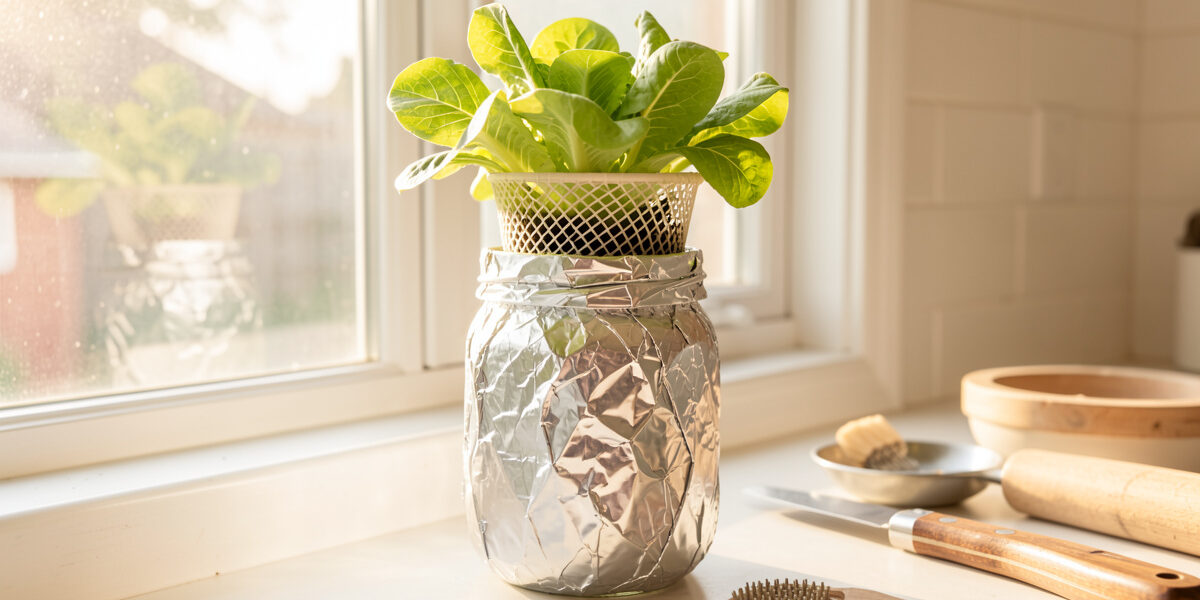
You can build a working hydroponic garden from a mason jar, a net cup, and a scrap of foil in about ten minutes, and grow a full head of lettuce in it with no pump and no electricity in the water. This is the cheapest possible entry to passive hydroponics — my first one cost me nothing but a spoonful of nutrients, because everything else was already in the kitchen. If you have been curious about growing food in water but did not want to buy a kit, this is the build that proves the whole idea to you tonight.
My very first passive grow was an ugly duct-taped jar on the windowsill next to my good glassware, and it grew a perfectly edible butterhead that I ate in a February salad. That contradiction — something that looked like a failed craft project producing real food — is exactly why I still hand people a jar rather than a diagram when they ask how hydroponics works. Here is the whole build, step by step, plus the two mistakes that account for nearly every failed first jar. It is the same “non-circulating” method Bernard Kratky published through the University of Hawaii’s College of Tropical Agriculture and Human Resources, just shrunk down to a single jar on a windowsill.
What Do You Need for a Mason Jar Hydroponic Build?
You need a widemouth mason jar, a net cup that fits its mouth, a bit of growing medium, hydroponic nutrients, a seed, and something opaque to wrap the glass. That is the whole list, and most of it you already own — the only thing you cannot improvise is the nutrients, because water and a jar cannot feed a plant on their own.
A widemouth jar matters because a standard 2 inch net cup drops neatly into the wide opening and rests on the lip. If you do not have a net cup, you can cut slots into a small plastic cup or melt a grid of holes into a yoghurt pot with a hot skewer — it looks rough but holds a lettuce fine. For medium, a rockwool cube or a pinch of clay pebbles works; the choice between them is covered in rockwool vs clay pebbles vs coir plugs, but for a first jar use whatever you can get. The one purchase I insist on is a complete hydroponic nutrient, because everything downstream depends on it — the reasoning is in hydroponic nutrients explained for first-timers. Foil, tape, or a sock over the jar handles the light-blocking. That is genuinely it.
How Do You Build a Kratky Mason Jar Step by Step?
The build is five steps: wrap the jar to block light, start a seed in your medium, sit the seedling in the net cup, mix and pH your nutrient solution, then fill so the water just touches the base of the cup. Do those in order and you have a working passive hydroponic system that needs nothing further until harvest.
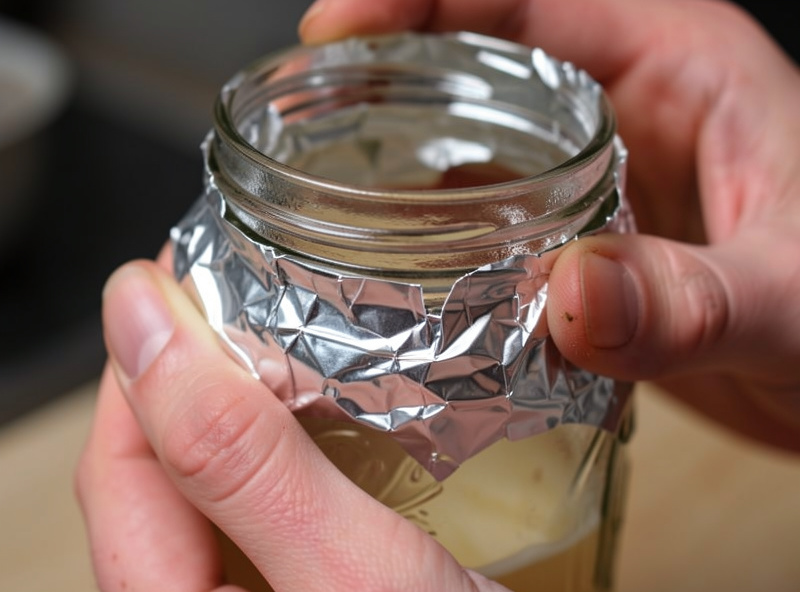
Start by wrapping the jar in foil or tape so no light reaches the water — this is not optional, and I will explain why below. Next, germinate your seed in a damp rockwool cube or a net cup of moist clay pebbles; lettuce sprouts in a few days on a warm counter. Once the seedling has its first true leaves and some root showing, settle the whole medium-and-seedling into the net cup and drop the cup into the jar mouth. Mix your nutrient solution to the leafy-greens strength on the label, check that the pH sits in the high fives to low sixes, and pour it into the jar until the solution just kisses the bottom of the net cup — not above it. Then put the jar under a light and, crucially, walk away. From this point the plant does all the work.
Why Do You Have to Cover the Jar?
You cover the jar because light hitting the nutrient solution grows algae, and a clear glass jar on a bright windowsill is the single worst offender in all of passive hydroponics. Algae turns your solution green and cloudy, competes with the plant for nutrients and oxygen, and coats the roots — and glass is transparent, so an uncovered jar is basically an algae farm with a lettuce on top.
This is the mistake I see most from people who build their first jar and skip the wrap because it looks nicer clear. Two weeks later the water is pea-soup green and they cannot understand why. Foil, black tape, a painted jar, or even a cloth sleeve all fix it completely — the goal is simply that no light reaches the liquid. I wrap mine in foil because it is fast and reflects a little extra light up onto the leaves as a bonus. The full explanation of why algae takes hold and every way to block it lives in algae in a hydroponic reservoir, but for the jar the rule is simple: if you can see the water through the glass, so can the algae.
Where Do Mason Jar Builds Go Wrong?
The two failures that sink most first jars are skipping the light-block (algae) and overfilling so the roots never get their air gap (rot). Both happen at setup, both are invisible until the damage is done, and both are trivial to avoid once you know to. Get these two right and a mason jar is almost impossible to fail.
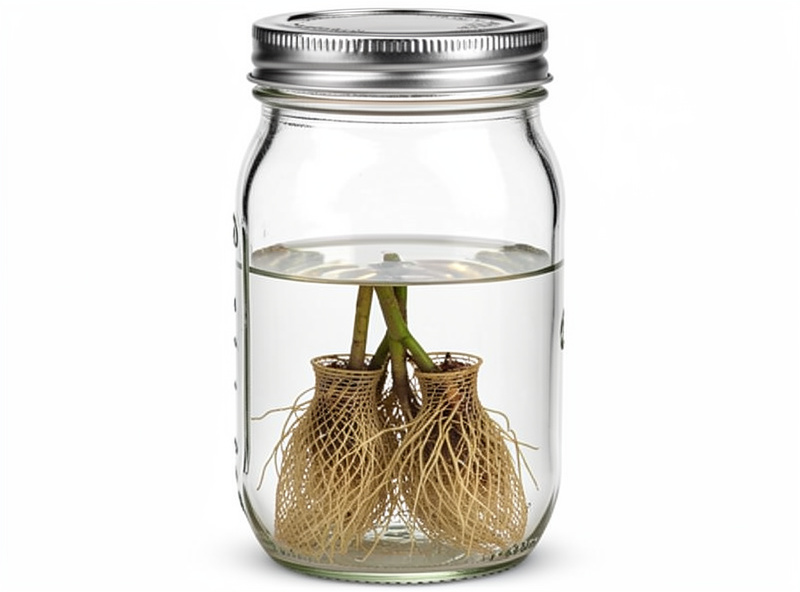
The overfilling mistake is the subtler one. The whole passive method depends on the water level falling as the plant drinks, which opens an air gap where the upper roots breathe. If you fill the jar to the brim or keep topping it up like a houseplant, the roots stay drowned, run out of oxygen, and turn to sour brown mush — I have smelled that anaerobic rot leaning over a jar I “helpfully” kept full, and it is a lesson you only need once. Fill so the solution just touches the bottom of the net cup at planting, then leave it alone and let the level drop. The seedling’s roots will chase the water down and split into feeder roots below and fatter air roots above, exactly as they should. Resisting the urge to fiddle is genuinely the hardest part of the whole build.
What Can You Grow in a Mason Jar?
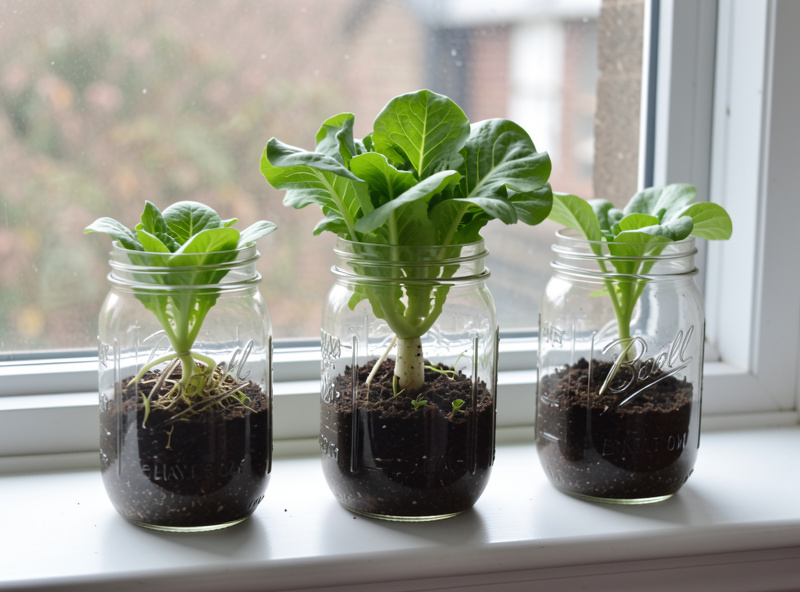
A single mason jar suits one small crop: a head of lettuce, a clump of herbs like basil or coriander, or a pak choi. Jars are small reservoirs, so they are best kept to the fast, shallow-rooted greens that finish before the water runs out — the same crops that make the whole passive method work up north through a dark winter.
Lettuce is where I would start every time; it is the most forgiving and the most satisfying, and the crop-specific detail is in growing lettuce with the Kratky method. Herbs are lovely in jars on a kitchen windowsill within arm’s reach of the chopping board. What a jar cannot do is a fruiting crop — a tomato in a mason jar will exhaust its tiny reservoir long before it fruits, so do not try. If you catch the bug and want more than a jar’s worth, the next step up is a plastic tub with several net cups, which follows the exact same rules at larger scale, all laid out in the Kratky method for beginners guide.
Do You Need a Grow Light for a Mason Jar Garden?
In the bright half of the year a sunny windowsill can grow jar lettuce fine, but through a Nordic winter you need a grow light — the window simply does not give enough. This is the caveat almost every mason-jar tutorial skips because most of them are written for places that get real winter sun. At my latitude, a January windowsill offers a few hours of weak, low-angle light, nowhere near what a lettuce needs to form a proper head.
The jar solves the watering problem; it does not solve the light problem, and up here the light problem is the hard one. A window-only jar in midwinter gives you a pale, stretched, leggy plant that reaches desperately toward the glass and never fills out — I have grown that sad specimen more than once before I accepted the lesson. Under a simple grow light, the same jar produces a tight green head regardless of what the weather is doing outside. You do not need anything elaborate: a small clip-on LED or a shelf bar over a row of jars is plenty, and if you already run a light for seedlings or microgreens, adding a jar or two to the same shelf costs almost nothing extra. The plant only cares about the photons, not whether they came from the sun or the wall. If your jar lettuce is pale and stretching, reach for a light before you blame anything else — it is nearly always the answer in the dark months. Cornell’s Controlled Environment Agriculture program is where this same photon-not-sunlight logic gets studied at commercial scale, which is a good rabbit hole if you want the deeper why.
How Do You Turn One Jar Into a Steady Supply?
You stagger several jars, starting a new seed every week or two, so that as you cut one head another is coming up behind it. A single jar gives you one harvest; a rolling row of four, planted a fortnight apart, gives you salad more or less continuously through the winter — this succession approach is the real trick to feeding yourself from a windowsill.
I keep a short row of foil-wrapped jars on the sill at staggered ages, which turns a novelty into an actual food habit and looks, I will admit, like a slightly deranged science fair once there are five of them. It is the same rolling-shelf logic I use for microgreens and sprouts: continuous output comes from continuous sowing, not from squeezing extra crops out of one tired reservoir. If you enjoy the tinkering side, the jar is also a gateway to fancier passive builds — the same instinct that has me printing custom self-watering planter inserts for my soil pots started with a duct-taped jar of lettuce. Build one tonight, block the light, resist the topping-up, and in a month you will be eating a salad you grew in a jar in the dark half of the year — which is still, after years of doing it, the part I find quietly ridiculous and completely worth it. From there, the right net cups and a bag of clay pebbles are all you need to scale up whenever you are ready.