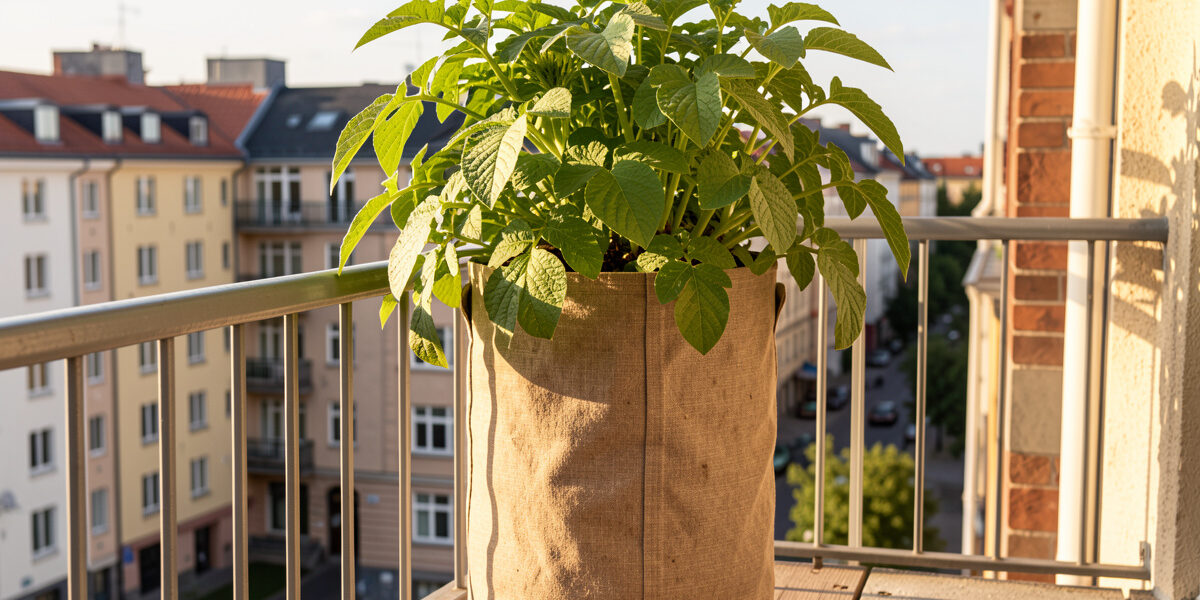
You can grow a genuinely satisfying potato crop on a balcony in a single deep sack — no garden required. A 30 to 40 litre grow bag or potato sack, two or three seed potatoes, and a sunny rail is enough to turn out a bucket of new potatoes. The two things that decide your harvest are container depth and “earthing up”, the trick of burying the stems as they grow to make more tubers.
Potatoes were the crop that convinced me a balcony could feed me something substantial, not just garnish. There is a real thrill in tipping out a fabric sack and finding it full of clean tubers you grew six floors up. They do take more depth, more water, and a thought for weight than a pot of radishes, but the payoff is the most “proper harvest” feeling small-space growing offers.
Choosing the Right Container — and Watching the Weight
Use a deep container of at least 30 to 40 litres — a fabric potato sack, a large grow bag, or even a sturdy bucket with drainage holes drilled in the base. Depth matters because potatoes form their tubers along the buried stem, so the more depth you can give them, the more crop you can grow.
On a balcony, weight is the constraint nobody warns you about. A 40 litre container full of wet soil and crop is heavy, so this is the one crop where I am deliberate about placement — over a load-bearing edge or against the wall, never floating in the middle of the slab. This is exactly why I favour fabric grow bags for potatoes: they hit the depth, they drain freely so the soil never gets heavier than it must, and you can fold an empty one away at season’s end. My broader thinking on balcony loads and pot choice is in the balcony gardening complete guide and the root vegetables in containers hub.
Chitting and Planting
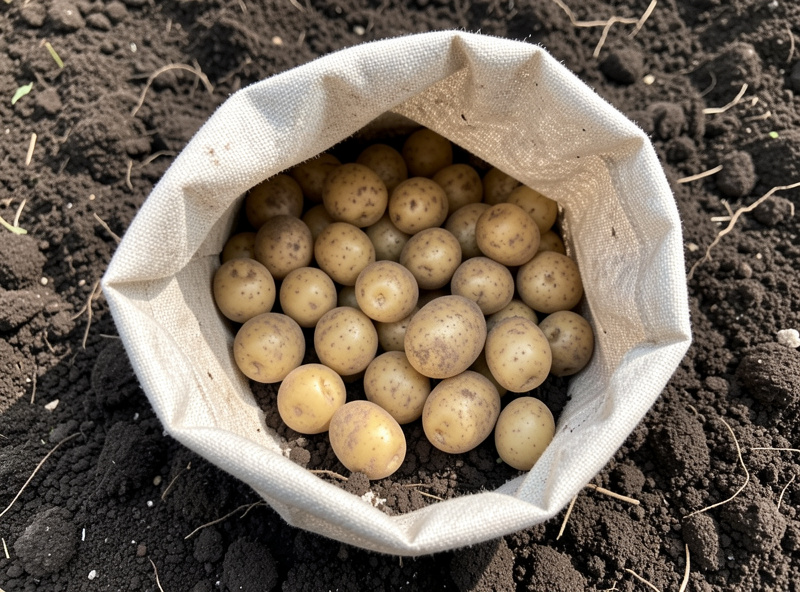
Start with certified seed potatoes, not supermarket ones, and “chit” them first — stand them in a cool, light spot for a few weeks until they sprout short, sturdy green shoots. Chitted seed gets away faster, which matters in a short season. Plant two or three tubers in the bottom third of your container under about 10 cm of soil.
Do not fill the container to the top at planting. The whole technique depends on starting low and adding soil as the plant grows, so begin with the sack only a third full. I plant my chitted tubers shoots-up into that base layer, water them in, and then wait — potatoes do not need much until the shoots break the surface. Choose first-early varieties for a balcony: they crop fastest, suit the short Nordic season, and give you tender new potatoes before blight is even a worry. Seed potatoes pair naturally with my other early-season container work in the container gardening guide.
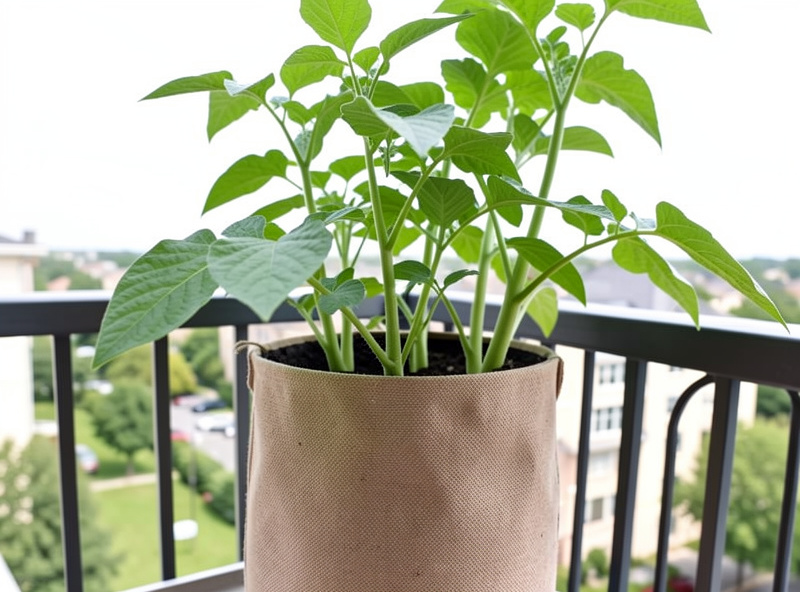
Earthing Up: The Technique That Makes the Crop
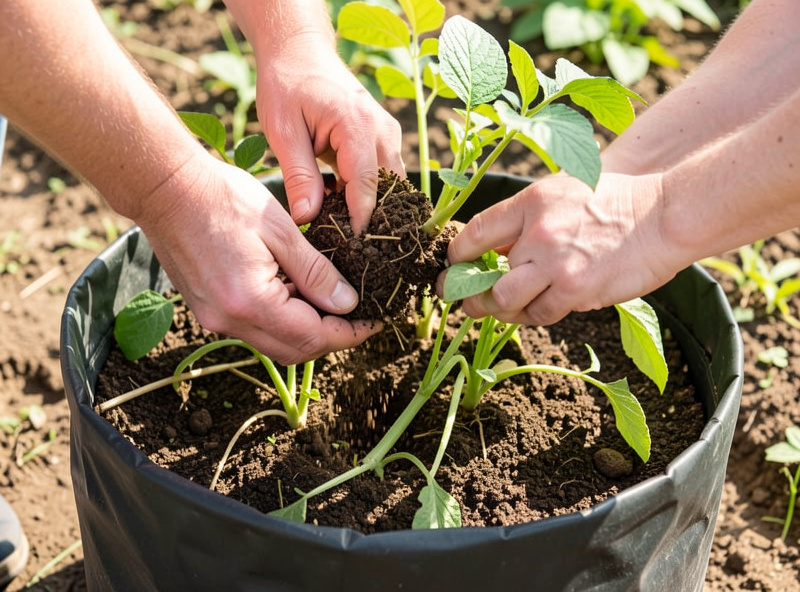
As the green shoots grow, keep burying them — add more soil or compost whenever the stems reach about 15 cm above the surface, leaving just the top few leaves showing. This “earthing up” forces the buried stem to produce more tubers and is the single technique that turns a sack into a real harvest.
Repeat it three or four times over a few weeks until the container is full to the top. Each layer of buried stem becomes another zone of potato production, which is why a deep sack out-yields a shallow pot so dramatically. It also keeps developing tubers covered — any potato exposed to light turns green and bitter, so earthing up does double duty. I use my own container mix topped up with compost for the burying layers, the same medium I describe in my best soil mix for root vegetables in containers, enriched because potatoes are hungrier feeders than most roots.
Watering and Feeding Potatoes
Potatoes are thirsty and the demand peaks once they flower and the tubers bulk up — let a container potato dry out at that stage and your yield drops sharply. Keep the soil consistently moist, especially from flowering onward, and feed every couple of weeks with a balanced or potassium-rich liquid feed once the foliage is established.
A full grow bag of potatoes in summer can drink a startling amount, so this is a crop where a wicking setup or a generous hand-watering routine really pays off. Go light on nitrogen late in the season — too much keeps the plant making leaves when you want it making tubers. A potassium-leaning feed, the kind sold for tomatoes, suits potatoes well. Keep an eye on moisture balance though; a waterlogged sack rots tubers, so learn the signs of overwatering and let excess drain freely.
Timing and Harvest
First-early potatoes are ready roughly 10 to 12 weeks after planting, usually signalled when the plants flower — that is your cue that new potatoes are forming below. For tender new potatoes, harvest as soon as they flower; for a fuller crop to store, wait until the foliage yellows and dies back.
In a cold climate I plant once the worst frosts have passed, keeping fleece handy because emerging potato foliage is frost-tender — a late frost can blacken the shoots, though the plant usually recovers. The joy of a fabric sack is the harvest: I simply tip the whole thing onto a sheet and pick the tubers out of the loose soil, no fork, no damage. My approach to nursing tender crops through the cold ends of the season is in the frost protection methods and the season extension guide.
Container Methods Compared
The container you choose shapes the whole experience, from weight to how easily you harvest. Here is how the common balcony options stack up.
| Container | Typical size | Weight when full | Harvest ease |
|---|---|---|---|
| Fabric potato sack | 30–40 L | Moderate, drains fast | Excellent (tip out) |
| Large plastic grow bag | 30–40 L | Moderate | Good |
| Bucket with drilled holes | 15–20 L | Heavy for size | Fair (lower yield) |
| Stacked tyre / tower | Variable | Heavy, awkward | Poor |
As an Amazon Associate I earn from qualifying purchases. A purpose-made potato grow bag with a harvest flap and a few first-early seed potatoes are the only purchases that genuinely matter for a balcony crop.
Frequently Asked Questions
How many potatoes can you grow in one container?
Plant two or three seed potatoes in a 30 to 40 litre sack. With good earthing up, watering and feeding, each plant can yield roughly 1 to 1.5 kg, so a single full sack typically returns a few kilos of potatoes from a balcony.
How deep does a container need to be for potatoes?
At least 30 to 40 cm, and deeper is better. Potatoes form tubers along the buried stem, so depth directly increases yield. This is why a tall fabric sack out-performs a shallow pot for the same footprint of balcony space.
What does earthing up potatoes mean?
Earthing up means burying the growing stems with more soil or compost as they rise, leaving only the top leaves showing. It forces the buried stem to make more tubers and keeps developing potatoes covered so they do not turn green in the light.
Do you need to chit seed potatoes before planting?
Chitting is not essential but helps, especially in a short cool-climate season. Standing seed potatoes in a cool, light spot for a few weeks until they sprout short green shoots gives them a head start and a faster, more reliable crop.
When do you harvest balcony potatoes?
First-early potatoes are usually ready 10 to 12 weeks after planting, signalled when the plants flower. Harvest then for tender new potatoes, or wait until the foliage yellows and dies back for a fuller crop that stores better.
Why are my container potatoes turning green?
Green tubers have been exposed to light and should not be eaten, as the green indicates solanine. It happens when potatoes near the surface are not covered. Diligent earthing up keeps the tubers buried and prevents greening throughout the season.