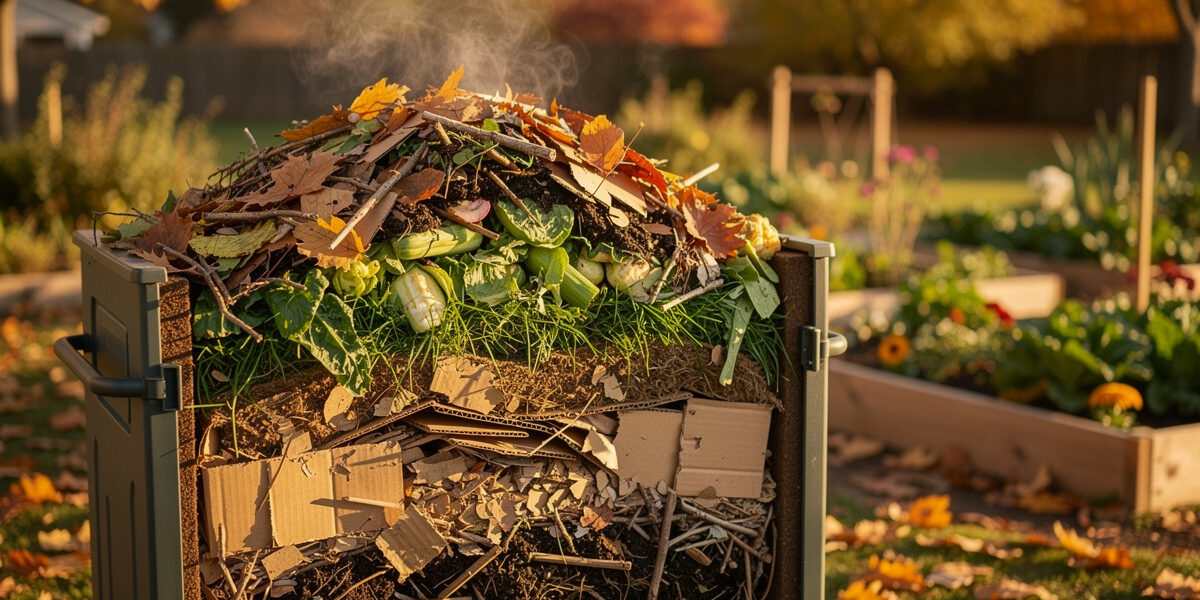
Composting for vegetable gardens turns a big share of your household waste into the most valuable soil amendment there is. Home compost carries the full diversity of local microorganisms that bagged, heat-treated products lose. This guide provides a fast composting method that produces finished compost in 30-90 days, along with troubleshooting for common problems.
I make my own compost because buying it by the bag to fill containers gets expensive fast — and home compost is simply better, carrying the full diversity of local microbes that bagged compost loses. On a balcony I run a compost tumbler rather than an open heap — no smell, no pests, and it heats up fast in a small volume — with a kitchen caddy by the sink for scraps. Here’s the fast hot-composting method that turns kitchen and garden waste into dark, crumbly vegetable compost in weeks — and once you’ve got it, you can brew some into compost tea too.
As an Amazon Associate I earn from qualifying purchases.
Why Make Your Own Compost for Vegetables
Store-bought compost adds up quickly once you are buying it by the bag to fill containers, while homemade compost costs almost nothing beyond your own kitchen scraps and a little labor. Beyond cost, homemade compost introduces region-specific microorganisms that help vegetables absorb nutrients more efficiently. These native microbes form relationships with plant roots that commercial products cannot replicate.
Composting also diverts kitchen scraps from landfills, where decomposition produces methane, a potent greenhouse gas. A typical household composts 400-500 pounds of organic material annually, reducing trash volume by 20-30%. The environmental benefits compound when this compost replaces bagged fertilizers shipped from distant factories.
The Fast Hot Composting Method
Hot composting achieves temperatures of 130-160F, killing weed seeds, pathogens, and fly eggs while decomposing materials in 30-90 days. This method requires attention to carbon-to-nitrogen ratio, moisture, particle size, and turning frequency, but rewards gardeners with abundant finished compost in weeks rather than months.
The ideal carbon-to-nitrogen ratio is 25-30:1 by weight. Materials like dry leaves and straw are high carbon (60-80:1 C:N). Kitchen scraps and fresh grass clippings are high nitrogen (15-25:1 C:N). Combining 3 parts brown materials to 1 part green materials by volume achieves the target ratio.
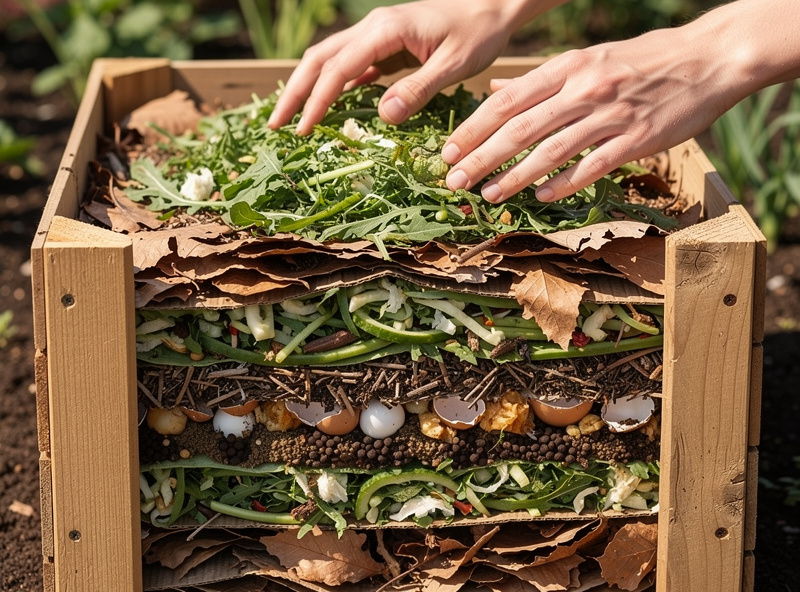
What to Compost: Ingredients List
Compostable materials divide into greens (nitrogen-rich) and browns (carbon-rich). Greens include fruit and vegetable scraps, coffee grounds, tea bags, fresh grass clippings, and plant trimmings. Browns include dry leaves, straw, cardboard, newspaper, sawdust, and wood chips.
Avoid meat, dairy, bones, oily foods, and pet waste in home compost bins. These materials attract pests, create odors, and can harbor human pathogens. Diseased plants should be hot composted only if you can maintain 140F for 3+ days, otherwise dispose in trash to prevent disease spread.
| Green Materials | C:N Ratio | Brown Materials | C:N Ratio |
|---|---|---|---|
| Kitchen scraps | 15-25:1 | Dried leaves | 60-80:1 |
| Grass clippings | 15-25:1 | Straw | 40-80:1 |
| Coffee grounds | 20:1 | Cardboard | 200:1 |
| Plant trimmings | 30:1 | Newspaper | 100:1 |
Building Your Compost Pile
Start with a 3-foot by 3-foot by 3-foot pile minimum. Smaller piles do not generate enough internal heat — University of Alaska Fairbanks Extension notes a pile of roughly this size is what lets the interior climb into the 120-160°F range, which matters even more in a cool climate. Locate the bin in partial shade to prevent drying, but ensure good drainage. Build layers: 4-6 inches of browns, 2-3 inches of greens, a sprinkle of garden soil or finished compost as inoculant, repeat until the pile reaches 3 feet.
Moisture is critical. The pile should feel like a wrung-out sponge, about 50-60% moisture. Too dry slows decomposition; too wet creates anaerobic conditions and odors. Check moisture by squeezing a handful: it should hold together but not drip.
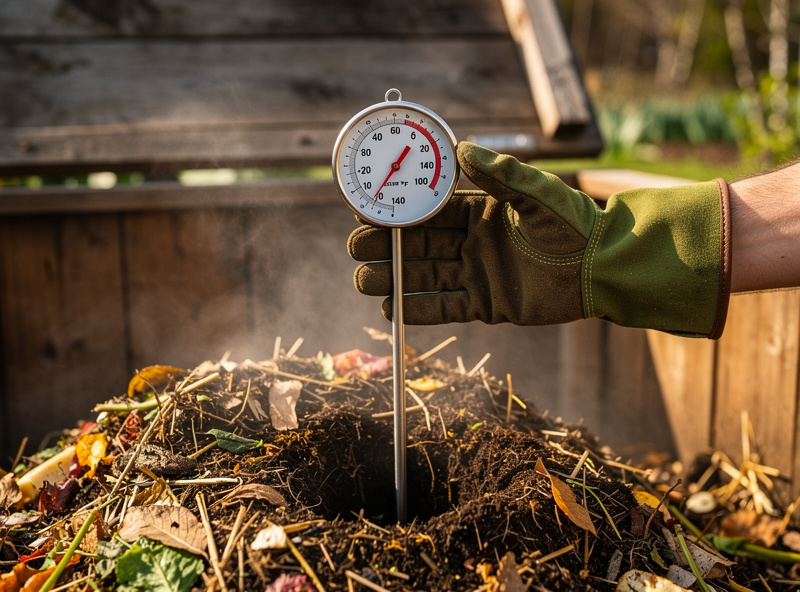
Maintaining Hot Temperatures
Insert a compost thermometer to monitor temperature. Below 110F, decomposition slows significantly. Between 130-160F, active decomposition kills weed seeds and pathogens. Above 160F, beneficial microorganisms begin dying and the pile needs aeration.
Turn the pile every 3-4 days to provide oxygen and redistribute materials. Use a garden fork to move materials from the outside of the pile to the center, where temperatures are highest. If the pile stops heating after turning, check moisture and add nitrogen if needed.
Compost in a Hurry: The Two-to-Three-Week Pile
If the standard hot method is too slow for you, there is a faster gear. University of California researchers worked out a rapid composting protocol — published as “Compost in a Hurry” (UC ANR) — that produces usable compost in as little as two to three weeks. The speed comes from three changes to the normal routine: everything is chopped small so microbes get maximum surface area, the pile is built complete in one go and nothing new is added afterward, and it gets turned far more often — every day or two instead of twice a week.
I ran a version of this one June when I needed finished compost for a mid-summer bed refresh, and the honest report is: it works, and it is a workout. Chopping a full pile’s worth of material into finger-length pieces took an afternoon with pruners and a spade (a rotary mower run over leaves and soft stems does it faster), and turning a steaming pile every second day for two weeks is real labor. The pile hit its peak heat within days and held it, exactly as promised, and I sieved out usable compost on day 19 — coarser than my slow-pile product, but perfectly good for working into beds. My conclusion: the rapid method is a sprint you run when a deadline demands it, not a pace you keep all season. For routine kitchen-scrap composting, the 3-4 day turning rhythm gives you most of the speed at half the effort.
Troubleshooting Common Problems
Pile smells like ammonia: Too much nitrogen. Add brown materials and turn the pile.
Pile smells like sulfur or rotten eggs: Anaerobic conditions from excess moisture. Turn the pile and add brown materials to absorb moisture.
Pile not heating: Too dry, too small, or lacking nitrogen. Add water, build larger, or add green materials.
Pile attracting flies: bury food scraps under 6 inches of browns, or switch to a closed bin system. Maintaining proper C:N balance prevents most pest issues.
Using Finished Compost
Compost is finished when it is dark, crumbly, and no longer recognizable as original materials. It should smell earthy, not like ammonia or rot. Apply finished compost at 2-3 inches annually to vegetable beds, working it into the top 6-8 inches of soil.
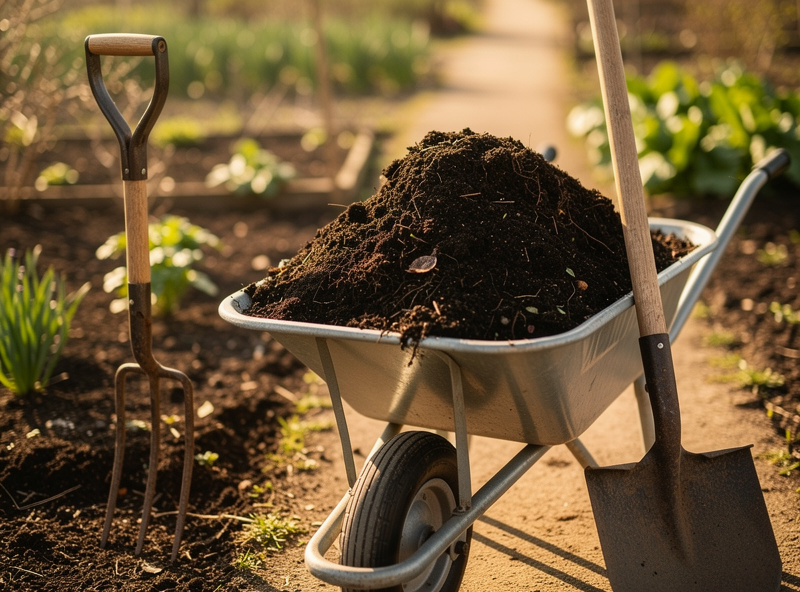
For container vegetables, mix 30% compost with 70% potting soil. For seed starting, use only 20% compost to avoid burning tender seedlings with excess nutrients. If you are filling deeper beds, my raised bed soil guide covers how compost fits into a full bed mix.
Making Compost on a Balcony in a Cold Climate
A balcony compost pile through a Swedish winter is a lesson in patience. The pile freezes solid for four months and nothing happens. The trick is building it in August, while the ambient temperature is still warm enough for the thermophilic bacteria to get a foothold. A well-built pile that reaches around 55°C in September will finish by November; anything started after September just sits frozen until April.
Making Compost Without a Garden
My balcony composter is a 15-gallon plastic bin with holes drilled in the bottom and a tight-fitting lid. It takes all the kitchen scraps from a household of two, plus shredded cardboard and dead leaves off the few plants on the balcony. The volume is too small to generate the heat of a full 3-foot cube, so I accept that it takes 3 to 4 months rather than the 6 to 8 weeks a big hot pile would need. What comes out is dark and crumbly, and there’s enough of it to refresh the container soil each spring.
Trench Composting: The Method With No Equipment at All
The oldest composting method needs no bin, no thermometer, and no turning: dig a hole, bury the scraps, walk away. Nebraska Extension describes the standard pattern — a trench or hole about 30 cm deep, a decent layer of chopped kitchen scraps in the bottom, and the excavated soil back on top. Below ground the material breaks down over a few months through a mix of soil microbes and earthworm traffic, enriching the bed exactly where roots will find it, with no smell at the surface and nothing for rats or gulls to investigate.
For anyone with a raised bed or allotment strip, trench composting solves the awkward months on either side of winter. I use it in the balcony raised beds in September and October, after the season’s crops come out: scraps go into a trench down the middle of the bed, and by planting time the following May the trench line has vanished into dark, worm-worked soil. The two rules that matter are the same as for any compost — no meat, dairy, or oils, which attract exactly the visitors a city balcony does not need — and keep the burial deep enough that nothing surfaces. The limitation is capacity: a small bed absorbs only so many trenches a season, which is why this is my shoulder-season overflow method rather than the main system.
Bokashi: Fermenting Scraps Through the Dark Months
From November to March, when the balcony bin is frozen and trenching means chiselling through frost, my kitchen scraps go into a bokashi bucket under the sink. Bokashi is not composting in the strict sense — it is fermentation, the same family of slow microbial chemistry as the sauerkraut crock on my counter, just running on inoculated bran instead of salt. Scraps get pressed into an airtight bucket in layers with a sprinkle of bokashi bran; lactic-acid bacteria pickle the contents over a couple of weeks, and the sealed, acidic environment means no rot, no flies, and only a faint vinegar smell when the lid opens.
What comes out is pre-compost, not compost — pickled scraps that still look like scraps — and it needs a second stage: buried in a trench, or added to the outdoor bin, where it breaks down remarkably fast because the fermentation has already done the demolition work. That two-stage rhythm suits a Nordic year perfectly. Buckets accumulate quietly indoors all winter, and in April the whole stockpile goes into the newly thawed pile as a nitrogen-rich ignition charge that gets the spring compost season off to a flying start. Bokashi also swallows the things a cold bin handles poorly — citrus peel, onion skins, small amounts of cooked food — though I still keep meat and dairy out of my buckets entirely.
Frequently Asked Questions
How long does hot composting take?
Hot composting produces finished compost in 30-90 days when the pile reaches 130-160F, maintains 50-60% moisture, has a 25-30:1 carbon-to-nitrogen ratio, and is turned every 3-4 days.
What is the ideal carbon to nitrogen ratio for composting?
The ideal C:N ratio is 25-30:1 by weight. Achieve this by combining 3 parts brown materials like dried leaves or straw with 1 part green materials like kitchen scraps or grass clippings by volume.
Why is my compost pile not heating up?
Piles fail to heat when they are too small (under 3x3x3 feet), too dry, or lacking nitrogen. Add water, nitrogen-rich greens, and ensure the pile is large enough to retain heat.
Can I compost meat and dairy?
Do not add meat, dairy, bones, or oily foods to home compost bins. These attract pests and can harbor human pathogens. Stick to fruit and vegetable scraps, coffee grounds, tea bags, and plant materials.
How do I know when compost is finished?
Finished compost is dark and crumbly, with no recognizable original materials. It smells earthy, not like ammonia or rot. The temperature stabilizes near ambient air temperature and the volume has shrunk by 50% or more.
Why does my compost smell bad?
Ammonia smells indicate too much nitrogen (add browns). Sulfur or rotten egg smells indicate anaerobic conditions from excess moisture (turn and add browns). Proper moisture and turning prevent most odor problems.
How much compost should I apply to vegetable gardens?
Apply 2-3 inches of compost annually to garden beds, working it into the top 6-8 inches of soil. This rate maintains soil organic matter at 5-7 percent and provides sufficient nutrients for most vegetable crops.