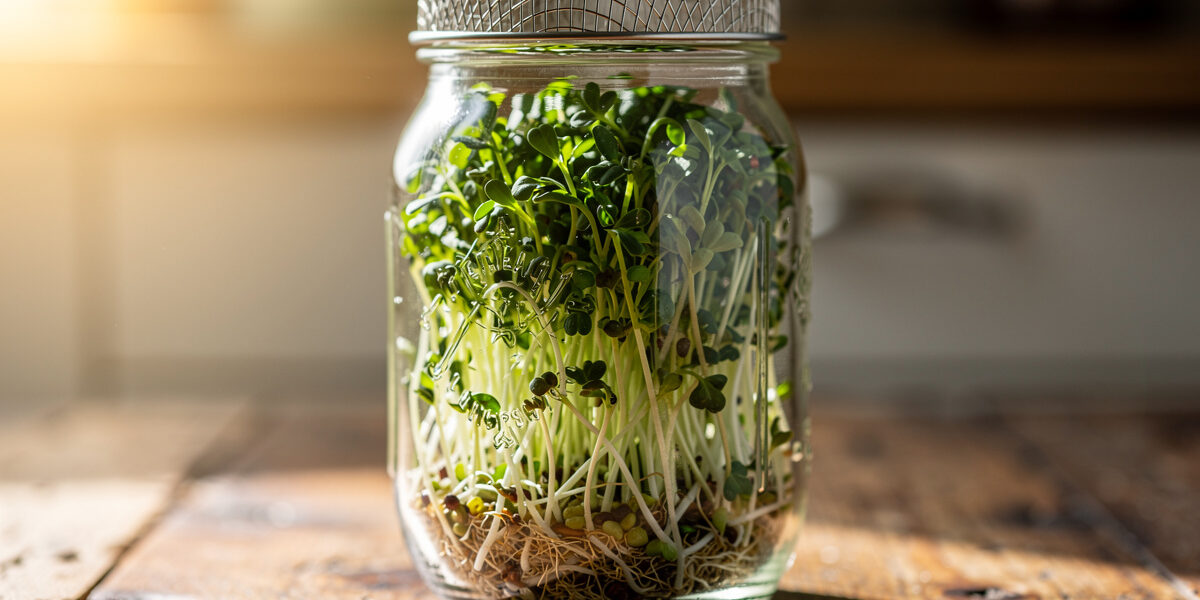
How to sprout alfalfa: Soak 1-2 tablespoons of seeds for 4-6 hours. Drain and rinse twice daily. On days 4-5, expose to light to green the leaves. Harvest when the sprout is 1-2 inches long. These delicate, grassy sprouts are the classic sandwich sprout — thin, crisp, and mild enough to add bulk without taking over the flavor of what you put them on.
For a complete overview of all sprouting methods and seeds, see our complete sprouting guide.
Why Grow Alfalfa?
Alfalfa was the first sprout I ever tried, and it is still the one I keep running when I want something mild and versatile on hand. The seeds are tiny — smaller than poppy seeds — which makes the yield almost absurd: a tablespoon and a half fills a quart jar in 5 days. At $5-10 a pound, a single bag lasts me months of continuous countertop production.
Store-bought alfalfa sprouts are a gamble. I have opened plastic clamshells that were already slimy on day one. The ones from my jar are bone-dry after a proper towel dry and stay crisp in the fridge for a full week. The flavor of fresh-cut alfalfa is grassy and sweet in a way that bagged sprouts lose within hours of harvest.
If you have only ever eaten alfalfa sprouts on a sandwich at a deli, you have not tasted what they actually are. Homegrown alfalfa has a clean, almost lettuce-like sweetness with a delicate crunch. There is no peppery bite or mustard heat here — alfalfa is the blank canvas of the sprouting world, and that is exactly why it belongs in your rotation.
Flavor, Texture, and What to Expect
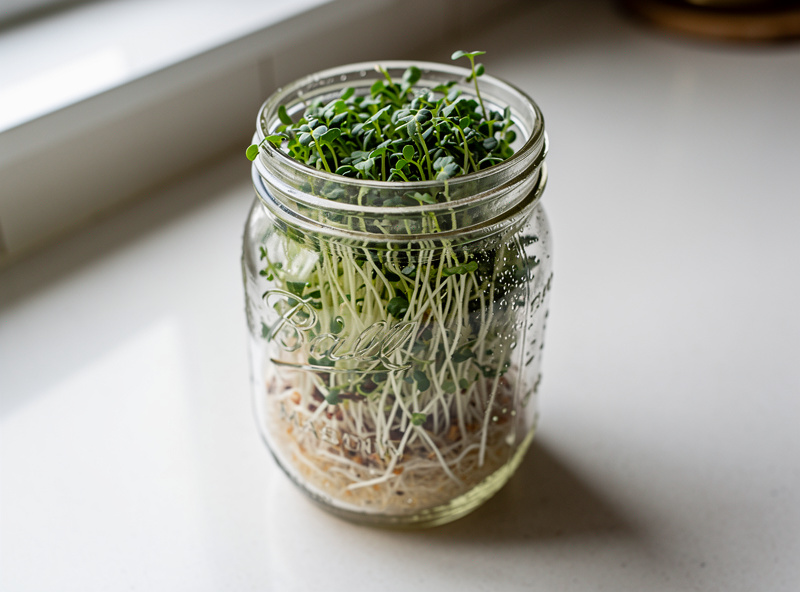
Alfalfa sprouts are the mildest sprout I grow. Where broccoli hits you with pepper and radish brings heat, alfalfa leans grassy, faintly sweet, and almost nutty. The texture is what makes them irreplaceable — thin, hair-like stems that tangle into a loose, airy mass. They add crunch without density, volume without weight.
Raw Character: Eaten straight, fresh alfalfa tastes like a very mild lettuce with a hint of sweetness. The crunch is light — you feel it more than you hear it. This is why alfalfa works on sandwiches and wraps where a lentil or mung bean sprout would dominate.
After Greening: Once the cotyledons open and you expose the jar to indirect light for 6-12 hours, the flavor shifts slightly — the grassy, chlorophyll note comes forward and the sweetness steps back. Some people prefer them yellow (pre-greening), some prefer them green. I pull mine at the halfway point, when the leaves are just starting to flush.
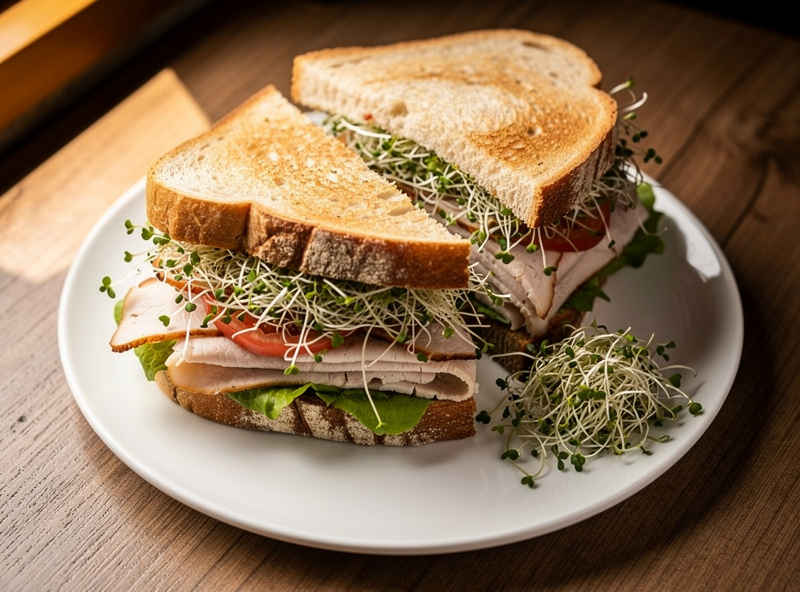
Best Pairings: Alfalfa wants creamy and salty partners. Turkey and Swiss on rye. Avocado and cream cheese. A BLT with extra mayo. The sprouts add a fresh, wet crunch that cuts through richness without adding their own flavor — they make the sandwich taste more like the sandwich, not more like sprouts.
The Setup
As an Amazon Associate I earn from qualifying purchases.You need a wide-mouth quart mason jar, a fine stainless steel mesh lid with 1mm or smaller openings, and organic alfalfa sprouting seeds. Standard plastic lids let tiny seeds slip through the holes — I lost a batch of alfalfa seeds down the drain before I learned to use only fine mesh. Total cost under $15 with seeds yielding dozens of batches. Alfalfa seeds are tinier than a pinhead.
- Jar: Standard wide-mouth mason jar. I keep a dedicated alfalfa quart jar with its own fine mesh lid so I never have to scramble for clean equipment.
- Lid: A fine stainless steel mesh lid is mandatory — alfalfa seeds are smaller than the holes in standard plastic sprouting lids. Cheesecloth secured with a rubber band works in a pinch.
Step-by-Step Instructions
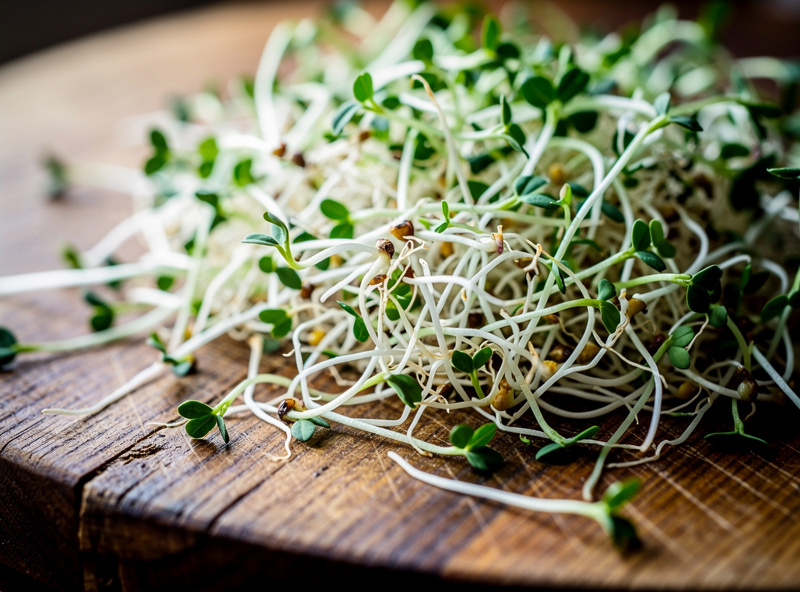
Alfalfa becomes a dense, tangled mat by day 3 — unlike lentils or mung beans that stay loose. The main skill you need is breaking up that mat during rinse cycles so the center does not rot. Everything else is just rinse, drain, repeat.
Use 1.5-2 tablespoons seeds per quart jar, soak 4-6 hours, then rinse twice daily. Break up clumps with a fork on days 3-4 to prevent rot. Expose to indirect light on day 5 for greening, then dry 2-3 hours before storage.
Step 1: Dosage and Soak
Use 1.5 to 2 tablespoons of seeds per quart jar. Do not use more, or the jar will become too packed, airflow will stop, and the center will rot.
Soak in cool water for 4-6 hours. Unlike beans, these tiny seeds do not need an overnight soak. Over-soaking can sometimes drown them.
Step 2: Rinse and Drain
Drain the water carefully. Rinse with fresh water. Swirl the jar to wash the seeds. Drain again.
Pro Tip: Tap the jar against your palm after draining to knock the seeds loose from the mesh lid. This keeps the screen clear for airflow.
Step 3: The Growth Cycle (Days 1-4)
Rinse and drain morning and night. Keep the jar out of direct sun. You will see white tails appear on Day 2. By Day 3, they will start to look like a tangled mass.
Step 4: The Clump Breaker
As alfalfa grows, it forms a dense mat. When you rinse on Day 3 and 4, fill the jar with water and use a fork to gently break up the clump. I swish the fork through the mass like I am fluffing salad greens — you want water to reach every seed in the center. On my counter, the center rots first when I skip this step.
Step 5: Sunlight (Day 5)
Once the two tiny leaves (cotyledons) open, move the jar to indirect light. The yellow leaves will turn a beautiful emerald green within 6-12 hours. This develops the chlorophyll.
Step 6: Harvest and Dry
Pull the mass out of the jar. It will be a brick of sprouts — a solid, root-bound plug.
Crucial Step: You must dry them. Wet alfalfa turns to slime in the fridge within hours. I learned this the hard way and threw out two full jars before I figured out the drying step is non-negotiable.
Use a salad spinner (gently!) or spread them on a tea towel for 2-3 hours until they feel dry to the touch. Then store in a sealed container with a paper towel.
Storage and Shelf Life
Alfalfa sprouts are the most fragile crop in the sprouting line-up — the thin, hair-like stems collapse into slime within hours if they go into the fridge wet. The single biggest factor in shelf life is drying them properly before storage. After harvest, I spread the sprout mass on a clean tea towel for 2-3 hours at room temperature; once the surface moisture is gone, transfer to an airtight container lined with a paper towel and refrigerate at 35-40°F. Change the paper towel every 2-3 days as it absorbs residual moisture.
Properly dried and stored alfalfa sprouts keep for 5-7 days. The flavor becomes slightly stronger and more grassy as they age — that is normal, not spoilage. Do not freeze them: the delicate cell structure collapses on thaw and you end up with a wet, mushy pile usable only in a blended soup.
Signs of spoilage: Discard the batch immediately if the sprouts turn slimy, develop visible grey or black mold (not the white root hairs — those are normal), or smell sour or rotten rather than mildly grassy.
Rolling production: The trick to always having fresh alfalfa on hand is to start a new jar every 3-4 days. By the time one jar is harvested and stored, the next is hitting its greening phase, and a third is just out of the soak. Three jars in rotation is enough for two people eating sprouts daily.
A Quick Word on Sprout Safety
Alfalfa has been at the center of several large sprout-linked foodborne illness outbreaks over the years, which is why public-health agencies are more cautious about alfalfa than almost any other sprout. The home-grower version of the same guidance: source alfalfa seed sold specifically for sprouting (it is grown and handled to a higher standard than field seed), rinse in clean cold running water at every step, drain thoroughly, refrigerate the finished sprouts, and discard any batch that smells off. People who are pregnant, elderly, very young, or immunocompromised should cook alfalfa sprouts rather than eat them raw — the FDA Sprout Safety Alliance publishes the full industry-side guidance, and our own sprouting safety tips page has the short version.
Troubleshooting Common Problems
I have seen every one of these problems in my own jars. Yellow sprouts need light exposure. Wet dog smell means poor ventilation — rinse with cold water. Brown mushy centers mean I skipped the clump-breaking step. White fuzz that disappears when rinsed is harmless root hairs; persistent grey fuzz is mold — discard immediately.
- My sprouts are yellow.
- They just have not photosynthesized yet. Put them in the light for a few hours. Note: You can eat them yellow; they are slightly sweeter and less grassy.
- They smell like a wet dog.
- This is usually a sign of poor ventilation. Rinse them well with cold water. If the smell persists after rinsing or smells sour/rotting, discard them. Check our common gardening mistakes guide.
- Seeds are falling through the lid.
- Your mesh is too coarse. Use a cheesecloth layer under the lid until they sprout and get bigger.
- The center of the sprout mass is brown or mushy.
- This indicates poor water penetration and air circulation in the dense center. Break up the clump more frequently during rinsing and consider using less seed per jar.
- Sprouts are growing but seem weak and stringy.
- This can indicate old seeds with low vitality or insufficient rinsing. Ensure you are using fresh sprouting seeds and maintaining consistent twice-daily rinsing.
- White fuzzy growth on sprouts.
- This could be root hairs (harmless) or mold (dangerous). Test by rinsing – if the fuzz disappears, it is root hairs. If it remains or has a grey/black color, discard the batch and sanitize your equipment thoroughly.
Serving Suggestions
Alfalfa is too delicate to cook — heat turns it to nothing instantly. These are the ways I use a fresh jar of alfalfa sprouts, ranked by how often they land on my plate.
- Sandwiches: The classic use. Adds texture to avocado toast or turkey sandwiches.
- Omelets: Add them on top after cooking the eggs.
- Salad Volume: Mix them into green salads to add bulk and fluffy texture — a handful of alfalfa stretches a small bowl of greens into a full meal-sized salad.
- Wraps and Tacos: Use as a fresh, crunchy topping for any wrapped food.
- Grain Bowls: Add a handful on top of Buddha bowls or grain salads for texture.
- Smoothie Addition: Blend a small handful into green smoothies — the flavor is so mild you will not taste it, and the texture disappears entirely.
How long does it take to grow alfalfa sprouts?
Alfalfa sprouts take 4-6 days from soak to harvest. After an 8-hour soak, you will see small tails within 2 days. Harvest when sprouts are 1-2 inches long with small green leaves.
Are alfalfa sprouts safe to eat raw?
Properly grown alfalfa sprouts are generally safe for healthy adults. However, raw sprouts carry some risk of bacterial contamination. Pregnant women, elderly individuals, and those with weakened immune systems should cook them first.
Why are my alfalfa sprouts not turning green?
Alfalfa sprouts need light to develop chlorophyll and turn green. After 4 days of growing in darkness, expose them to indirect sunlight for 1-2 days. Direct sunlight can be too intense and cause wilting.
How much alfalfa seed do I need to start?
Use 2 tablespoons of alfalfa seeds per quart-size jar. These tiny seeds expand significantly — that small amount will fill the entire jar with sprouts. Do not overcrowd, or air circulation suffers.
What equipment do I need for alfalfa sprouts?
You need a quart-size wide-mouth mason jar, a fine mesh sprouting lid (1mm or smaller to prevent seeds falling through), and a bowl for drainage. A stainless steel mesh lid costs $8-12. Alfalfa seeds cost $5-10 per pound and yield dozens of batches.
Why do alfalfa sprouts smell sour?
Sour smells indicate bacterial fermentation from poor drainage or warm temperatures. Always drain completely after rinsing, keep the jar inverted at a 45-degree angle, and store in a cool spot below 75°F. If the smell is strong, discard the batch and sanitize equipment.
How do I de-hull alfalfa sprouts?
Alfalfa sprout hulls are thin and usually fall off during rinsing. For a completely hull-free harvest, transfer sprouts to a large bowl of water—the hulls float to the surface and can be skimmed off. Rinse the roots under running water to remove any remaining hulls.