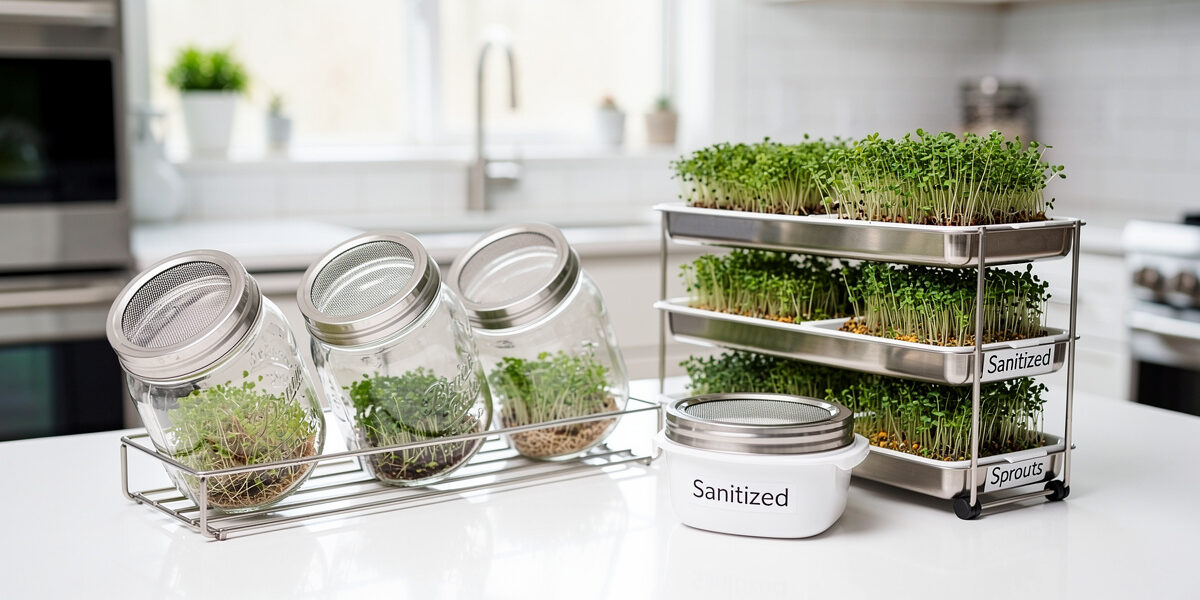
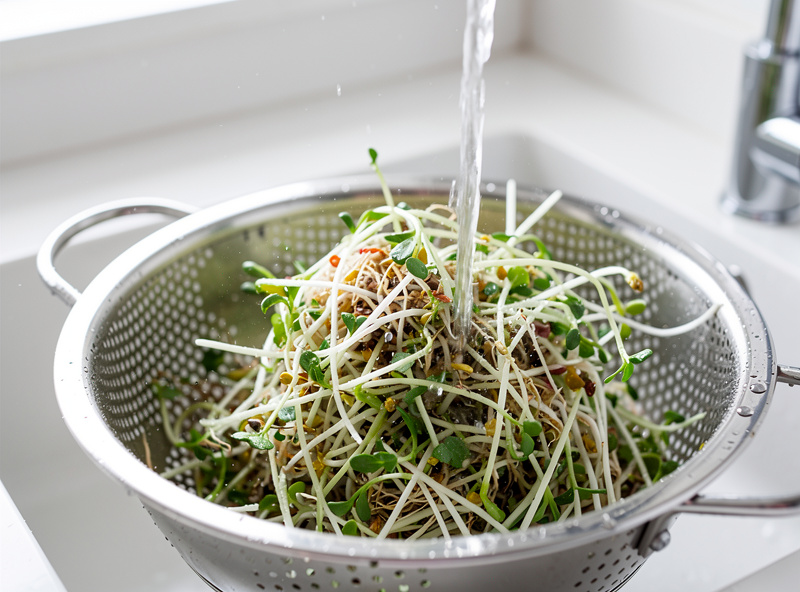
Sprouting safety tips: Always buy seeds tested for pathogens. Sanitize your equipment before use. Rinse sprouts thoroughly at least twice a day. Ensure they drain completely to prevent standing water. Store finished sprouts in the fridge and consume within a week. If in doubt, cook them.
For a complete overview of all sprouting methods and seeds, see our complete sprouting guide.
Let us address the elephant in the room: food safety. Every few years, there is a news story about a Salmonella or E. coli outbreak linked to commercial sprouts. This scares many people away from the hobby, and it should make you careful — but it should not put you off entirely.
The reality, spelled out clearly by Maine Cooperative Extension’s sprout-safety brief and the FDA Sprout Safety Alliance, is that the warm, wet, nutrient-rich conditions sprouts need to germinate are exactly the same conditions bacteria like Salmonella, L. monocytogenes, and E. coli need to multiply. Home sprouting does not bypass that risk — extension guidance is explicit that homegrown sprouts are still high-risk foods. The goal of this guide is to manage that risk intelligently: source clean seed, keep the jar clean, drain thoroughly, refrigerate promptly, and cook sprouts for anyone in a high-risk group.
The Golden Rules of Safe Sprouting
As an Amazon Associate I earn from qualifying purchases.Five habits cover most of the food-safety ground for home sprouting. These align with what the FDA and university extension services publish for sprout handling: source pathogen-tested sprouting seed, sanitize your gear, rinse and drain thoroughly and often, keep the sprouting jar in the right temperature window, and refrigerate the finished harvest within a couple of hours.
1. Start with Clean Seeds
This is non-negotiable.
Do NOT sprout garden seeds sold for planting. They are often treated with fungicides and may be grown under conditions that allow animal-runoff contamination.
DO buy seed sold specifically for sprouting. Sprouting-grade seed is grown, harvested, and handled to a higher standard than field seed and is the single biggest variable you control. The Clemson Extension factsheet on sprout safety is blunt on this point: the seed is where most contamination enters the system, because bacteria can sit inside the seed coat where no rinse can reach them.
2. The Sanitize Soak (Optional but Recommended)
If you are cautious or sprouting for someone in a higher-risk group, you can sanitise the surface of the seeds before the main soak. Commercial sprout operations use a 20,000-ppm calcium hypochlorite treatment for this — that is industrial chemistry and not realistic for the home kitchen. The home-scale version that extension services suggest is much milder and only addresses surface contamination, not internal contamination, which is why sourcing clean seed matters more than any home sanitisation step.
The Vinegar Method: Soak seeds for 15 minutes in a solution of 1 part white vinegar to 10 parts water. Rinse thoroughly before starting the main soak. This reduces the surface bacterial load without damaging the seed embryo.
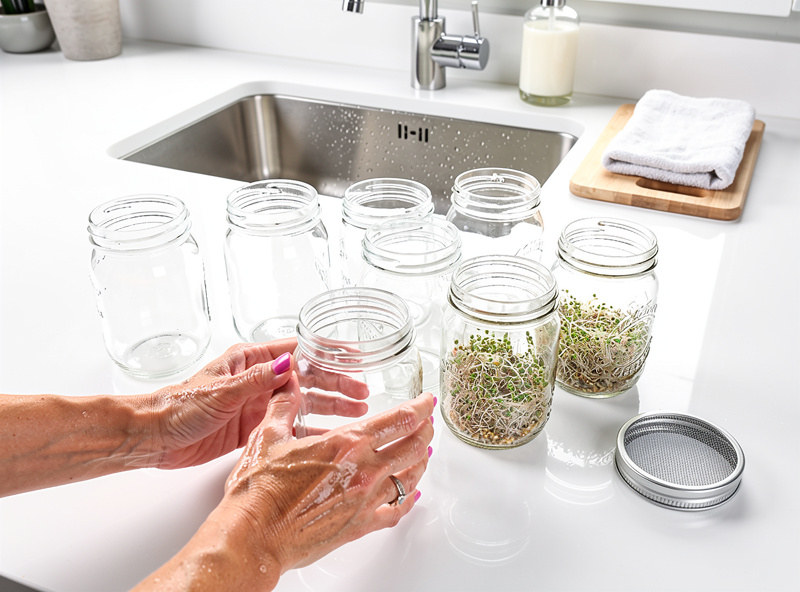
3. Clean Equipment
Your jar is effectively a small petri dish with a snack inside. Any food residue or hard-water scale on the rim gives bacteria a place to get established before the seed does.
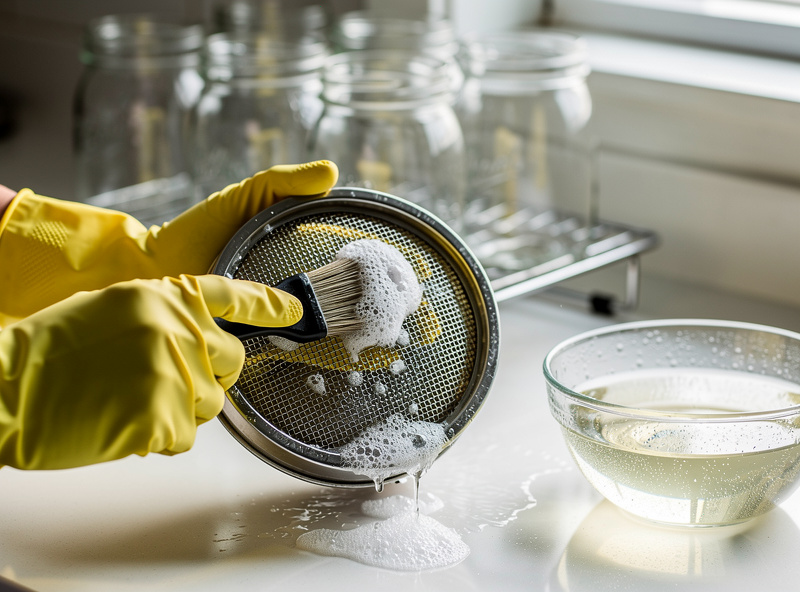
Rule: Run jars and mesh lids through the dishwasher hot cycle between every batch, or pour boiling water over them. Scrub the mesh lid with a brush to remove trapped root hairs and seed hulls.
Additional Equipment Hygiene Tips
- Replace mesh lids every few months — fine mesh scratches and traps residue in tiny crevices.
- Use dedicated sprouting jars, not containers that have held other foods.
- Wash your hands before handling seeds or finished sprouts.
- Keep sprouting jars away from raw-meat prep areas and pet feeding stations.
4. Drainage is Life
Standing water inside a sprouting jar turns it into bacterial soup. After every rinse, prop the jar mouth-down at a 45-degree angle in a bowl, give it a firm shake to knock free water out of the mesh, and check that no water pools at the bottom. If your kitchen is humid, a small fan moving air across the jar mouth helps evaporation.
5. Temperature Control
Sprouts need warmth to grow, but excessive heat accelerates bacterial growth more than it accelerates the sprout. Keep your sprouting area between 65-75°F (18-24°C) — away from stoves, sunny south-facing windowsills, and radiators. In summer, move the jar to the coolest room in the house and consider an extra midday rinse.
How to Spot Trouble (The Sensory Test)
Your senses are your best lab equipment. Run them every morning when you rinse: look at the jar, smell it through the mesh, and feel the texture of a single sprout between your fingers.
- Smell: Fresh sprouts smell clean, slightly grassy, or like the vegetable they come from (radish sprouts smell peppery, broccoli smells faintly cabbagey). Bad sprouts smell sour, fishy, musty, or like ammonia. If in doubt, throw it out.
- Sight: Roots are white. Mold is grey, black, blue-green, or pink. Root hairs are linear and lie along the root; mold is cobweb-like and spreads across the seed coat or jar wall.
- Touch: Sprouts should be crisp and slightly wet from the rinse. If they are slimy, mushy, or slippery, bacteria have already broken down the cell walls — compost the batch.
Visual Guide: Root Hairs vs Mold
The single most common diagnostic confusion in home sprouting is root hairs vs. mold. The mistake is understandable — both look like white fuzz on day 3 — but the difference is easy to spot once you know what you are looking at.
Root hairs (cilia):
- Appear on day 2-3, especially on radish and broccoli sprouts.
- Look like fine white fuzz or down feathers, growing specifically out of the root.
- Test: Mist them with water — root hairs collapse flat against the root and disappear.
- Verdict: Safe. Normal healthy growth.
Mold (fungus):
- Can appear at any point, usually in spots where water pools.
- Looks like grey or white spiderwebbing, often with black pinhead dots, growing on the seed coat, the jar wall, or the stem — not just the root.
- Test: Stays fuzzy when sprayed.
- Verdict: Discard the batch and sanitize the jar.
Preventing Common Contamination Issues
Contamination prevention is mostly about interrupting the same five pathways: dirty equipment, standing water, overcrowded seed mass, hot ambient temperature, and contaminated water source. The five rules above cover all of them. The single highest-leverage habit is sourcing pathogen-tested sprouting seed — most outbreaks trace back to contaminated seed, not to anything the home grower did wrong after that.
Avoiding Cross-Contamination
Treat your sprouting setup like any other food-prep surface. Never place raw meat or unwashed produce next to your sprouting jars, keep pets away from the counter, and wash your hands before each rinse.
Water Quality Matters
Cool, clean, drinkable tap water is fine for most municipal-water users. If your tap smells strongly of chlorine, fill a pitcher and let it sit uncovered for 24 hours to off-gas before rinsing. If your city uses chloramine (which does not off-gas) and you struggle with germination, switch to filtered water or spring water for the rinse cycle.
Seasonal Considerations
Summer heat and humidity are when most home-sprouting failures happen. In hot weather, rinse three times daily instead of two, keep the jar in the coolest room, run smaller batches, and consider switching to faster-sprouting seeds (lentils, quinoa) that spend less time in the danger window.
The FDA Stance on Sprouts
The FDA classifies raw sprouts as a high-risk food and has done so for decades. The conditions sprouts need to grow — warm temperatures, high humidity, nutrient-rich seed — are exactly the conditions Salmonella, E. coli, and Listeria need to multiply. The FDA’s produce-safety rule for sprouts (the final guidance for industry) requires commercial sprout operations to test spent irrigation water and to apply a 5-log (99.999%) reduction treatment to seed before sprouting — a standard that is essentially impossible to replicate in a home kitchen.
The consumer-facing guidance from FDA, CDC, and university extension services is consistent and worth knowing: children, older adults, pregnant women, and people with weakened immune systems should avoid raw sprouts entirely. That applies to homegrown sprouts just as much as shop-bought — extension services explicitly reject the idea that home growing makes sprouts safer. For everyone else, the standard advice is to cook sprouts thoroughly if you want to eliminate the risk completely.
Cooking Methods That Eliminate the Risk
Cooking sprouts thoroughly is the only way to eliminate the bacterial risk. Light cooking reduces the risk but does not eliminate it.
- Steaming 2-3 minutes: Kills most surface bacteria; sprouts retain some crunch.
- Quick stir-fry (1-2 minutes): High heat briefly applied; works for mung bean sprouts in particular.
- Stirred into hot soups at the end: Residual heat wilts them through.
For high-risk groups, only thorough cooking counts — a brief steam is not enough. The CDC and FDA are explicit that vulnerable groups should avoid raw sprouts of any origin.
Storage Safety
Post-harvest safety comes down to one move: get the sprouts out of the warm danger window and into the fridge quickly. The FDA’s general food-safety guidance is to refrigerate perishable foods within two hours of harvest or cooking, and finished sprouts absolutely qualify. Aim to rinse, drain briefly on a clean towel, and have the container in the fridge within an hour of harvest.
Optimal storage is an airtight container lined with a dry paper towel (to absorb the residual moisture that causes spoilage), kept at 35-40°F (2-4°C) in the coldest part of the fridge. Shelf life varies by sprout type — legumes (lentils, mung beans) keep for 5-7 days, leafy sprouts (alfalfa, broccoli) for 4-5 days, and high-fat seed sprouts (sunflower) for 3-4 days before the oil starts to turn. Check the container daily and pull any single sprout that has gone soft or dark before it spreads.
Detailed Storage Protocol
- Final rinse: Give sprouts one last thorough rinse in cold water.
- Drain briefly: Spin in a salad spinner or spread on a clean towel for 15-20 minutes.
- Container prep: Line an airtight container with a dry paper towel.
- Layer loosely: Place sprouts in the container without packing tight.
- Refrigerate immediately: Coldest shelf of the fridge, not the door.
- Check daily: Replace the paper towel if it dampens, pull anything suspect.
Storage Duration by Sprout Type
- Mung beans: 5-7 days refrigerated
- Alfalfa: 5-6 days refrigerated
- Broccoli: 5-7 days refrigerated
- Lentils: 5-6 days refrigerated
- Sunflower: 3-5 days refrigerated (high fat content shortens life)
- Radish: 4-5 days refrigerated
Emergency Response: What to Do If You Ate Questionable Sprouts
If you accidentally ate sprouts you later suspected were contaminated, the standard foodborne-illness guidance from the CDC applies: watch for symptoms (nausea, vomiting, diarrhea, fever, abdominal cramps) that typically appear within 12-72 hours, stay hydrated if symptoms develop, contact a healthcare provider if symptoms are severe or persist beyond 24 hours, and save any remaining sprouts in case testing is needed.
If you are just starting out with kitchen-counter growing in general, see our urban gardening basics guide.
Why do sprouts sometimes grow mold?
Mold grows when sprouts stay too wet with poor air circulation. The most common causes are insufficient draining after rinsing, overcrowding seeds in the jar, and not rinsing frequently enough (at least twice daily).
How can I tell if my sprouts have gone bad?
Bad sprouts have a sour or ammonia-like smell, slimy texture, or visible mold (fuzzy growth, often green, black, or white). Healthy sprouts smell fresh and earthy. When in doubt, throw them out.
What’s the difference between mold and root hairs on sprouts?
Root hairs are fine, white, fuzzy filaments growing from the root—they’re normal and healthy. Mold appears as fuzzy patches (often colored) on the seeds or sprouts themselves, has a musty smell, and spreads in web-like patterns.
How do I prevent bacterial contamination in sprouts?
Use clean equipment sterilized with food-safe sanitizer, start with high-quality sprouting seeds, rinse 2-3 times daily with clean water, ensure complete drainage, and store finished sprouts in the refrigerator. Never eat sprouts that smell off.
Should I use hot or cold water for rinsing sprouts?
Use cool or room-temperature water—never hot, as heat damages seeds and slows germination. In hot climates, rinsing more frequently with cool water actually helps keep sprouts from overheating and spoiling.
How long can finished sprouts sit at room temperature?
Finished sprouts should refrigerate within 1-2 hours of harvesting. At room temperature above 70°F (21°C), bacteria can multiply rapidly. Never leave finished sprouts out overnight.
Are there safety concerns for immunocompromised people eating sprouts?
Yes—people with weakened immune systems, pregnant women, young children, and elderly should exercise caution with raw sprouts. The FDA recommends cooking sprouts thoroughly for these groups to eliminate bacterial risk.