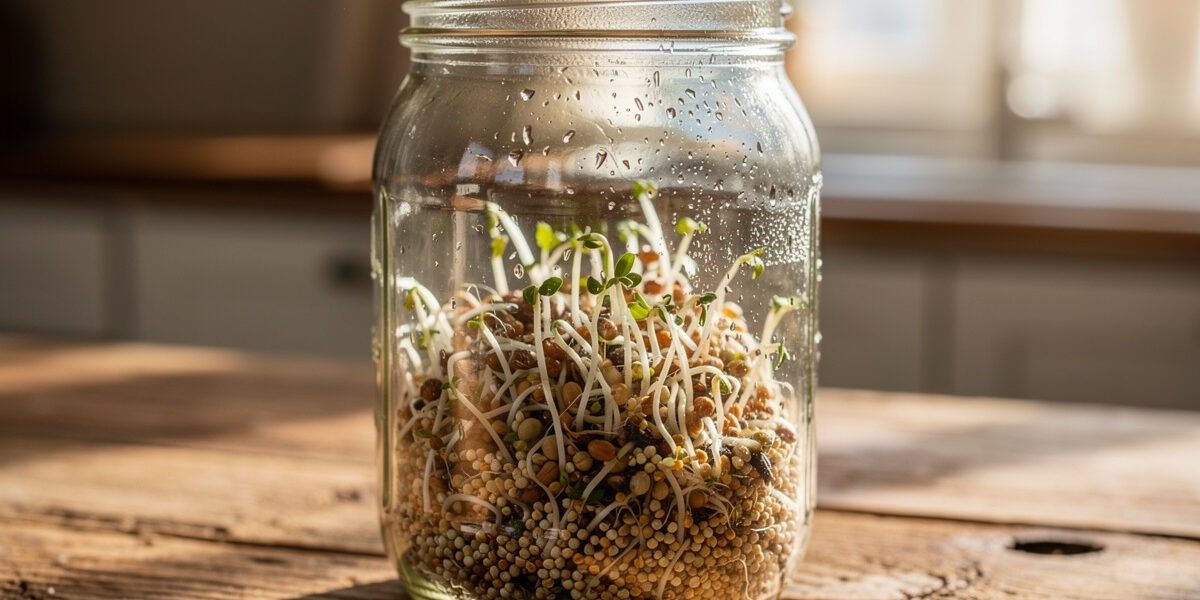
How to sprout quinoa: Soak unpolished, sprouting-grade quinoa for 1-2 hours in a fine-mesh jar, then drain. Tiny white tails appear in 12-24 hours at room temperature — among the fastest sprouts in the kitchen. Harvest the moment the tail shows; quinoa turns slimy almost overnight if left.
For a complete overview of all sprouting methods and seeds, see my complete sprouting guide.
Quinoa is technically a pseudo-cereal rather than a true grain — it is related to spinach and beets and was bred in the Andes for its edible seeds. Most of us only ever boil it as a rice substitute, but the raw, sprouted version is something quite different: crunchy, slightly grassy, and fast enough to fit inside a working week. On my counter it is the only sprout I can start on a Sunday morning and have ready for Monday lunch.
The reason it is so fast is the same reason supermarket quinoa often refuses to sprout: it is a small, oil-poor seed that hydrates in hours rather than days. The trade-off is that anything this small drowns, ferments, or rots just as quickly if you treat it like a chickpea. Quinoa rewards a light hand.
Why Sprout Quinoa?
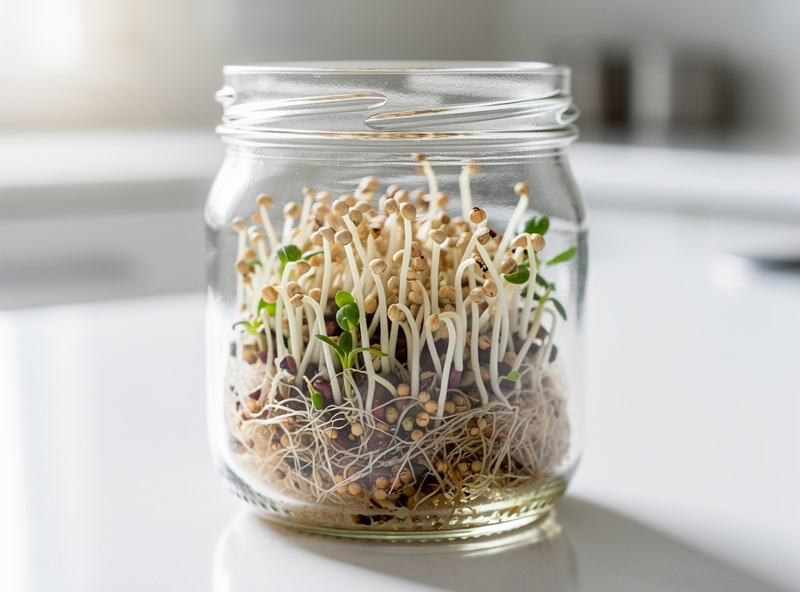
From the counter-grower’s angle, quinoa earns its jar space for three practical reasons. First, it is the fastest sprout most kitchens can run — lentils take two to three days, broccoli takes four to six, and quinoa is done before either has produced a visible tail. Second, sprouted quinoa is one of the few raw seed crops you can fold into a quick salad or bowl without cooking, which matters when the kitchen is hot or the stove is busy. Third, the rinse-and-sprout cycle strips the saponin coating off the seed — that is the bitter soapy layer you can taste on poorly rinsed dry quinoa — and sprouting handles it naturally as part of the process.
- Speed: 12-24 hours from soak to harvest, the fastest common sprout in the kitchen.
- Raw eating: Tender enough to chew without cooking; works in salads, bowls, smoothies.
- Bitterness rinse: The repeated rinsing dissolves residual saponin coating, so the finished sprout tastes cleaner than dry quinoa that has only been quickly washed.
- Nutty flavor: Distinctly different from cooked quinoa — green, fresh, slightly grassy.
- Small-batch friendly: Half a cup of dry seed fills one jar and yields enough for several meals.
Flavor and Texture of Sprouted Quinoa
Where cooked quinoa is soft, slightly earthy, and reads as a neutral base, the sprouted version is something else entirely. The seed stays separate, the texture is a faint pop between the teeth, and the flavor is green and nutty in a way that closer resembles fresh sunflower shoots than any cooked grain. It works the same way cracked bulgur or toasted buckwheat does in a salad — a texture that holds its own against vinaigrette without dissolving into mush.
The little curly tail is the part you notice most. It is more tender than the seed body, almost crunchy but yielding, and once a jar is fully sprouted the whole mass has the slightly humid smell of fresh-cut grass. If you have only ever eaten cooked quinoa, the raw version is closer in spirit to radish sprouts or pea shoots than to porridge.
Culinarily, sprouted quinoa slots in wherever you would use a crunchy raw topping — grain bowls, leaf salads, wrapped in a cold rice-paper roll, or scattered over roasted vegetables at the last second. Heat kills the texture, so add it cold or at the very end.
Crucial: Choosing the Right Seed
As an Amazon Associate I earn from qualifying purchases.This is where most quinoa-sprouting attempts fail. The standard supermarket quinoa you buy for cooking is polished or pre-washed to remove the bitter saponin coating, and the polishing process is aggressive enough to damage or kill the germ — the living embryo inside each seed. Dead seed cannot sprout; it just sits in the jar, goes cloudy, and rots. I learned this the first time I tried to sprout a bag of bog-standard white quinoa from the corner shop and got exactly nothing after three days of patient rinsing.
Successful sprouting needs unpolished, sprouting-grade quinoa. The label will say one of: “whole,” “raw,” “sproutable,” or sometimes “for sprouting.” Health-food shops, bulk-bin co-ops, and dedicated sprouting-seed suppliers are the realistic sources. Organic whole quinoa from a co-op is usually my pick — it has not been through the industrial polishing line.
You also need a fine-mesh strainer or a sprouting lid sized for very small seed. Quinoa seed is small enough to fall straight through a regular colander. The first time I tried, half my crop ended up in the sink. A fine-mesh stainless sprouting lid that fits a wide-mouth Mason jar solves the problem permanently and is the only bit of dedicated gear I bother with for quinoa.
The Short Soak Method
Quinoa is the fastest sprouting seed I have tried — faster even than lentils, and far faster than anything in the broccoli family. The single biggest mistake is over-soaking. Treat it like a bean and you will drown it; treat it like a rinse-only seed (radish, alfalfa) and you are closer to the right rhythm.
Step 1: The 1-Hour Soak
Soak half a cup of quinoa in a jar of cool water for only 1 to 2 hours — never overnight.
Warning: If you soak it overnight like beans, it will almost certainly drown and ferment. Quinoa hydrates fast and needs to breathe.
Step 2: The Fine Mesh
Drain through a fine-mesh strainer or a sprouting lid. A standard wire colander will let the seeds fall straight through — they are that small.
Step 3: Rinse and Drain
Rinse well under cool tap water, then drain completely. Invert the jar at a slight angle over a bowl so any remaining water can drain free. Air circulation is what you want, not standing water.
Step 4: The 24-Hour Wait
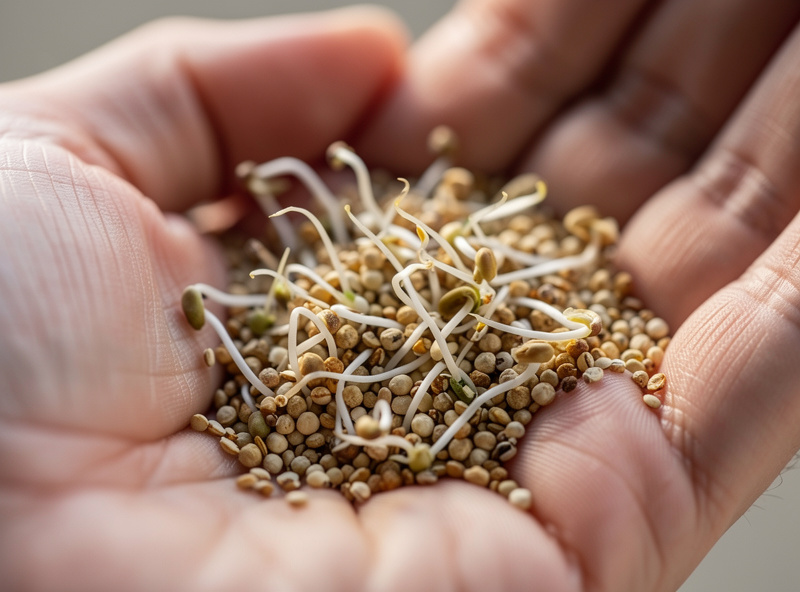
Rinse and drain again after 8-12 hours. By the next rinse (around 24 hours total), you should see a tiny white tail breaking out of each seed.
Harvest now. Quinoa sprouts are at their best when the tail is barely visible — about 1/8 inch. If you let them run longer, they go off very quickly.
Troubleshooting Common Quinoa Sprouting Problems
Quinoa failures almost always trace back to one of four causes: dead seed (polished or old), poor drainage, residual saponin bitterness, or oxidation from harvesting late. Each has a clear signature and a specific fix.
Seeds Not Sprouting at All
The most likely cause is dead seeds. Polished or old supermarket quinoa simply will not germinate — the germ is gone. Buy fresh, sprouting-grade whole quinoa and test a tablespoon before committing to a full batch.
Slimy or Smelly Sprouts
This is bacterial growth, usually from inadequate drainage or too thick a layer of seed in the jar. Quinoa must be thoroughly drained after each rinse, and the jar tilted to let the last drops escape. Spread the seeds around the wall of the jar rather than leaving them in a deep pile.
Sprouts Taste Bitter
Residual saponin. Rinse more aggressively before soaking, and rinse again during sprouting. A short pre-rinse in slightly acidic water (a small splash of apple cider vinegar in the soak water) helps strip the last of the saponin layer.
Sprouts Turn Gray or Brown
This is oxidation or early decay — usually because the sprouts were left too long before harvest or stored wet. Harvest the moment tails appear, dry the sprouts briefly on a paper towel, refrigerate immediately, and use within two to three days.
Storage and Shelf Life
Sprouted quinoa keeps for only 2-3 days in the refrigerator. The high water content that makes it crisp also makes it spoil faster than drier legume sprouts. Spread the freshly harvested sprouts on a paper towel for 15 minutes to wick away surface moisture, then transfer to an airtight container with another paper towel tucked in to absorb humidity. Eat within 72 hours.
- Refrigerator: Airtight container, paper-towel lining, 2-3 days maximum.
- Freezer: Spread sprouts on a baking sheet, freeze solid, then bag. Keeps 2-3 months, though the texture softens noticeably on thaw — best used blended into smoothies after freezing.
- Dehydrator: Dry at around 115°F (46°C) for 6-8 hours to make sprouted-quinoa “crunchies” for salads. Stores for months in a sealed jar.
Always smell sprouts before eating. Fresh quinoa sprouts have a mild, slightly green aroma. Any sour, fishy, or off smell means they have spoiled — compost them and start a fresh jar.
A Note on Sprout Safety
The warm, humid conditions that make seeds sprout are the same conditions bacteria like Salmonella and E. coli thrive in. The FDA’s sprout-safety guidance comes down to a few simple habits for any home setup: buy seed sold specifically for sprouting (it is grown, harvested, and handled to a higher standard than food-grade seed), rinse in clean, cold, running water at every step, refrigerate the finished sprouts, and discard anything that smells off. People who are pregnant, elderly, very young, or immunocompromised should avoid raw sprouts entirely. The FDA Sprout Safety Alliance publishes the full industry-side guidance, and the final FDA produce-safety rule for sprouts covers the same ground in more detail.
Advanced Recipe: Rejuvelac
One of the more interesting uses for sprouted quinoa (or wheat berries) is making Rejuvelac — a tangy, lightly fermented liquid used as a culture starter for some vegan cheese recipes. It is a food-prep ingredient, not a beverage to chase for any reason other than you happen to be making a cultured cashew wheel.
How to make it:
- Take 1 cup of soft, freshly sprouted quinoa (from the steps above).
- Rinse it well and put it in a clean jar with 4 cups of filtered water.
- Cover with a cloth and leave on the counter for 1-2 days, until the liquid turns cloudy and smells lightly tart and lemony.
- Strain off the liquid — that is the Rejuvelac. Discard the spent grains.
- Refrigerate and use within a few days.
If it smells rotten rather than tart, throw it out — fermented cultures can go wrong, and a bad Rejuvelac is unmistakable.
Recipe: Sprouted Quinoa Porridge
If raw sprouts are not your thing, you can still cook them. Sprouted quinoa makes a softer, slightly sweeter porridge than the dry grain because the seed has already started to break down.
- 1 cup sprouted quinoa
- 1/2 cup almond milk (or any milk)
- 1 banana
- Cinnamon and honey to taste
Blend the sprouted quinoa with the milk and banana. Warm it gently on the stove (do not boil) for a creamy, lightly sweet breakfast.
More Ways to Use Sprouted Quinoa
Beyond porridge and Rejuvelac, sprouted quinoa slots in wherever you want a raw, crunchy, slightly nutty seed topping:
- Salad topper: Scatter a handful over any green salad for crunch.
- Smoothie body: Blend into fruit smoothies for texture and bulk.
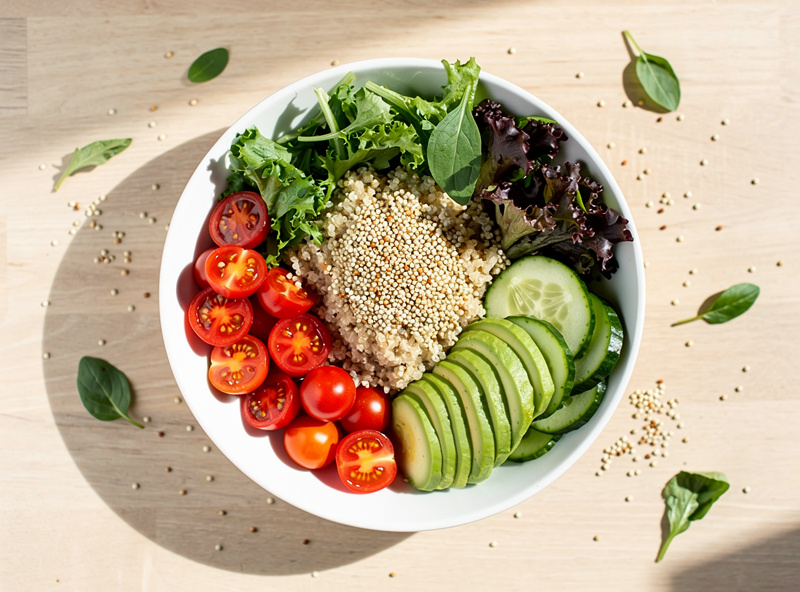
- Buddha bowls: Use raw, alongside or instead of cooked grains, for a fresher-tasting bowl.
- Dehydrated crackers: Blend with vegetables and dehydrate into raw crackers.
- Energy balls: Mix with dates and nuts for no-bake snacks.
Why won’t my quinoa sprout?
Most supermarket quinoa is polished to remove the bitter saponin coating, which often damages the germ and prevents sprouting. Look for quinoa labeled whole, raw, or sproutable from health food shops or sprouting-seed suppliers.
How fast does quinoa sprout?
Quinoa is one of the fastest sprouting seeds, usually 12 to 24 hours from soak to harvest. After a short 1-2 hour soak (never overnight), tiny white tails appear within a day. Harvest the moment tails show.
Can I eat sprouted quinoa raw?
Yes. Sprouted quinoa has a pleasant crunch and a fresh, slightly nutty flavor. Add it raw to salads, grain bowls, or smoothies. Cooking softens it back to a porridge-like texture.
What equipment do I need to sprout quinoa?
A wide-mouth Mason jar, a fine-mesh sprouting lid or nut-milk bag (quinoa seed is small enough to fall through a regular colander), and a bowl to catch drainage. That is the full kit.
Why does quinoa sprout so fast?
Quinoa is a small pseudo-cereal seed that hydrates quickly and germinates fast in nature to establish itself before dry conditions return. In a kitchen jar that means 12-24 hours from soak to harvest.
How do I store sprouted quinoa?
Refrigerate sprouted quinoa in an airtight container lined with a paper towel, and use within 2-3 days. The high water content that makes it crisp also makes it spoil faster than drier legume sprouts.
Is sprouting quinoa safe?
Follow basic sprout-safety habits: buy seed grown for sprouting, rinse in clean cold running water at every step, refrigerate the finished sprouts, and discard anything that smells off. People who are pregnant, elderly, very young, or immunocompromised should avoid raw sprouts.