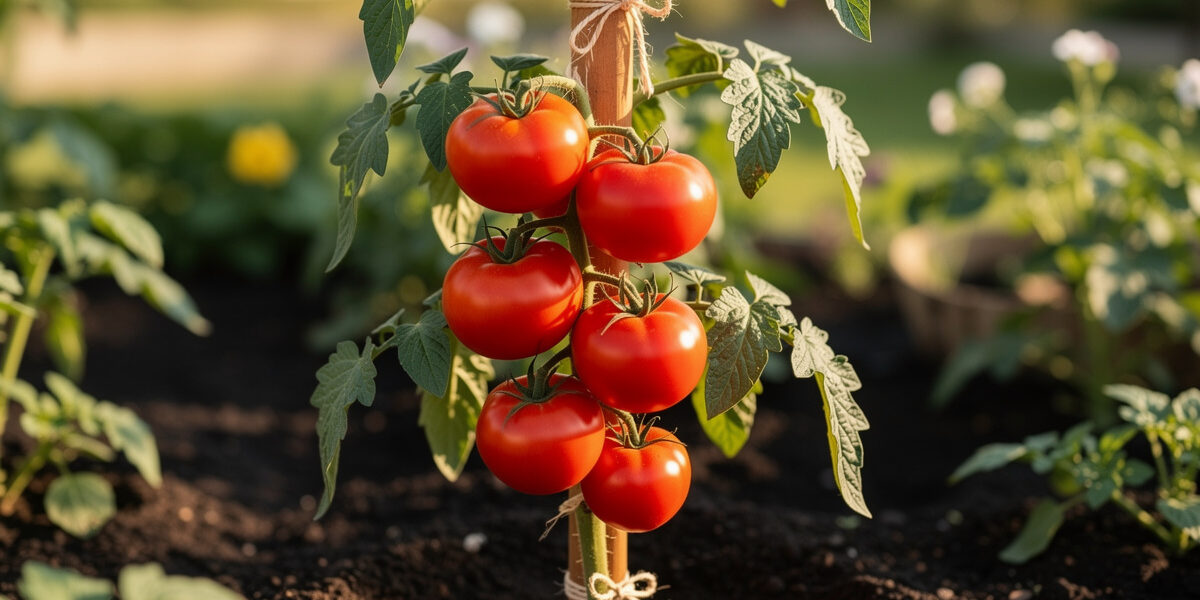
Single-stake staking is one of the highest-yield-per-square-foot support methods there is — and it is the only one I use on my balcony because every square foot has to earn its keep through a short Nordic season. A properly staked and pruned indeterminate vine packs far more fruit into a given footprint than the same plant left to sprawl, and the fruit stays cleaner and healthier. The trade-off: 5 minutes per plant per week through the season for tying and suckering. This guide covers the single-stake method specifically (not multi-plant trellises — for those, see Trellis for Tomatoes: Cages, A-Frames & Florida Weave). The method works best for indeterminates and tall semi-determinates; for compact bush types, a CRW cage is simpler.
Why Single-Stake Beats Cages for Indeterminates
The standard tomato cage was designed around a determinate plant under 4 feet. An indeterminate variety in a cage hits the top by July, then the vine collapses outward over the cage rim, dragging fruit toward the ground and creating the dense matted canopy that early blight thrives in.
Single-stake training keeps the entire vine vertical on a 7 to 8 foot stake, the canopy open for airflow, and every leaf and fruit accessible. The downside: it requires weekly attention (suckering and tying) that cage growers can sometimes skip.
The payoff is worth the weekly effort. Extension guidance is consistent that staked and trained tomatoes hold their fruit and foliage up off the soil, which keeps the fruit cleaner, cuts losses to rot and soil-borne disease, and opens the canopy so leaves dry quickly after rain and dew — the conditions that keep foliar disease from taking hold (Rutgers NJAES Cooperative Extension). On a cramped balcony it also means I can pack the plants closer together without turning the corner into a damp, disease-prone thicket.
For the type-by-type breakdown of which support fits which tomato, see Tomato Plant Types: Determinate vs Indeterminate vs Dwarf. For the indeterminate-specific care arc, see Indeterminate Tomatoes: Varieties, Pruning & Yield.
Choosing the Right Stake Material
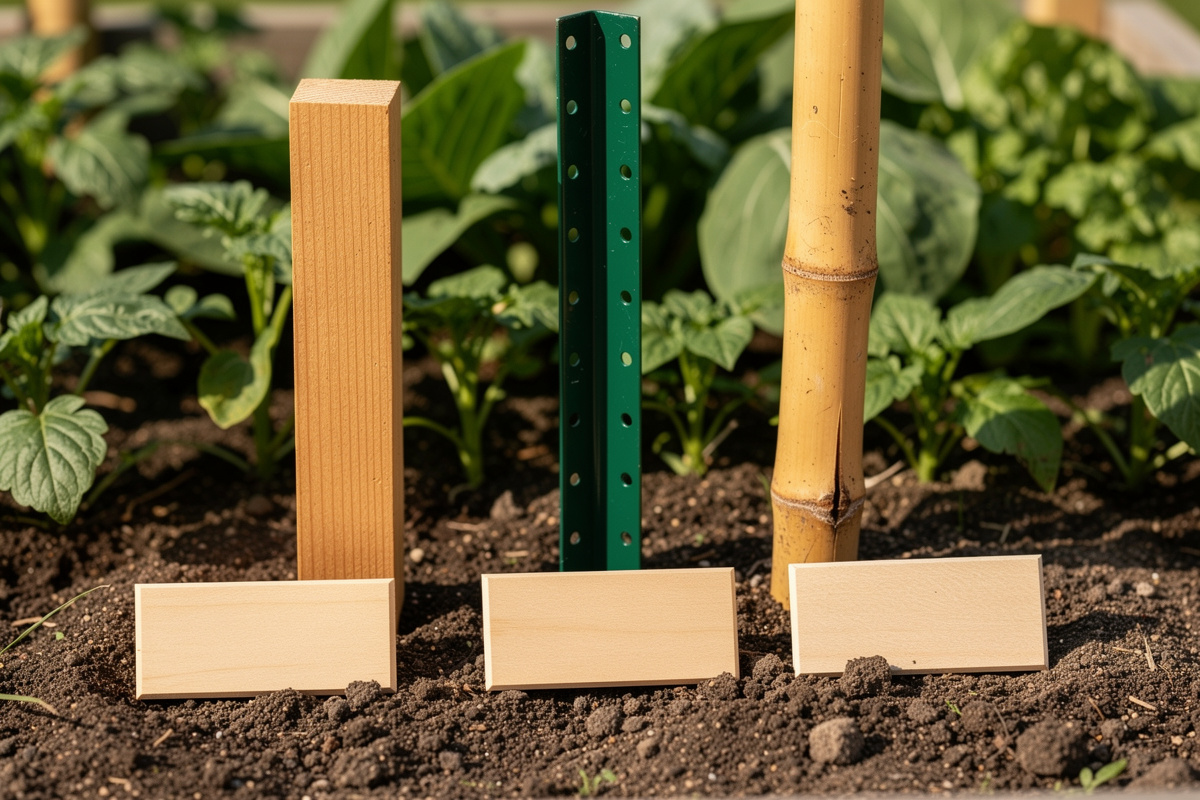
Three viable stake materials, each with trade-offs:
- Wooden 2×2 (8 feet long, untreated cedar or hardwood): The classic choice. $4 to $7 per stake, lasts 5 to 8 seasons. I use hardwood 8-foot stakes on my balcony — I drive each one 18 inches into the fabric grow bag before backfilling, so the stake base is locked into the bag and can’t lean. Cedar resists rot longer than pine. Drive 18 inches deep. Avoid pressure-treated lumber for vegetable beds — modern treatments are food-safer than older formulations but old-school growers still avoid them.
- Metal T-post (6.5 feet, sold for fencing): $5 to $8 each, lasts 15+ seasons. Strongest option in wind, but the cold metal can sun-heat and damage stems on contact — cushion ties with extra twine wraps where the stem meets the post.
- Bamboo (1-inch diameter, 8 feet long): $3 to $5 each, lasts 2 to 4 seasons. Lightweight and easy to drive, but splits along the grain after a season or two of weather. Good budget option if you can’t use wood or metal.
Avoid: rebar (rusts and stains), broom handles (too short and splinter-prone), thin garden stakes under 1 inch diameter (snap under fruit weight).
Install on Transplant Day, Always
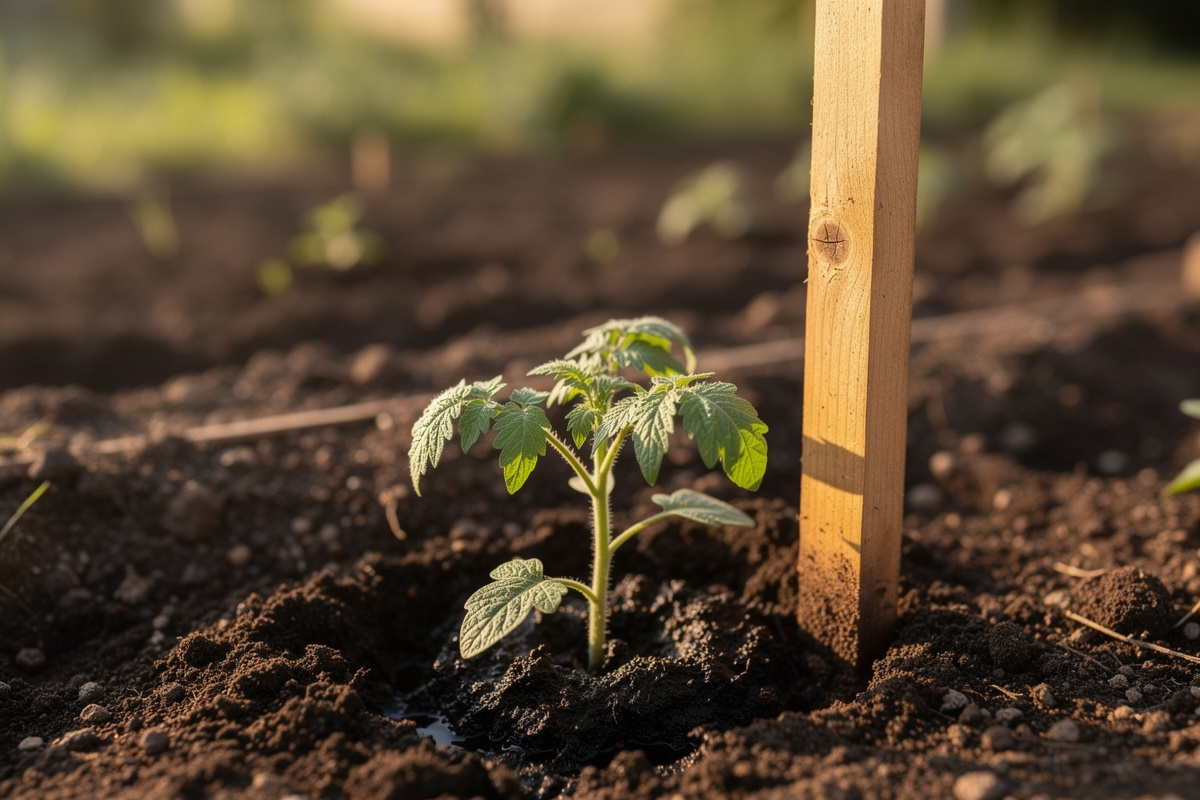
Drive the stake into position before or immediately after setting the seedling in the hole. Reasons:
- Driving a stake six weeks later severs major roots that have spread out from the planting hole, causing transplant-shock-equivalent damage at peak fruiting time.
- You see clearly where to position the stake when the plant is small. After the plant fills out, you’ll guess wrong half the time.
- Early ties are easier. Training a 6-inch seedling to grow against a stake is trivial. Forcing a 4-foot sprawling vine onto a stake later is awkward and damages the plant.
Driving the stake:
- Position 3 to 4 inches from the seedling stem.
- Drive 18 inches deep into firm soil (deeper if your soil is sandy or loose).
- Ensure the stake is plumb. A leaning stake gets worse as the plant adds weight.
- Use a rubber mallet or hammer with a wooden block to avoid splitting the top.
The Figure-Eight Tie
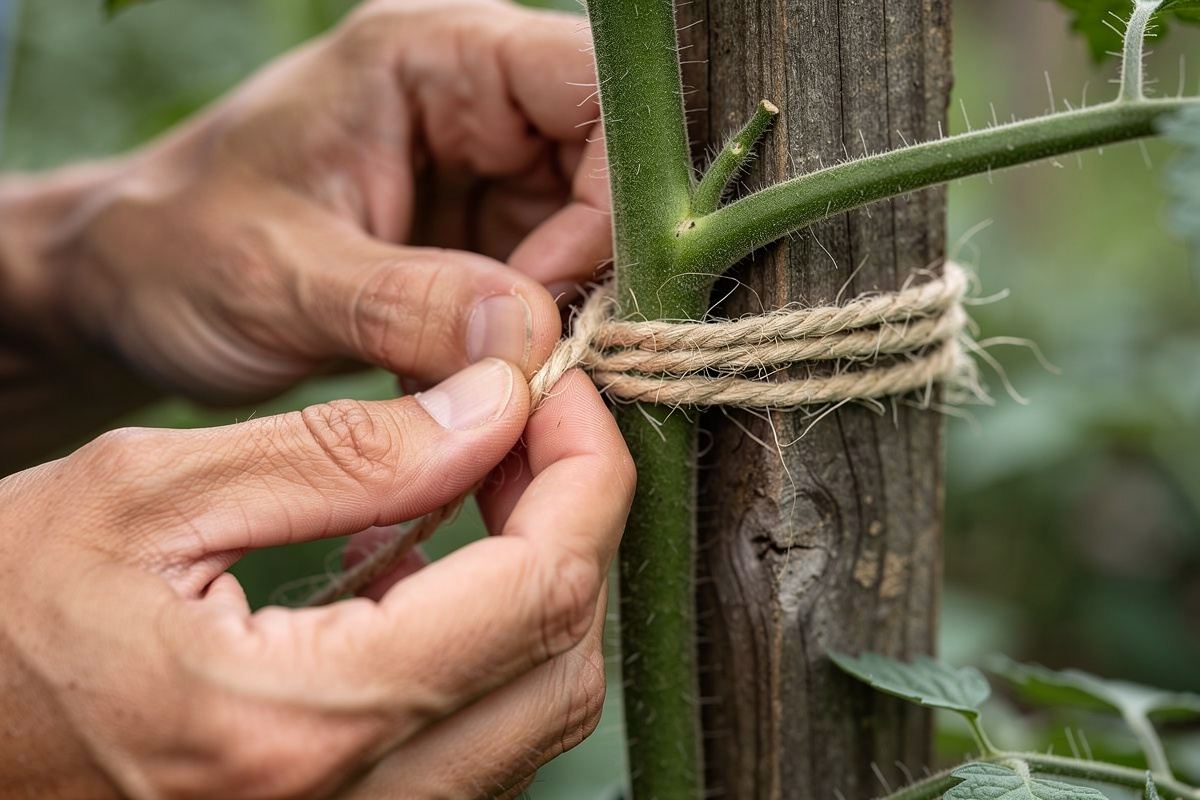
The single most important technique in stake training is the figure-eight tie. A simple loop around stem and stake will girdle the plant as the stem thickens. The figure-eight separates stem and stake with twine in between, leaving room for stem growth.
Method:
- Cut a 12-inch length of soft jute garden twine or stretchy plant tape (avoid wire ties — they cut into the stem).
- Wrap the twine around the stake first, knotting once.
- Bring both ends forward, cross them between stem and stake to form an X.
- Wrap each end around the stem (one going clockwise, one counterclockwise) so the stem is loosely cradled.
- Tie off in front of the stem with a square knot.
The finished tie should be loose enough to slip a pencil between stem and twine — not tight against the stem. Add a new tie every 8 to 12 inches as the plant grows. By season’s end, an 8-foot indeterminate will have 8 to 10 ties along its length. It is worth glancing at the oldest, lowest ties once a month, too: the main stem thickens fastest at the base, and a tie that was loose in June can start biting into the stem by August if you never re-check it.
The Weekly Suckering Routine
Single-stake training only works if you maintain a single leader. Suckers — the secondary shoots that emerge in leaf axils — must be removed weekly, or the plant becomes a 4-leader bush that overwhelms the stake.
Inspect every Sunday morning:
- Pinch off any sucker under 3 inches with thumb and forefinger.
- Use clean pruners for larger suckers — tearing wounds the main stem.
- Tie any new growth at the top to the stake.
- Strip yellowing or shaded lower leaves once the plant is 3+ feet tall.
The full suckering, topping, and lower-leaf pruning routine is in Pruning Tomato Plants: Sucker Removal & Topping.
Spacing for Staked Plants
Staked indeterminates can be spaced tighter than caged plants because they grow vertically rather than outward:
- Standard spacing: 24 to 30 inches between staked indeterminates in a row.
- Row spacing: 36 inches minimum, 48 inches if you want walking access between rows.
- Container spacing: One staked plant per 10-gallon container minimum.
Don’t go tighter than 24 inches even with single-stake training — root competition and airflow problems still apply, even with vertical canopy management.
Common Single-Stake Problems
- Plant outgrows the stake. Your stake is too short, the variety is taller than you expected, or both. Lash an extension stake (4 ft) to the original with twine at multiple points. Or stop the leader at the top of the stake by topping — see the topping cutoff dates in Indeterminate Tomatoes.
- Stake leans or falls. Insufficient depth (you went 8 inches when you needed 18) or soft soil. Drive a second stake at a 45-degree angle as a brace, or replace and re-drive deeper.
- Twine cuts into the stem. Your tie is too tight or made with the wrong material. Cut and replace with a looser figure-eight tie in soft twine.
- Vine bends sharply between ties. You spaced ties too far apart. Add intermediate ties every 8 inches; never let the unsupported gap exceed 12 inches.
- Stake breaks under fruit weight. Almost always a bamboo failure or an old/rotted wooden stake. Replace with a metal T-post for the rest of the season.
End-of-Season Stake Care
After harvest, pull stakes from the ground while soil is still soft, before fall rains turn it to mud. Scrub off any plant debris (which can carry next year’s disease) with a stiff brush, and store stakes dry under cover. Wooden stakes left outside for winter rot 2× faster than stored stakes.
For the season-long care arc that ties stake training together with feeding, watering, and harvest, see Tomato Plant: Complete Outdoor Growing Guide.
On my balcony the staking routine is five minutes every Sunday morning through July and August — pinch off the suckers that have appeared, tie the new growth at the top, and move on. The single-stake method is the reason my one indeterminate slicer produces more usable fruit than two unsupported plants ever did. A sturdy 8-foot hardwood stake, a roll of soft garden twine, and clean pruners are the only tools the method requires. I label each stake at the base with the cultivar in permanent marker before it goes in, so I know exactly which plant is which once the foliage fills in and the balcony becomes a wall of green. As an Amazon Associate I earn from qualifying purchases.
Single-Stake vs Cage Through a Short Season
After three seasons of trying both, I use a single heavy stake for determinate cherry tomatoes and a cage for indeterminate Sungolds. The single-stake approach works because determinate plants stop growing at 3 to 4 feet and the stake only needs to support the flush of fruit that ripens over a three-week window. The indeterminate Sungold in a cage keeps producing into September, and a cage distributes the weight across several contact points instead of one — a single stake cannot handle the weight of a mature Sungold in full fruit by late August.
I drive the stake into the fabric pot before transplanting the seedling, because staking after the roots have filled the container damages them and sets the plant back by a week at the worst possible time in a short season. I use 6-foot galvanized steel stakes coated in green plastic, driven a full foot into the pot. A single tie at 18 inches and another at 36 inches is enough for a determinate variety; indeterminates get a third tie at 54 inches that I adjust upward as the plant grows through August. The stakes have lasted three seasons on the balcony without rusting, and the green coating blends into the foliage rather than standing out as a metallic spike among the leaves.
Frequently Asked Questions
How tall should a tomato stake be?
7 to 8 feet above ground for indeterminate varieties, 4 to 5 feet for semi-determinates, 4 feet for determinates. Drive 18 inches into soil for stability, so total stake length is 8.5 to 10 feet for indeterminates. Most home gardeners under-buy stake length and regret it by August.
What is the best material for tomato stakes?
Untreated cedar or hardwood 2×2 lumber for most home gardeners — durable, easy to drive, gentle on stems. Metal T-posts last longer but can heat-damage stems and require careful tie cushioning. Bamboo works on a budget but only lasts 2 to 4 seasons.
How do I tie a tomato to a stake without damaging the stem?
Use the figure-eight tie: wrap soft jute twine around the stake first, cross both ends between stem and stake to form an X, then loop loosely around the stem and tie off. The twine separates stem from stake and accommodates stem thickening as the plant grows.
When should I install tomato stakes?
On transplant day, before the seedling is in the ground. Driving a stake into established roots six weeks later severs the root system and shocks the plant during peak fruit production. Always plan support before planting.
How often do I need to tie a staked tomato?
Add a new tie every 8 to 12 inches as the plant grows. For an indeterminate that reaches 7 to 8 feet, expect 8 to 10 ties total over the season. Tie weekly along with sucker removal as part of one Sunday-morning routine.
Can I stake a determinate tomato?
You can, but it’s overkill — a 4-foot CRW cage holds a determinate without weekly maintenance. Reserve single-stake training for indeterminates and tall semi-determinates where the height advantage actually matters.
Related Articles
- Tomato Plant: Complete Outdoor Growing Guide
- Trellis for Tomatoes: Cages, A-Frames & Florida Weave
- Indeterminate Tomatoes: Varieties, Pruning & Yield
- Pruning Tomato Plants: Sucker Removal & Topping
- Tomato Plant Types: Determinate vs Indeterminate vs Dwarf
- Tomato Seedlings: Hardening Off & Transplanting