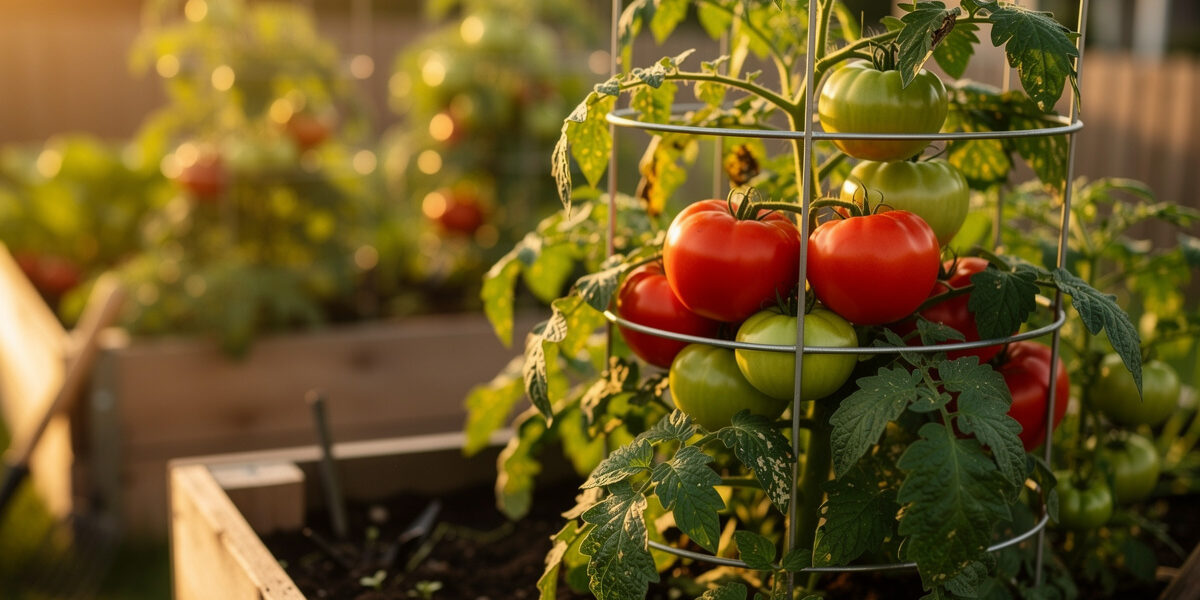
A healthy tomato plant yields 10 to 30 pounds of fruit across a 90 to 110 day season — provided it gets 6+ hours of direct sun, transplant-ready soil at 60 to 85°F, 24 to 36 inches of spacing, and the right support for its growth habit.
I run determinate cherry tomatoes on my balcony in fabric grow bags through a Swedish summer where the frost-free window is short and every week of ripening time counts. The four variables above are the difference between a plant that fills a harvest bowl and one that produces three sad fruits before the first October frost. Below is the full outdoor lifecycle — transplant day through last harvest — with the timing, spacing, container depth, and feeding numbers that hold up in a short-season Nordic climate, plus the gear I actually use on my own balcony setup.
Tomato Plant Basics: Botany, Lifecycle, and Why Outdoor Wins
The tomato (Solanum lycopersicum) is a warm-season perennial grown as an annual outside USDA zones 10–11. From transplant to first ripe fruit takes 55 to 80 days for most cherry types and 75 to 95 days for slicers and beefsteaks — and outdoor plants outperform indoor ones on every metric that matters. Field-grown tomatoes get 5 to 8 hours of full-spectrum sunlight versus the 200 watts a typical indoor LED delivers, see roughly 4× the pollinator visits, and benefit from natural wind-thickening of stems. Indoor growing is a workable backup for apartment gardeners — see the dedicated Grow Lights for Tomatoes guide for that path — but if you have any usable outdoor space, the rest of this guide is the higher-yield route.
Tomato Plant Types at a Glance
The first decision before you put a single plant in the ground is growth habit. Determinate, indeterminate, and dwarf tomatoes need completely different spacing, support, and pruning strategies — getting this wrong is the single most common reason home gardeners under-yield. Use this comparison to match the plant to your space:
| Type | Mature Height | Harvest Window | Spacing | Best Support | Pruning Need | Best For |
|---|---|---|---|---|---|---|
| Determinate (bush) | 3–4 ft | 3–4 weeks (one flush) | 24 in | Square cage | None — never top | Canning, single-batch processing, container gardens |
| Indeterminate (vine) | 6–10+ ft | Continuous until frost | 36 in | Tall stake, trellis, or extended cage | Weekly suckering required | Slicers, fresh eating, long-season harvest |
| Dwarf | 2–3 ft | Continuous, smaller scale | 18–24 in | Short stake or small cage | Light suckering only | Patios, balconies, 5+ gallon containers |
| Semi-determinate | 4–5 ft | Extended single flush | 30 in | Tall cage | Light suckering below first cluster | Compromise option for short seasons |
For the deeper variety guide including specific cultivars in each class, see Tomato Plant Types: Determinate vs Indeterminate vs Dwarf. If you’ve already decided you want long-season harvesting, jump to Indeterminate Tomatoes: Varieties, Pruning & Yield for the full management routine.
When to Plant Tomatoes Outdoors
The single rule that beats every “plant after Mother’s Day” rule of thumb: soil temperature at 4 inches deep must read 60°F for three consecutive mornings before transplant. A $12 soil thermometer pays for itself in one season — tomatoes set into 55°F soil sulk for two weeks and never fully recover their root momentum.
In a Nordic climate — my balcony growing season runs roughly mid-May through late September — the soil-temperature rule is even more important because a late-April warm spell can trick you into transplanting into soil that’s still 50°F underneath. I’ve lost more plants to impatience in late May than to any disease. Practical date ranges by USDA zone:
- Zones 3–4: Late May to mid-June. Use black plastic mulch laid two weeks before transplant to pre-warm the bed.
- Zones 5–6: Mid-May to early June. Most reliable window is 7–10 days after the average last frost date.
- Zones 7–8: Early to late April for the spring crop, plus a second August planting for fall harvest in zones 8a+.
- Zones 9–10: February through March for spring; September for fall. Skip the hottest months — fruit fails to set above 92°F daytime / 75°F nighttime.
If you’re starting from seed rather than buying transplants, that work happens 6–8 weeks earlier indoors — see Starting Tomato Seeds Indoors for the full germination protocol, or the Direct Sow Outdoors guide if you garden in zones 9–11 where direct sowing is viable.
Site Selection: Sun, Spacing, and Soil Prep
Tomatoes are heliotropic and ravenous. The non-negotiables:
- Sun: 6 hours minimum, 8+ hours ideal. Track shade patterns at three points across the day before committing the bed.
- Soil pH: 6.2 to 6.8. Outside this band, calcium uptake stalls and blossom end rot becomes near-guaranteed.
- Drainage: Water must clear the root zone within 30 minutes of a heavy rain. Standing water = root rot, full stop.
- Air flow: 24 inches of clearance between the canopy and any wall, fence, or neighboring crop. Stagnant air drives early blight and septoria.
For bed prep, work 2–3 inches of finished compost into the top 8 inches of soil two weeks before transplant. If you’re starting fresh in containers — which is how I grow everything on a balcony — skip bagged “potting soil” entirely. It compacts in deep containers and drowns roots by midseason. I mix my own: roughly 40% coco coir, 30% perlite or pumice for drainage, and 30% compost. A handful of worm castings per 5-gallon bag at planting time is the single amendment I’d keep if I had to choose only one — my worm bin runs year-round under the kitchen counter, and the castings deliver the slow-release nitrogen and microbial life that bagged fertilizer can’t match. If you’re amending a poor base, the Soil and Compost guide covers the ratios. For container or raised-bed growers specifically, Best Potting Soil for Tomatoes goes deeper on the medium itself, and Best Soil for Raised Beds covers the larger mixes for in-ground beds.
Transplanting Hardened-Off Seedlings into the Garden
Healthy nursery or homegrown seedlings should be 6–10 inches tall, deep green, with stems thicker than a pencil. The first year I grew tomatoes on my balcony I skipped hardening off entirely — moved six seedlings straight from the indoor LED shelf to full May sun on a Saturday afternoon. By Monday morning five of them had white sunscald patches across every leaf and two never recovered. Now I harden off over 7 to 10 days: 1 hour outside on day one in dappled shade, add an hour each day, and don’t leave them in full direct sun until day five. It’s slow but the seedlings that survive are the ones that produce. The transplant procedure:
- Harden off for 7–10 days first. Skipping this step kills more first-year tomato gardens than any pest. The full hardening-off and first-week-care routine lives in Tomato Seedlings: Hardening Off & Transplanting.
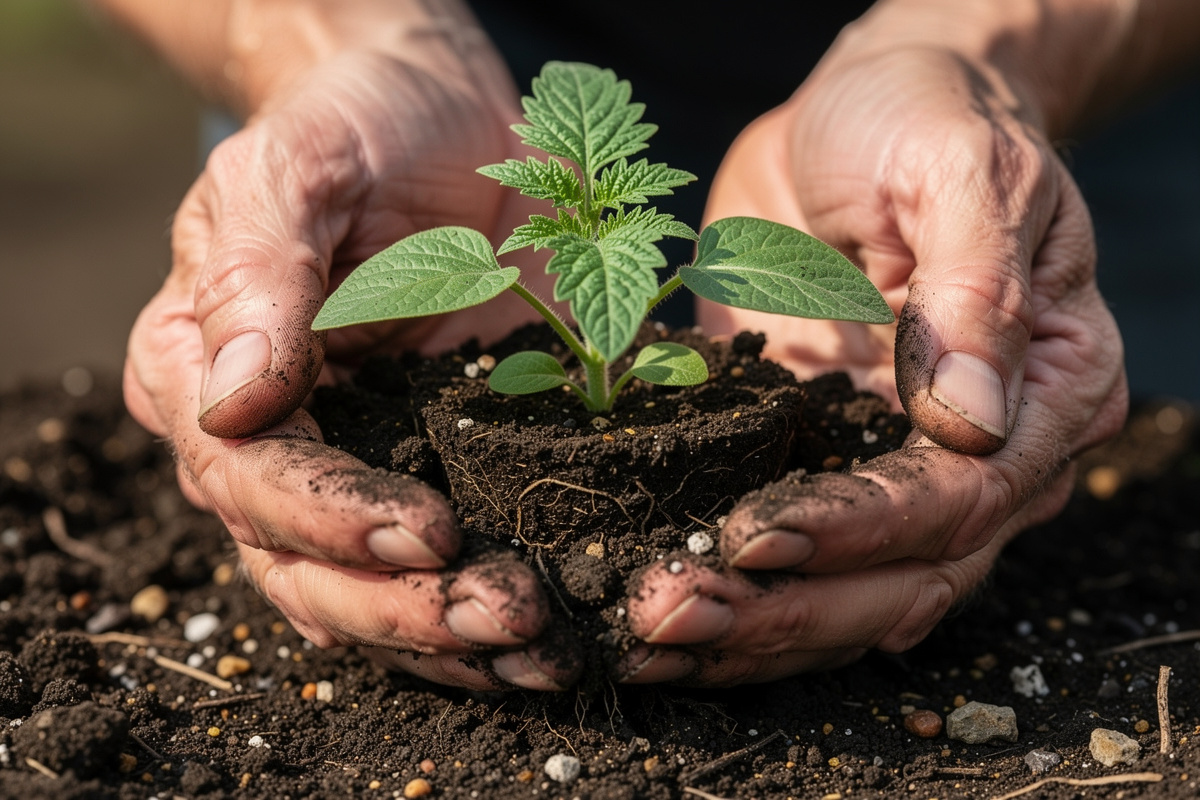
- Dig a deep hole. Tomatoes root from any buried stem section. Bury the seedling so only the top 4 inches of foliage remain above ground — this triples the root mass within three weeks.
- Pinch off the lowest leaves that would end up underground. Add a tablespoon of bone meal and a tablespoon of crushed eggshell to the hole for slow-release calcium.
- Water in with 1 gallon per plant at the base, not on the leaves.
- Install support immediately. Driving a stake into an established root ball six weeks later will damage the plant — do it on day one.
Support Structures: Stakes, Cages, and Trellises
Choosing the right support system starts with knowing what type of tomato you’re growing and how much vertical space you can commit. The three workable approaches:
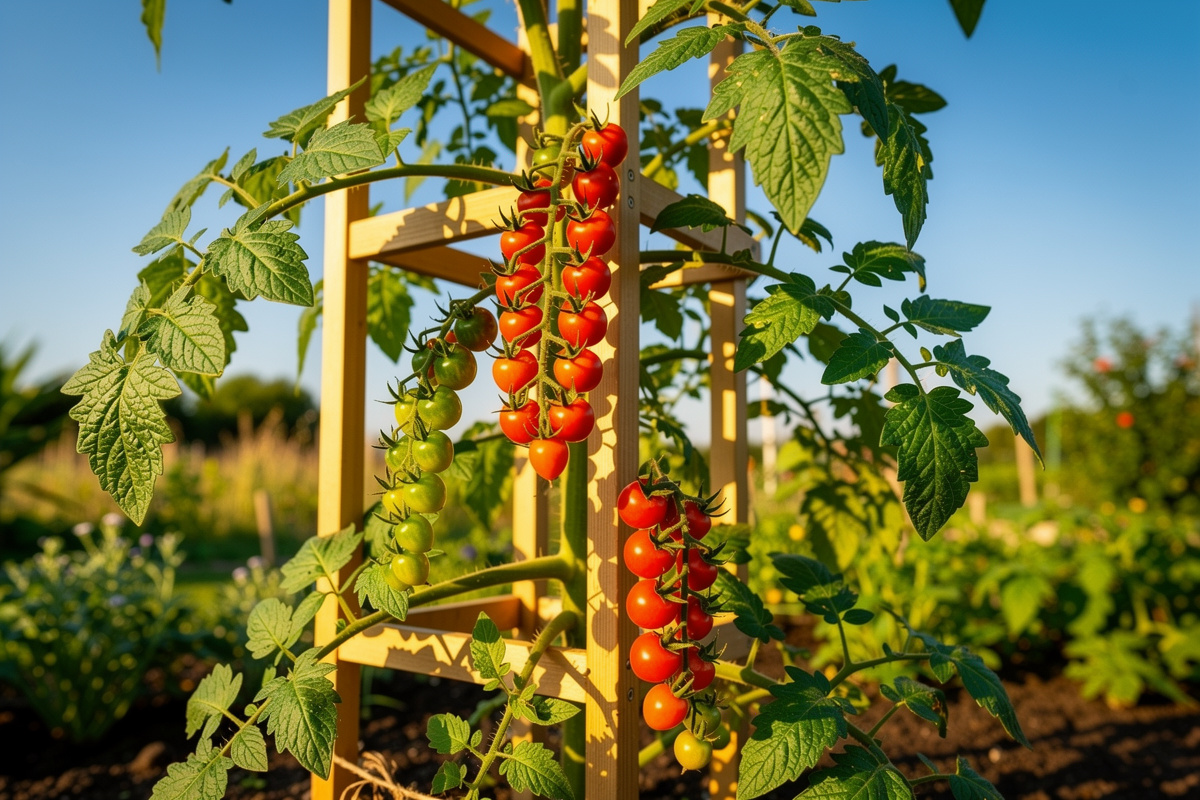
- Single stake (Florida method): One 6–8 ft stake per indeterminate plant, twine tied figure-eight style every 12 inches as the plant grows. Highest yield-per-square-foot, requires weekly maintenance. Full method in Staking Tomatoes: Single-Stake Method.
- Cages: Best for determinates and dwarfs. Skip the flimsy 3-ring cone cages from big-box stores — they collapse by July. Use 5-foot concrete reinforcing wire cages instead.
- Multi-plant trellis (A-frame, Florida weave, cattle panel): Best for rows of 4+ plants. Lower per-plant cost, faster to set up than individual cages. The full structures comparison lives in Trellis for Tomatoes: Cages, A-Frames & Florida Weave.
Vertical-space-constrained gardeners can also lean on the techniques in the Vertical Vegetable Garden and Vertical Gardening Complete Guide for trained growth on walls and railings.
Watering and Mulching Through the Season
Tomatoes need 1 to 2 inches of water per week, delivered as deeply and infrequently as possible — 1 deep soak is worth 5 shallow ones (NC State Extension). Drip lines or soaker hoses are vastly better than overhead sprinklers, which wet the foliage and invite fungal disease. Inconsistent watering is the direct cause of two of the most common tomato problems: blossom end rot (calcium can’t move when soil swings wet–dry–wet) and fruit splitting (rapid water uptake after drought stress).
Mulch is non-optional. A 3-inch layer of straw, shredded leaves, or grass clippings — applied two weeks after transplant once the soil has fully warmed — does four jobs at once: holds moisture even, regulates soil temperature, smothers weeds, and prevents soil-borne fungal spores from splashing onto lower leaves during rain. Skip the mulch and you’ll spend the rest of the summer fighting early blight. One note for fabric grow bag growers: fabric sides increase evaporation rate by roughly 30% compared to plastic pots — on my balcony during a July heat wave, I check the top inch of soil daily and the 5-gallon bags sometimes need water every morning while the larger 10-gallon bags hold moisture for two days. A drip tray underneath catches what runs through and lets the root zone reabsorb it over the next few hours.
Feeding Tomatoes from Transplant to Harvest
Tomatoes are heavy feeders, but timing the nutrient ratio matters more than the total amount applied. The short version: high-phosphorus at transplant, balanced through vegetative growth, then high-potassium once flowers appear. Feed nitrogen aggressively early and you’ll grow a 6-foot leaf factory with three sad fruits.
The full week-by-week NPK schedule with specific products and rates is in Fertilizing Tomatoes: NPK Schedule by Growth Stage. For the feeding side, I supplement the worm castings in my mix with a water-soluble tomato fertilizer every 10 to 14 days once flowers appear — containers leach nutrients faster than in-ground beds, and in a fabric bag the constant wet-dry cycle flushes soluble nutrients out the sides. If you’re growing in containers, pair that schedule with the medium recommendations in Best Potting Soil for Vegetables.
Pruning, Suckering, and Topping Indeterminate Vines
On my balcony, pruning strategy is mostly about growing the right type in the first place — which is why I lean heavily on determinate cherries that never need a sucker removed. When I do run an indeterminate variety in a 10-gallon fabric bag against the balcony rail, I prune to a single leader and tie it to a 6-foot hardwood stake with soft garden twine tied figure-eight style — one plant, one leader, zero side branches below the first flower cluster. This keeps the canopy narrow enough that all three bags on the rail still get airflow and light.
Determinate plants need no pruning ever — every leaf the plant makes is one it’ll need to ripen its single-flush crop. Indeterminate plants are the opposite: weekly sucker removal redirects energy from leaf production to fruit production and roughly doubles per-plant yield in tested conditions. Topping (cutting the main growing tip) 30 days before your average first frost forces remaining green fruit to ripen rather than the plant making new flowers it can’t finish.
The full pruning routine — which suckers to remove, which to leave for back-up leaders, when to strip lower leaves for airflow, and the topping cutoff date by zone — is in Pruning Tomato Plants: Sucker Removal & Topping.
Common Pests and Diseases to Watch For
The short list of what to scout for weekly — based on what actually shows up on my balcony plants season after season:
- Tomato hornworm: 4-inch green caterpillars that strip a plant overnight. Hand-pick at dusk; Bacillus thuringiensis (Bt) for outbreaks.
- Aphids: Cluster on new growth. Strong water spray clears 80% of infestations; ladybugs handle the rest.
- Early blight: Brown bullseye spots on lower leaves. Strip affected leaves, mulch heavily, and rotate beds yearly.
- Septoria leaf spot: Small dark spots with light centers. Same response as early blight; copper fungicide if widespread.
- Blossom end rot: Black sunken patch on the fruit base. Not a disease — calcium uptake failure caused by uneven watering or low soil pH rather than a lack of calcium in the soil (University of Maryland Extension). Fix the watering schedule, retest soil pH, and don’t bother with calcium sprays (they don’t reach the developing fruit fast enough).
- Fungus gnats (in containers/seedlings): See the Fungus Gnats in Houseplants guide for full identification and treatment.
Companion Planting for Healthier Tomatoes
A few well-chosen companion plants reduce pest pressure, improve pollination, and raise per-bed yield. The deep guide with specific spacing for each pairing is in Companion Planting for Tomatoes: 12 Best & Worst Pairings. The 30-second version: basil, marigolds, nasturtiums, and carrots help; brassicas (cabbage, broccoli), corn, and fennel hurt. Never plant tomatoes within 4 feet of last year’s tomato or potato bed — both are nightshades and share the same soil-borne pathogens.
On a balcony the companion-planting space is tight, so I’m selective: a pot of basil tucked between two tomato bags does double duty — the thrips and whiteflies that would normally find the tomatoes hit the basil first, and by the time the basil is bolting in late July the tomatoes are setting fruit at full speed anyway. Marigolds (‘Naughty Marietta’ is the dwarf variety I use) edge the rail-side bags and keep nematode pressure to zero in the reused soil mix. I skip nasturtiums entirely — they attract aphids in a container setup, and on a small balcony you don’t have the predator-insect population to clean up after them.
Harvesting and Ripening
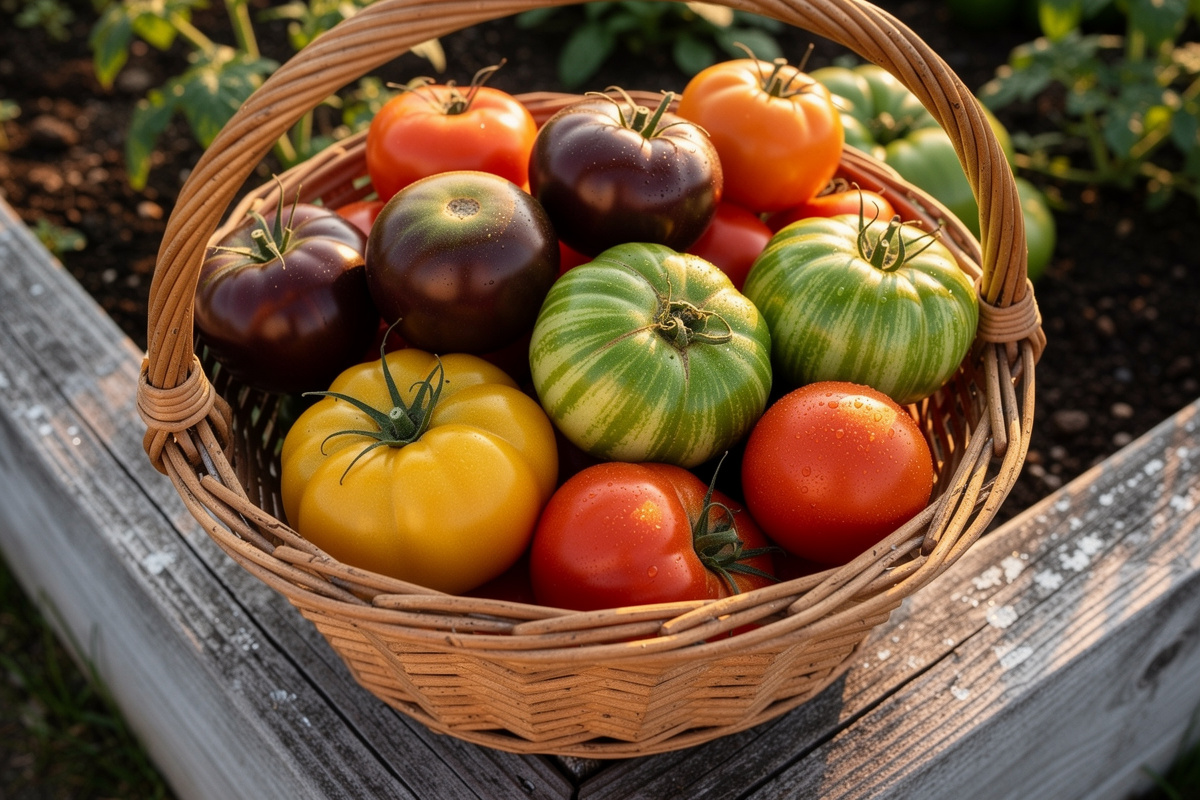
Pick tomatoes at the “breaker stage” — when the first blush of color appears on the bottom — and ripen them on a kitchen counter at 65–70°F. Vine-ripening past breaker stage gives marginal flavor improvement at the cost of much higher pest, split, and bird-damage risk. Refrigeration below 55°F destroys flavor compounds permanently; once a tomato has been chilled, you cannot recover it.
For variety-specific harvest cues — like the orange-blush-but-still-firm window for Sun Gold cherries — see Sun Gold Tomato Plants: Growing the Sweetest Cherry. If you’re sourcing seeds for next year, the Tomato Heirloom Seeds guide covers reputable seed houses and the open-pollinated varieties worth growing. For the cherry types I run on the balcony — fast-maturing varieties that ripen before the Nordic September cooldown — start with a packet of determinate cherry tomato seeds and you’ll be picking by late July.
Common First-Year Mistakes That Kill Tomato Yields
Across thousands of home garden questions, the same handful of mistakes account for the bulk of failed first-year tomato crops. Avoiding these is worth more than any fancy technique:
- Transplanting too early. A warm afternoon in early May does not mean the soil is ready. Tomatoes set into 55°F soil lose two weeks of root development they never recover. Wait for 60°F at 4 inches deep, three mornings in a row.
- Skipping hardening off. Greenhouse-grown nursery seedlings have soft tissue and no UV tolerance. Moving them straight from the garden center to full sun causes sunscald that mimics disease and stunts the plant for the season.
- Planting too shallow. Tomatoes are one of the few crops that root from buried stem. Burying the seedling deep — leaving only the top 4 inches above ground — triples the root mass and is the single highest-leverage transplant trick.
- Overhead watering. Wetting the foliage every evening is the fastest path to early blight, septoria, and powdery mildew. Water at the base, in the morning, deeply and infrequently.
- Wrong support for the type. A 3-foot determinate in a 6-foot stake setup wastes vertical space; a 9-foot indeterminate in a flimsy cone cage will collapse the cage by July. Match the support system to the type from day one.
- Too much nitrogen, too early. A high-nitrogen lawn fertilizer in the tomato bed produces a beautiful 6-foot bush with three tomatoes on it. Use balanced or phosphorus-forward feed at transplant; switch to high-potassium when flowers appear.
- Crowding. Two indeterminate plants 18 inches apart will produce less total fruit than one plant alone — they shade each other, share root zones, and trap moisture in the canopy. Respect the spacing in the comparison table above.
- Ignoring rotation. Tomatoes in the same bed three years running will hit a wall — soil-borne pathogens accumulate quietly, and the symptoms (yellowing, wilting, slow growth) get blamed on weather or weak seedlings. Rotate, or refresh the top 6 inches of soil annually.
Growing Tomatoes Indoors or in Apartments
I grow starts indoors every spring — the seedling shelf under my LED bar runs from late March through mid-May — but I don’t try to carry a full-size tomato plant through to harvest indoors. The light math doesn’t work: a 200-watt LED panel 12 inches above the canopy delivers maybe 400–500 PPFD for 16 hours, which is barely half of what a plant in full outdoor sun receives in a single hour. Indoor tomatoes produce roughly 30–50% less than outdoor plants and ripen slower because the red:far-red ratio under most LEDs doesn’t trigger the same ripening hormone response as sunlight.
If outdoor space genuinely isn’t available — apartment renter, north-facing windows only, urban high-rise — tomatoes can be grown indoors under the right grow light setup, but expect 30–50% lower yield and slower ripening than outdoor plants. The complete indoor protocol, including light spectrum, distance, hours per day, fan placement, and hand-pollination steps, lives in the dedicated Grow Lights for Tomatoes: Indoor Growing Guide. For the broader urban-outdoor approach using balconies and railings, see Balcony Gardening and Container Gardening.
Getting Started This Season: Where to Put Your Effort First
If I were starting a balcony tomato setup from scratch this spring — one trip to the garden center, one afternoon, one season of learning — here is where I’d put the effort. Grab 5-gallon fabric grow bags (they out-drain plastic and never root-bind), fill them with a real container mix rather than bagged potting soil, plant determinate cherry varieties for the fastest path to a harvest bowl, and install a support cage on day one — not six weeks later when the plant is already sprawling. Get those four things right on transplant day and the rest — pruning, feeding, pest scouting — becomes maintenance, not rescue. As an Amazon Associate I earn from qualifying purchases.
Growing Tomatoes in a Short-Season Nordic Climate
Growing tomatoes through a Swedish summer is a race against the calendar. The last frost can linger into late May and the first frost returns by late September — I get roughly 16 weeks of frost-free weather on the balcony. That is enough for a decent harvest but not enough for the 75-day-plus indeterminate beefsteaks that dominate seed catalogs. The strategy is three choices: start indoors early under a grow light in March, choose determinate or compact indeterminate varieties that set fruit in 55 to 65 days, and accept that the season will end before every green tomato on the vine has ripened. The cultivars that earn a spot on my balcony are the early, cold-tolerant ones — ‘Stupice’, ‘Glacier’, and the reliable ‘Sungold’ cherry — rather than the big late beefsteaks that never colour up before the light fails.
A single cherry tomato plant in a 5-gallon fabric pot on a south-facing balcony reliably produces 2 to 3 kg of fruit over the season — enough for daily salads from July through mid-September with a few left over for sauce. The real cold-climate advantage is the long daylight hours: in June and July the balcony gets 16 to 18 hours of sun and the tomatoes grow visibly from morning to evening. The trade-off is that the season ends abruptly. The first cold night in late September blackens the leaves overnight, and any fruit still green at that point gets picked and ripened indoors on the windowsill.
A cardboard flat of green tomatoes on the kitchen counter through October ripens them slowly one or two at a time, providing a final taste of summer well into the dark months. The windowsill ripening trick works best with fruit that has already started to blush — fully green tomatoes picked before the first frost tend to rot rather than ripen. I also wrap a few individually in newspaper and store them in a cool closet, which stretches the ripening window into November for the later-picked fruit.
A single Sungold plant trained on a 6-foot stake with consistent watering and a weekly liquid feed produces more cherry tomatoes than a household of two can eat from mid-July through late September. That one plant is the single most reliable producer on my balcony year after year.
Frequently Asked Questions
How many tomato plants do I need per person?
Plan on 2 to 3 indeterminate plants per person for fresh eating, or 5 to 8 determinate plants per person if you intend to can sauce or paste. A single mature indeterminate plant produces 10 to 30 pounds across the season; a determinate produces 10 to 15 pounds in a single 3-week flush.
What is the minimum container size for an outdoor tomato plant?
5 gallons for a dwarf or determinate variety, 10 gallons minimum for an indeterminate. Smaller pots dry out too fast in summer heat and physically cannot support the root mass a tomato needs to set fruit. Fabric pots outperform plastic for root health because they air-prune circling roots.
Why are my tomato leaves curling up?
Leaf curl from the leaflet edges rolling inward is usually heat stress or wind — the plant is reducing transpiration surface. It is not a disease and the plant will recover when temperatures drop. Curling combined with yellowing or stunted growth is more concerning and usually points to a virus or herbicide drift from a neighboring lawn treatment.
Can I plant tomatoes in the same bed two years in a row?
You can, but yield drops measurably in year two and crashes by year three because soil-borne fungal pathogens accumulate. Best practice is a 3-year rotation: tomatoes, then a non-nightshade crop like beans or lettuce, then a brassica, then back to tomatoes. If you only have one bed, swap in 6 inches of fresh compost each spring and accept some yield loss.
How do I know when to stop watering before harvest?
You don’t fully stop, but cut watering by about 30% in the final 7 to 10 days before peak harvest. Slight water stress concentrates sugars and acids in the ripening fruit, dramatically improving flavor. This trick works best with full-sun in-ground tomatoes; container plants need consistent water right through harvest because their root volume is too small to buffer stress.
Do tomato flowers need to be pollinated by hand?
Outdoor tomatoes self-pollinate via wind and bumblebee buzz-vibration — you do not need to do anything. Indoor or fully enclosed plants do need help: tap each flower truss firmly with a finger or use an electric toothbrush against the stem behind the flower for 2 seconds, every 2 to 3 days while flowers are open.
Related Articles
- Tomato Plant Types: Determinate vs Indeterminate vs Dwarf
- Indeterminate Tomatoes: Varieties, Pruning & Yield
- Tomato Seedlings: Hardening Off & Transplanting
- Growing Tomatoes from Seeds: Direct Sow Outdoors
- Staking Tomatoes: Single-Stake Method
- Trellis for Tomatoes: Cages, A-Frames & Florida Weave
- Fertilizing Tomatoes: NPK Schedule by Growth Stage
- Pruning Tomato Plants: Sucker Removal & Topping
- Companion Planting for Tomatoes: 12 Best & Worst Pairings
- Sun Gold Tomato Plants: Growing the Sweetest Cherry
- Tomato Heirloom Seeds: Best Varieties & Where to Buy