Dill takes 40–55 days from seed to harvestable leaf, thriving in cool climates where warm-region gardeners fight constant bolting. Its deep taproot hates transplanting — direct-sow where it’ll live — and succession-sowing every three weeks keeps fresh leaf coming from spring through autumn, since it bolts hard above 24°C (75°F).
Dill is one of the few herbs that genuinely prefers my Nordic climate. While gardeners in hot regions spend the summer fighting to stop it bolting, up here in a cool summer it just keeps producing — which makes it one of the most rewarding herbs I grow. The whole seed-to-seed cycle runs roughly 90 days, with a second harvest window for seed if you let part of the patch flower. Here’s how I run mine.
As an Amazon Associate I earn from qualifying purchases.
Dill Basics: Why Direct Sowing Wins
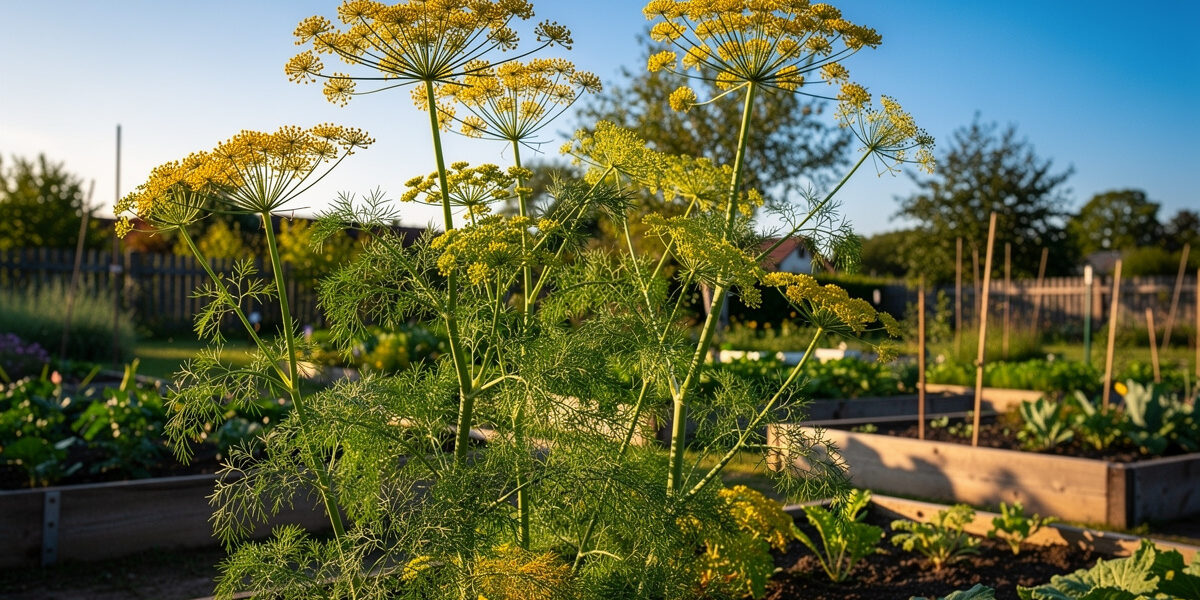
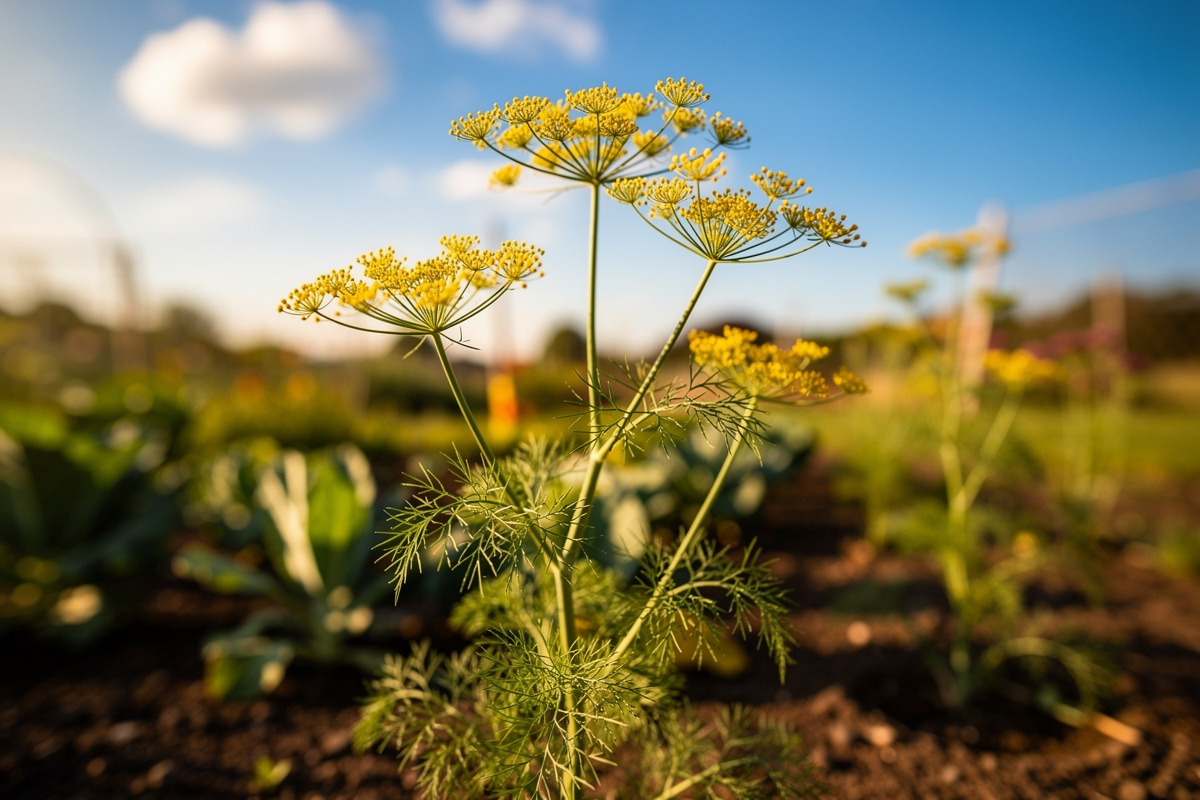
Dill (Anethum graveolens) is a cool-season annual in the carrot family, related to fennel, parsley, and Queen Anne’s lace. It gives feathery leaves (“dill weed”), then an umbrella of yellow flowers that ripens into the seed used for pickling. The whole seed-to-seed cycle runs roughly 90 days: a week or two to germinate, four to six weeks to harvestable leaf, then another month-plus to flower and set seed.
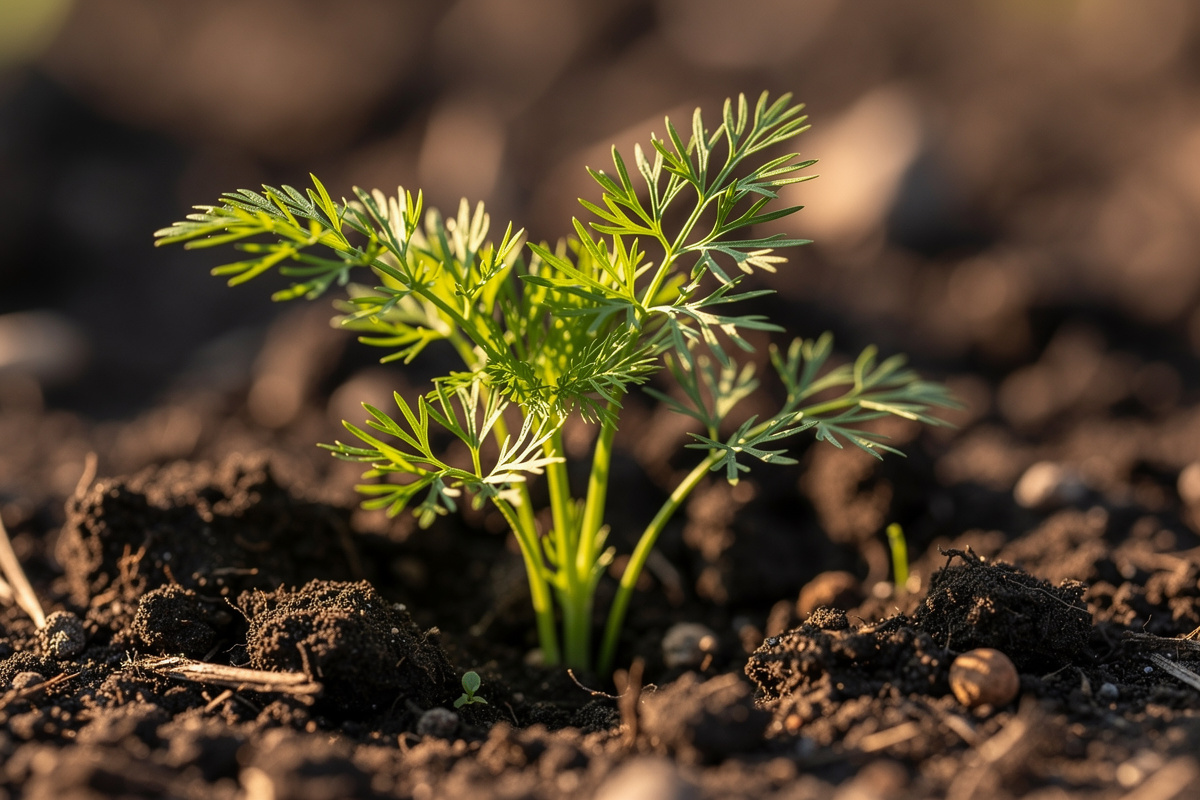
The one rule that decides everything: don’t start it indoors and transplant. The taproot grows fast and deep, and disturbing it stunts the plant and triggers an early bolt. Sow dill seed straight into the spot where it will live its whole life. For the wider bed picture, the parent guide is my herb garden guide.
When and Where to Sow
Dill germinates reliably once the soil an inch down holds around 15°C (60°F) for a few mornings — usually a week or two after your last frost. Cool weather just slows germination; heat above ~27°C (80°F) is what triggers early bolt and cuts the harvest short. In my cool summer that heat ceiling is rarely a problem, which is exactly why dill thrives here. Rough timing by climate:
- Cold/short-season (zones 3–4, like much of Scandinavia): direct-sow late May, with a second sowing in early August for an autumn crop.
- Cool-temperate (zones 5–6): sow mid-May, then succession-sow every three weeks into early August.
- Warm (zones 7–8): sow mid-April, skip the heat of July, resume late August.
- Hot (zones 9–10): sow February–April, skip summer entirely, resume in October.
Give it at least six hours of sun, well-drained soil at pH 6.5–7.0, and shelter from wind — mature dill can hit a metre or more and topples in an exposed spot. A fence line or a corner against the house is ideal. For getting the soil right, see my best soil for herbs guide, and for filling a deeper bed, best soil for raised beds.
Succession Sowing — The Technique That Actually Matters
One dill planting gives you four to six weeks of good leaf, then it flowers and the leaf turns weak and bitter. The fix is simple: sow a fresh short row every three weeks so there’s always a young patch coming on behind the one that’s bolting. My rhythm:
- Sowing 1: about a week after last frost — a metre of row.
- Sowing 2: three weeks later, in a different spot.
- Sowing 3: three weeks after that — the last spring sowing.
- Sowing 4: late August, a cool-down sowing for autumn leaf right into October — one of the real perks of a cool climate.
Sow about 0.5 cm deep, seeds a few centimetres apart in rows ~45 cm apart. Don’t thin too hard — dill copes with a dense stand, and a close row helps hold itself up against wind.
Watering, Feeding, Mulching
Dill is undemanding. Give it about 2–3 cm of water a week as one or two deep soaks, letting the top of the soil dry between — soggy soil causes damping-off in seedlings. Feed lean: a single side-dress of a balanced organic feed when seedlings are 15 cm tall is plenty, because over-fed dill grows lush, floppy, and weak-flavoured. Mulch established plants with a couple of centimetres of straw, but keep mulch off freshly sown rows where it can crust over the tiny seedlings.
Harvesting Leaf vs Seed
Dill gives two harvests from the same plant — leaf first, seed after, from whatever you let bolt. Decide the split before you sow.
- Leaf: start once plants reach ~20 cm, snipping outer fronds first and taking no more than a third at a time; the centre keeps producing. Morning, after the dew dries, is when the flavour’s strongest.
- Keep it leafy longer: pinch out flower buds on plants you want for leaf — once flowers open, leaf production falls away within a week.
- Seed: let part of a row flower; the umbrella heads ripen over four to six weeks. Cut them when the seed turns from green to brown but before it shatters, into a paper bag, and shake the dried seed out a week or two later.
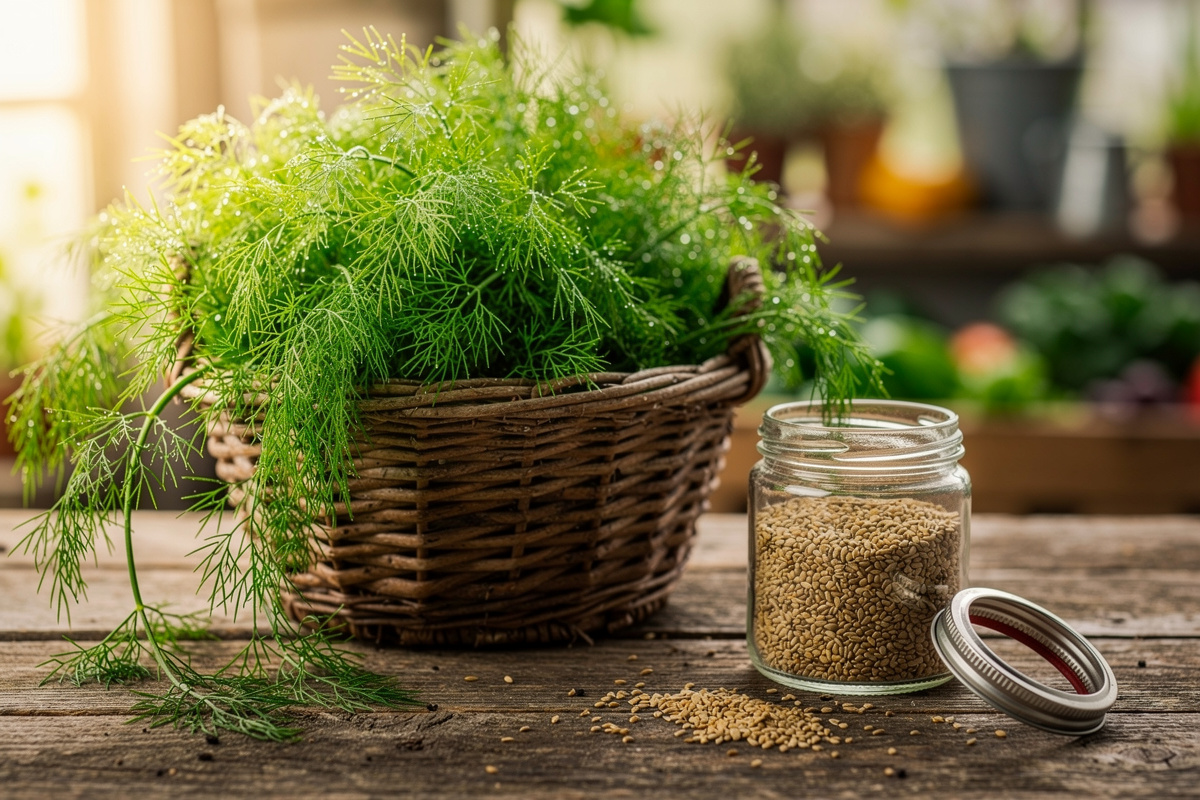
- Storing: fresh fronds keep a week or so in a damp paper towel in the fridge, or freeze chopped in oil; dried seed keeps a year or two in airtight glass jars — the same jars you’ll want for the pickling the seed is destined for.
Pests, Disease, and the Swallowtail Question
Dill is nearly pest-free, with one charming exception: dill is a recognised larval host plant for the black swallowtail butterfly (Papilio polyxenes), which lays its eggs on dill, parsley, and fennel (NC State Extension plant toolbox). Most of us happily leave the caterpillars — a few chewed fronds is a fair price for native butterflies in the garden. If you want untouched dill, just hand-pick the caterpillars onto a sacrificial plant. Otherwise the only things to watch are damping-off in over-watered seedlings (water from the side once they’re up) and a little late-season powdery mildew in humid spells (thin crowded rows for airflow).
Companion Planting
Dill is one of the most useful companions in the garden — but it’s choosy. Plant near: cabbage-family crops (its flowers draw parasitic wasps that hammer cabbage-moth caterpillars), cucumbers (more pollinators, better fruit set), and onions. Keep away from: carrots (shared carrot-fly pressure — same family), fennel (they cross-pollinate and ruin each other’s seed), and tomatoes (mature dill stunts them in tight quarters). The framework carries over from my companion planting for basil guide; only the species change.
Growing Dill in Containers
Containers work if you respect the taproot: at least 30 cm deep. A 30 cm pot holds three or four plants — plenty for steady kitchen use. The compact cultivars ‘Fernleaf’ and ‘Bouquet’ stay shorter (60–75 cm versus the metre-plus of standard dill) and take to pots far better. A deep herb planter on a sunny balcony does the job. Container dill dries faster, so water every couple of days in summer, feed a diluted liquid feed monthly, and harvest fairly hard to keep it from outgrowing the pot. For the indoor side, see my growing herbs indoors guide.
Common Mistakes That Wreck a Dill Patch
- Starting indoors and transplanting — the taproot resents it and the plant bolts within weeks. Always direct-sow.
- One single sowing — you get a few weeks of leaf, then it’s over. Succession-sow every three weeks.
- Planting near fennel — cross-pollination ruins the seed of both. Keep them well apart, or pick one.
- Letting it topple — mature dill is top-heavy; grow it against a wall or push in short stakes early, while seedlings are ~20 cm, before the taproot is in the way.
- Over-feeding — rich soil gives floppy, bland dill. Keep it lean.
Dill in a Short-Season Climate
Through a Nordic summer, I succession-sow dill three times: once in early May, once two weeks later, and a final round in mid-July. The long June daylight hours push the first planting to bolt within four to five weeks, but the staggered sowings mean that when one round flowers and goes to seed, the next round is just reaching harvestable size. This simple succession rhythm keeps fresh dill on the balcony from June through September.
Dill is one of the fastest herbs from seed to harvest and one of the most ephemeral. A single plant goes from germination to bolting in roughly six to eight weeks, which means the growing window is short but the turnaround is fast enough that three sowings per season keep the supply steady. I let one or two plants go to seed each round so the following spring brings volunteer seedlings without any effort on my part.
Dill Cultivar Choices for Container Growing
The cultivar choice for dill is simpler than for most herbs. Standard Bouquet dill works for both leaves and seed heads and is the variety most seed racks carry. For containers and small spaces, the compact Fernleaf variety is the better choice because it tops out at 18 inches and bolts more slowly than full-size types. I grow Fernleaf in a 10-inch fabric pot and it produces enough dill for a household that uses fresh herbs three or four times a week through the summer. The dwarf habit also means it looks neater on the balcony and is less likely to get knocked over by a summer storm.
Frequently Asked Questions
How long does dill take to grow from seed?
Dill germinates in 7 to 14 days at 60-70 degrees F (15-21 C) soil temperature. Plants reach harvestable leaf size at 4 to 6 weeks (around 20 cm tall). Seed harvest follows another 30 to 45 days after flowering. Total seed-to-seed lifecycle is roughly 90 days under good conditions.
Can I grow dill from a transplant?
It is possible but not recommended. Dill has a deep taproot that resents disturbance. Transplanted dill typically bolts within 2 to 3 weeks of being moved, severely shortening the leaf harvest window. Always direct-sow seeds where the plant will grow for the strongest results.
How often should I succession sow dill?
Every 3 weeks from the last frost until about 8 weeks before the first autumn frost, skipping the hottest weeks of summer in warm climates. A new short row every 3 weeks gives continuous fresh-leaf harvest, since each planting bolts after roughly 4 to 6 weeks of leaf production. In a cool climate you can keep sowing right through summer.
Why is my dill flowering already?
Heat triggers bolt above about 24 C (75 F). Once dill flowers, leaf production stops within a week. Either harvest the flower heads as the seed crop, or pinch the flower buds before they open to extend the leaf harvest by 2 to 3 weeks. The permanent fix is to grow the next planting in a cooler shoulder season.
What grows well next to dill?
Cabbage family crops (broccoli, kale, brussels sprouts) benefit from dill flowers attracting parasitic wasps that prey on cabbage moths. Cucumbers benefit from increased pollinator activity around dill. Avoid planting dill near carrots (shared pest pressure), fennel (cross-pollination), or tomatoes (growth competition).
Can I grow dill in a pot?
Yes, but the container must be at least 30 cm (12 inches) deep to accommodate the taproot. A 30 cm wide pot supports 3 to 4 plants. Compact cultivars like Fernleaf or Bouquet stay shorter (60-75 cm) and tolerate container life better than standard varieties that reach a metre or more at maturity.
How do I harvest dill seed for pickling?
Let part of a row bolt and flower. After flowering, the yellow umbrella heads develop seed clusters over 4 to 6 weeks. Harvest when seeds turn from green to brown but before they shatter — cut the entire flower head into a paper bag, hang upside down for 1 to 2 weeks to dry, then shake out the seeds. Dried seeds keep 12 to 24 months in airtight storage.