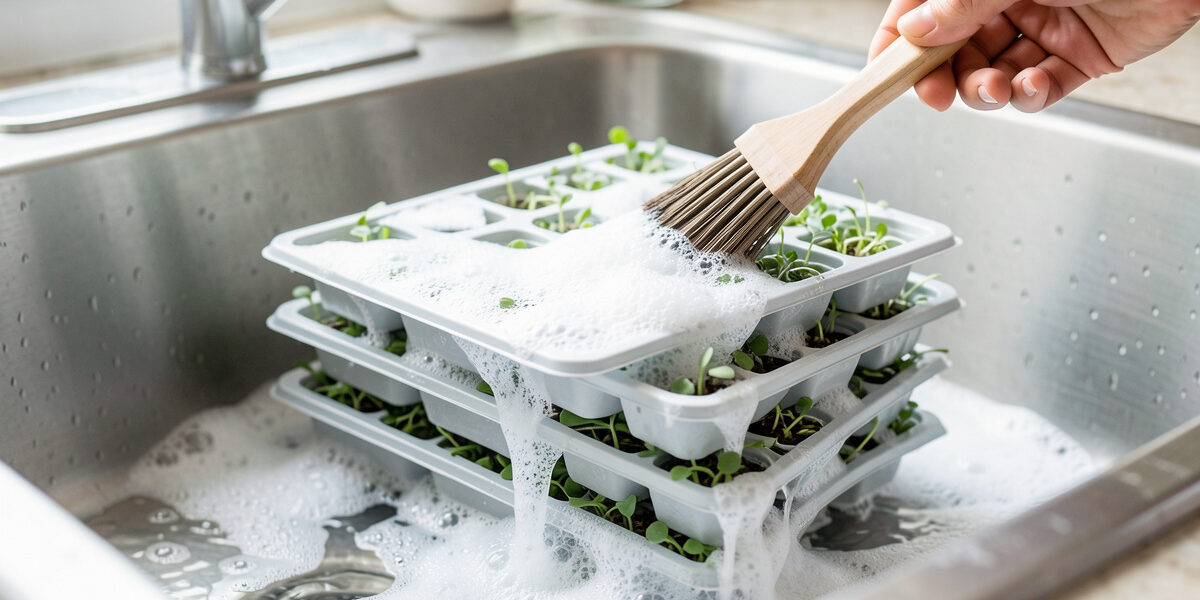
Clean microgreen trays in three steps between every sowing: scrub off the root mat and biofilm with hot soapy water, soak in a food-safe sanitiser, then dry completely before storage. A rinse alone leaves fungal spores and biofilm in the plastic that reinfect your next crop — which is why “I keep getting mold” almost always traces back to trays that were only ever rinsed. Wash, sanitise, dry: that’s the whole routine.
This is the least glamorous article in the whole cluster and quietly the most important, because dirty trays are the hidden cause behind recurring problems people blame on everything else. I run a lot of trays through my kitchen, reused sowing after sowing, and the difference between a shelf that fights mold constantly and one that rarely sees it often comes down to this ten-minute routine between crops. Skip it and you’re sowing fresh seed into a spore reservoir. Do it and you break the cycle that makes mold and damping off feel inevitable.
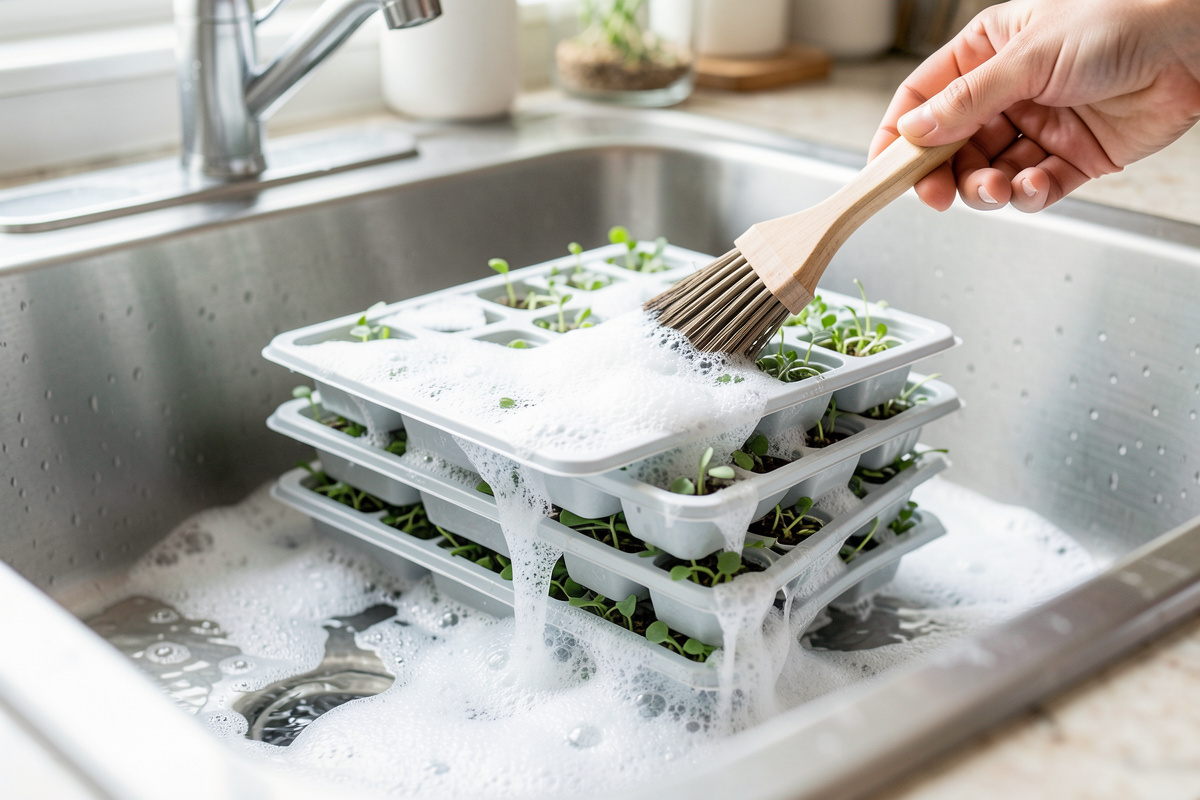
Why Do Microgreen Trays Need Sterilising, Not Just Rinsing?
Because a rinse removes what you can see and leaves what actually causes disease. Used trays hold dried root mat, biofilm, and fungal spores lodged in every scratch and corner, and those survive a tap rinse easily. The next crop germinates straight into that contamination, and the mold or damping off you thought you’d fixed comes right back. Sanitising kills the microbial reservoir a rinse leaves behind.
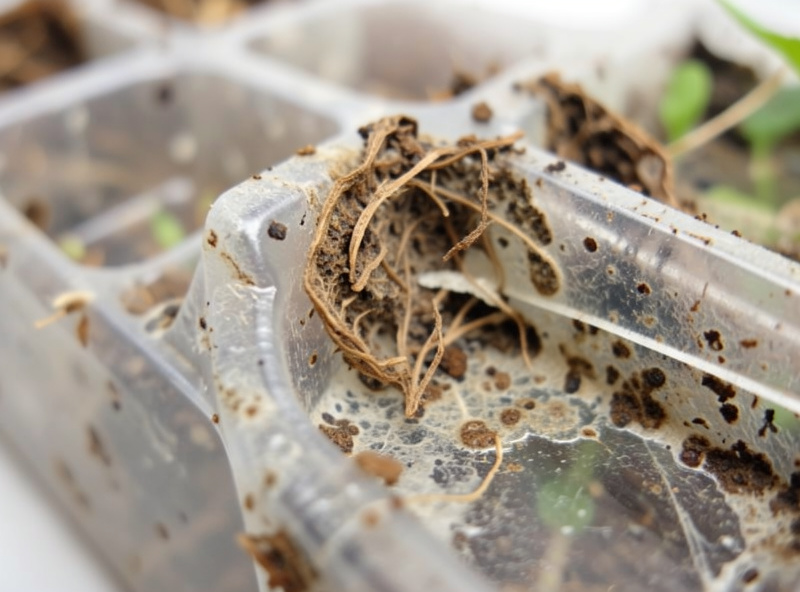
Biofilm is the key word. It’s not loose dirt you can splash away — it’s a slimy, tenacious microbial layer that grips the plastic, and it shelters the very fungi and bacteria you’re trying to eliminate. Scratched trays are worse, because every scratch is a crevice that holds root mat and spores below the reach of a rinse. I’ve watched growers do everything right on a new sowing — good airflow, bottom-watering, thin seeding — and still fight mold, because the spores were living in the tray the whole time. The tray was the problem, not the technique.
This is the missing piece in most recurring-problem stories across the troubleshooting guide. You can fix the growing conditions perfectly and still lose trays if you’re reinoculating each crop from a dirty tray. Sanitation closes the loop — it’s the difference between treating symptoms and removing the source.
How Do You Clean Microgreen Trays Step by Step?
Empty and compost the spent root mat, scrub the tray in hot soapy water to physically remove biofilm and debris, sanitise with a food-safe solution, rinse if the product requires it, then dry the tray completely before storing. Physical scrubbing does most of the work; the sanitiser kills what scrubbing misses; drying stops anything surviving from regrowing. All three steps matter.
Here’s the routine exactly as I run it:
- Empty it. Peel out the spent root mat and medium and send it to the compost or worm bin — that dense mat of roots is worm gold. Get the tray as empty as you can before water touches it.
- Scrub in hot soapy water. Hot water and dish soap with a brush or scrubbing pad, working every corner and the underside of any drainage holes. This physical step removes the biofilm, and it’s the part a rinse skips. Don’t rush it — most of the real cleaning happens here.
- Sanitise. Soak or wipe the scrubbed tray with a food-safe sanitiser (options below), giving it the contact time the product needs. This kills spores and microbes the scrub didn’t lift.
- Rinse if needed. Some sanitisers need rinsing before food contact; others break down and don’t. Follow the product’s guidance — this is food you’ll eat in a week.
- Dry completely. Air-dry upright in a rack until bone dry before stacking for storage. This step is the one people skip and it’s essential — see below.
The whole thing takes about ten minutes for a batch of trays, done while I’m cleaning up after a harvest. Sturdy, smooth 1020 trays make it faster because they scrub clean easily and take hot water without warping — cheap flimsy trays scratch quickly and become impossible to properly sanitise, at which point I retire them rather than fight a losing battle.
What Should You Use to Sanitise Microgreen Trays?
Use a food-safe sanitiser: diluted hydrogen peroxide, diluted white vinegar for light jobs, or a food-contact-rated bleach solution used carefully and rinsed. The right choice balances how effective it is against how much rinsing and caution it needs, since these trays grow food. Hydrogen peroxide is my everyday pick because it’s effective and breaks down cleanly.
| Sanitiser | How It’s Used | Notes |
|---|---|---|
| Hydrogen peroxide (3%, diluted) | Soak or spray, let it sit, then rinse | Effective, breaks down to water and oxygen, food-friendly — my default |
| White vinegar (diluted) | Wipe or short soak | Mild and food-safe; fine for light jobs, weaker against heavy fungal loads |
| Bleach (food-contact dilution) | Brief soak, then rinse thoroughly | Strong and cheap; must be well diluted and fully rinsed — use with care |
| Very hot water alone | Sustained hot soak after scrubbing | Helps, but less reliable than a sanitiser on established biofilm |
My honest take after years of this: a thorough hot-soapy scrub does the majority of the work, and hydrogen peroxide is the sanitiser I reach for most because it’s effective, food-friendly, and leaves nothing behind to worry about. Vinegar is fine for a light turnaround between clean crops but I don’t trust it alone after a mold or damping-off tray. Bleach works and it’s cheap, but on something I’ll eat off in a week I’m meticulous about dilution and rinsing, so I mostly skip it. Whatever you choose, the scrub is non-negotiable first — no sanitiser cuts through biofilm you haven’t physically removed. A jug of 3% hydrogen peroxide lasts a long time across a lot of trays.
As an Amazon Associate I earn from qualifying purchases.
Why Does Drying the Trays Matter So Much?
Because a damp stored tray grows the very thing you just cleaned off. Moisture is what mold and biofilm need, so a tray stacked wet becomes a breeding ground before its next use, undoing the sanitising. Drying trays completely — bone dry, air-circulated, before stacking — is what makes the clean stick between sowings.
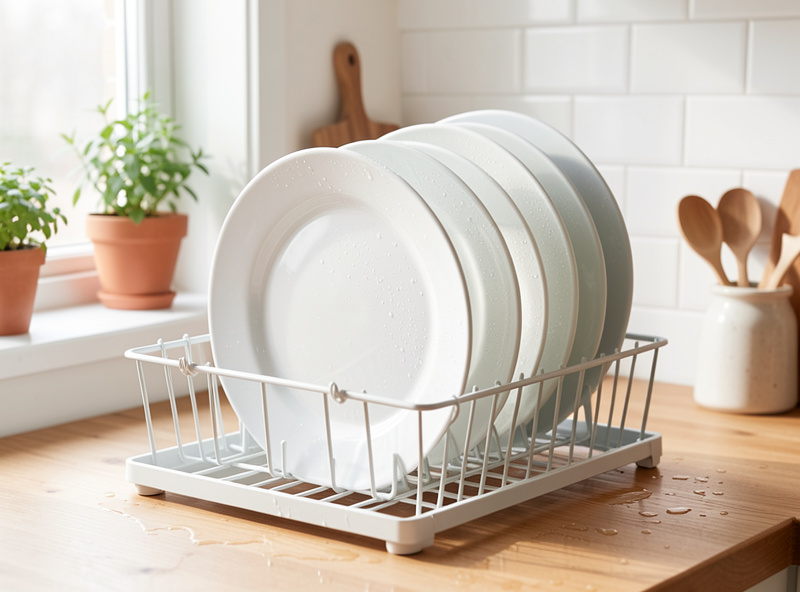
This is the step everyone rushes, and it quietly wastes the whole routine. You scrub, you sanitise, then you stack the trays wet in a cupboard — and the water trapped between nested trays is a perfect little humid chamber for regrowth. By the time you sow again, you’ve re-contaminated a tray you’d cleaned. I air-dry mine upright in a rack until there’s no moisture left anywhere, then stack them for storage. A quick towel-dry followed by air-drying speeds it up if you’re short on rack space.
It’s the same principle that runs through the whole cluster: moisture without airflow is what feeds every fungal problem, from surface mold to damping off. A dry, clean, well-stored tray starts your next crop from zero instead of from last week’s problem — and clean trays also help you sow evenly, since debris-free trays give you the level surface that supports even germination. Ten minutes of wash-sanitise-dry between sowings is the cheapest disease insurance in the whole hobby, and it’s the habit that turns “why does this keep happening?” into trays that just work. For a non-commercial reference on food-safety and handling in microgreens, the University of Minnesota Extension microgreens growing guide is worth a read, and Johnny’s Selected Seeds keeps practical sanitation notes in its guide to growing microgreens.
How do you clean microgreen trays between sowings?
Compost the spent root mat, scrub the tray in hot soapy water to remove biofilm, soak or wipe it with a food-safe sanitizer, rinse if the product requires it, then dry it completely before storing. The scrub, the sanitize, and the dry are all necessary to break the disease cycle.
Why do my microgreen trays keep growing mold even after I rinse them?
A rinse removes visible debris but leaves biofilm and fungal spores lodged in the plastic and scratches. Those reinfect your next crop. You need to physically scrub the tray, sanitize it with a food-safe solution, and dry it fully to remove the reservoir a rinse leaves behind.
What is the best sanitizer for microgreen trays?
Diluted hydrogen peroxide is a strong everyday choice because it is effective and breaks down cleanly to water and oxygen. Diluted white vinegar works for light jobs, and a well-diluted, thoroughly rinsed food-contact bleach solution is strong but needs more care since trays grow food.
Do I need to dry microgreen trays before storing them?
Yes, completely. A tray stacked wet traps moisture and grows mold and biofilm again before its next use, undoing the cleaning. Air-dry trays upright until bone dry before stacking them for storage so the sanitizing actually lasts between sowings.
Can you reuse microgreen trays or should they be disposable?
You can reuse sturdy trays many times if you clean them properly between sowings. Retire a tray only when it is too scratched or warped to scrub and sanitize effectively, since deep scratches shelter spores. Good smooth 1020 trays clean up easily and last a long time.