Planting comfrey gives gardeners a self-sustaining source of nutrient-rich mulch, compost activator, and liquid fertilizer from a single perennial that produces 4 to 5 harvests per year. One established comfrey plant yields 4 to 5 pounds of leaf biomass per cutting, containing more nitrogen, phosphorus, and potassium than most commercial fertilizers, making it the most productive nutrient-accumulating plant available to home gardeners.
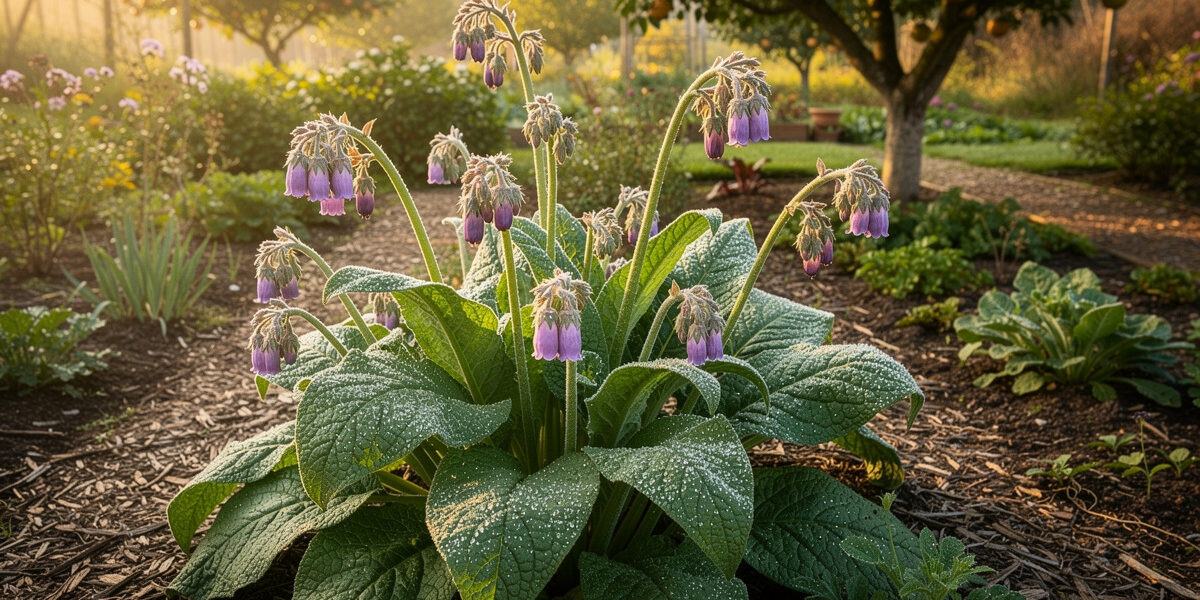
Comfrey (Symphytum officinale and its cultivars) has been used for centuries as a medicinal herb and soil builder. Modern permaculture and organic gardening rely on comfrey as a “dynamic accumulator” because its deep taproot mines minerals from subsoil layers that shallow-rooted crops cannot reach. Those minerals concentrate in the leaves, which decompose rapidly when cut and dropped as mulch. This guide covers variety selection, planting methods, containment strategies, harvest techniques, and practical uses in the garden.
Comfrey is the closest thing I have to a free fertiliser factory — one hardy perennial you cut four or five times a season for nutrient-rich mulch, compost activator, and a potent liquid feed, and which dies back and returns every spring without fail. The one rule that matters: plant the sterile Bocking 14 cultivar, never wild comfrey, or you’ll create an invasive nightmare you can never dig out. Here’s how to plant it, keep it contained, and turn it into free plant food.
A quick note: some links below are affiliate links — if you buy through them I may earn a small commission at no extra cost to you. I only point to things I’d use myself. Details on my disclaimer page.
Choosing the Right Comfrey Variety
The variety you plant determines whether comfrey becomes a garden asset or an invasive nightmare. True comfrey (Symphytum officinale) spreads aggressively by seed and root fragments. Every piece of root left in soil produces a new plant, making it nearly impossible to remove once established. Do not plant true comfrey unless you want permanent coverage of that area.
Bocking 14 (Symphytum x uplandicum), developed at the Henry Doubleday Research Association in England, is the only variety recommended for controlled garden use. This sterile hybrid produces no viable seed and does not spread by runners. It stays exactly where you plant it, forming a clump 3 to 4 feet wide that can be harvested repeatedly for decades without any unwanted spreading.
Bocking 4 is another sterile cultivar with higher potassium content than Bocking 14, making it particularly useful for tomato and fruit tree fertilizer. However, Bocking 14 remains the standard recommendation because it produces slightly more biomass per plant and has been more extensively studied for nutrient content.
Where to Plant Comfrey
Comfrey grows in full sun to partial shade across USDA zones 3 through 9. It tolerates a wider range of conditions than most perennial herbs, thriving in soil that would kill lavender or rosemary. This adaptability makes it useful in spots where other plants struggle, including heavy clay, damp areas near downspouts, and partially shaded garden edges.
The ideal location is near your compost pile, vegetable beds, or fruit trees where the harvested leaves will be used. Comfrey leaves are heavy and bulky, so reducing the carrying distance between harvest and use saves significant labor over years of repeated cuttings. Many permaculture designers plant comfrey rings around fruit trees where cut leaves serve as in-place mulch.
Plant comfrey at least 2 feet away from garden bed edges because the mature clump spreads 3 to 4 feet wide. Even sterile Bocking 14 becomes a large plant that shades out neighbors. Space multiple plants 3 feet apart. For a continuous comfrey border along a fence line, 3-foot spacing produces a solid hedge within 2 growing seasons.
Planting Comfrey Root Cuttings
Root cuttings are the standard planting method for Bocking 14 because this sterile cultivar cannot be grown from seed. Purchase Bocking 14 root cuttings 2 to 6 inches long from reputable suppliers. Spring planting after the last frost gives the best results because warm soil temperatures accelerate root development.
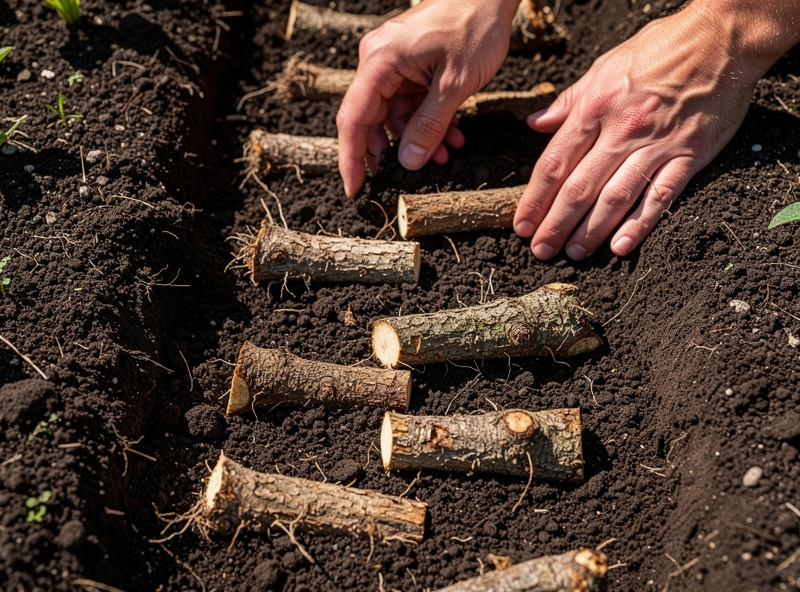
Dig a hole 3 to 4 inches deep. Place the root cutting horizontally or at a slight angle with any visible buds pointing upward. If no buds are visible, lay the cutting flat. Backfill with native soil and water deeply. Mark the planting spot because above-ground growth takes 2 to 4 weeks to appear and the cutting is invisible until then.
Fall planting also works in zones 5 and warmer. Plant root cuttings 6 to 8 weeks before the first expected frost so roots establish before dormancy. Mulch fall plantings with 3 inches of straw to insulate the soil through winter. First-year growth from fall-planted cuttings is typically smaller than spring-planted cuttings but catches up by the second season.
Planting Comfrey Crown Divisions
Crown divisions from established plants produce faster results than root cuttings. Each division is a section of the crown with roots and growth buds attached, essentially a starter plant that grows immediately upon planting.
To divide an established comfrey plant, dig around the outer edge of the clump in early spring before new growth exceeds 6 inches. Use a sharp spade to slice off sections from the perimeter, each with a fist-sized chunk of root and crown attached. Replant divisions immediately at the same depth they were growing, water deeply, and expect full-sized harvests by the second cutting of that same season.
This method is free if you know someone with established Bocking 14 plants. Comfrey growers are often generous with divisions because the plants benefit from periodic thinning. Community gardens, permaculture groups, and plant swap events are excellent sources for Bocking 14 divisions.
First-Year Care and Establishment
Water newly planted comfrey deeply once per week for the first month, then reduce to every 2 weeks for months 2 and 3. After the first growing season, established comfrey rarely needs supplemental water except during extreme drought. Its deep taproot, which can penetrate 6 to 10 feet into subsoil, accesses moisture that surface-rooted plants cannot reach.
Do not harvest comfrey during its first growing season. Allow the plant to establish its root system and build energy reserves undisturbed. Cutting leaves during the first year weakens the root system and reduces long-term productivity. By the second spring, the plant is ready for regular harvest.
Comfrey needs no fertilizer. Adding nitrogen fertilizer to comfrey is counterproductive because the plant already mines nutrients more effectively than any fertilizer application. Its deep roots pull nitrogen, phosphorus, potassium, calcium, magnesium, and trace minerals from subsoil and concentrate them in leaf tissue at rates that exceed most garden crops.
Harvesting Comfrey for Garden Use
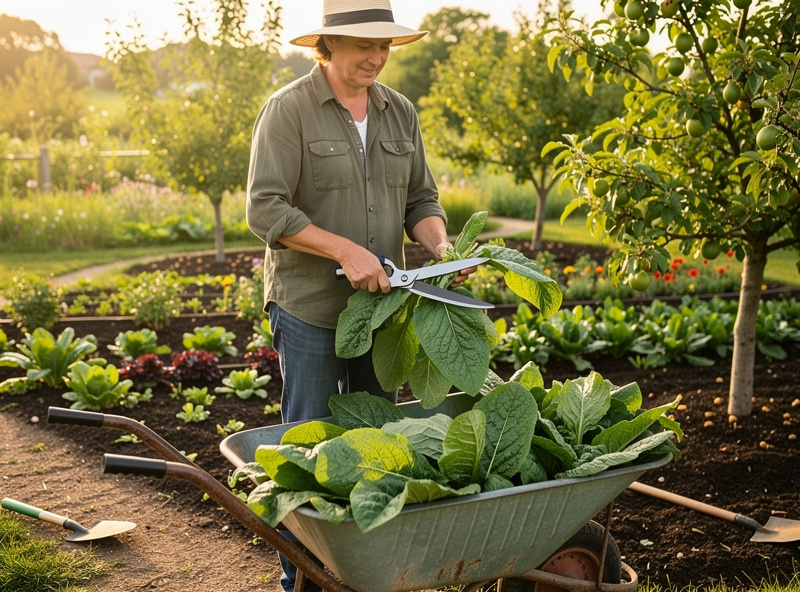
From the second year onward, harvest comfrey 4 to 5 times per growing season by cutting all stems to 2 inches above ground level. Use hedge shears, a sickle, or a sharp knife. The plant regrows completely within 4 to 5 weeks after each cutting, producing fresh leaf biomass each cycle. A single plant yields 20 to 25 pounds of leaf material per season across all cuttings.
Time your first spring harvest when flower buds begin to form, typically in late May. This is the peak nutrient concentration point. Subsequent harvests can happen every 4 to 5 weeks through September. Stop harvesting 6 weeks before the first expected frost to allow the plant to store energy for winter dormancy.
Wear gloves when handling comfrey because the leaf hairs can irritate sensitive skin. This is a contact irritation, not a toxicity concern. The hairs are tiny and bristly, similar to borage leaves, and cause temporary itching in some people.
Using Comfrey as Mulch and Fertilizer
The simplest use is “chop and drop” mulching. Cut comfrey leaves and lay them directly on the soil surface around vegetables, fruit trees, or raised beds. The leaves decompose within 2 to 3 weeks, releasing nitrogen, potassium, and phosphorus directly into the root zone. Tomatoes, peppers, squash, and fruit trees respond particularly well to comfrey mulch.

Comfrey liquid fertilizer (comfrey tea) is made by stuffing a 5-gallon bucket with cut comfrey leaves, filling with water, and covering loosely for 4 to 6 weeks. The resulting dark brown liquid is diluted 10:1 with water and applied as a potassium-rich feed. Comfrey tea contains an NPK ratio of approximately 1.8-0.5-5.3, making it an excellent flowering and fruiting stage fertilizer.
Warning: comfrey tea smells terrible during and after fermentation. Place the brewing bucket in a far corner of the garden. The finished fertilizer retains the odor but dissipates quickly after application to soil. The smell is caused by anaerobic decomposition and is harmless but genuinely unpleasant.
As a compost activator, adding chopped comfrey leaves to your compost pile accelerates decomposition of carbon-heavy materials like dried leaves and cardboard. The high nitrogen content of comfrey leaves creates the heat that drives thermophilic composting. Layer comfrey leaves between brown materials at a ratio of roughly 1 part comfrey to 3 parts carbon material.
Containing Comfrey in the Garden
Even sterile Bocking 14 can spread if root fragments are accidentally transported during digging. The primary containment strategy is location: plant comfrey in permanent positions where the soil will not be dug or tilled. Once planted, do not dig around the base of the clump.
If you need to remove or relocate comfrey, dig the entire clump including all root material. Sift the soil for root fragments larger than half an inch, as each fragment can regenerate into a new plant. Sheet mulching with cardboard over the former planting site suppresses any remaining root pieces, though complete eradication can take 2 to 3 seasons of persistent removal.
Container growing is possible but not ideal. Comfrey’s deep taproot is constrained in pots, reducing yield by 60 to 70% compared to ground-planted specimens. If container growing is your only option, use a pot at least 18 inches deep and 18 inches wide. Our container gardening guide covers deep-rooted plant management in detail.
Companion Plants for Comfrey
Comfrey works as a support plant rather than a visual companion. Its primary role is feeding neighboring plants through mulch and nutrient cycling. The best companion arrangement is planting comfrey at the edges of vegetable beds or in dedicated support strips between growing rows where harvested leaves are dropped as mulch.
Fruit trees and comfrey form the classic permaculture guild. Plant 3 to 4 comfrey plants in a ring 3 feet from the trunk of each fruit tree. Cut and drop the leaves in place 4 times per season to create a continuous nutrient cycle. The comfrey roots also break up compacted subsoil, improving drainage for the tree roots above.
Comfrey grows well alongside other deep-rooted perennials that tolerate partial shade, including lemongrass in warmer zones. It also pairs well as a border plant behind lower-growing creeping thyme, creating a height-graduated perennial herb bed from the thyme mat at front to the tall comfrey at back. For shaded woodland-edge plantings, comfrey also pairs with hedge garlic (Alliaria petiolata) — both tolerate the same low-light, moisture-retentive soils and produce edible spring greens before comfrey’s main flush.
Common Comfrey Problems
Comfrey rust (Melampsorella symphyti) appears as orange pustules on leaf undersides during humid weather. It rarely kills the plant but reduces harvest quality. Cut affected foliage to the ground and destroy it rather than composting. Fresh regrowth is typically rust-free. Improving airflow by thinning nearby plants reduces recurrence.
Slugs occasionally feed on young comfrey leaves in spring, creating ragged holes. Established plants outgrow slug damage quickly. For young plantings, copper tape barriers or iron phosphate slug bait around the planting area provides protection during the vulnerable first weeks.
The only serious comfrey problem is planting the wrong variety. If you accidentally plant true comfrey (S. officinale) instead of sterile Bocking 14, it will seed prolifically throughout your garden within 2 to 3 years. Verify you are purchasing Bocking 14 specifically and buy only from suppliers who explicitly label their stock by cultivar name.
Frequently Asked Questions
Is comfrey safe to eat?
Comfrey leaves contain pyrrolizidine alkaloids that can damage the liver with prolonged internal use. External poultice use has a long historical record. Modern guidance recommends comfrey for garden fertilizer and topical use only, not internal consumption.
How deep do comfrey roots grow?
Comfrey taproots penetrate 6 to 10 feet into subsoil, mining minerals that shallow-rooted plants cannot access. This deep rooting makes comfrey drought-tolerant once established and explains its exceptional nutrient accumulation ability.
Can you grow comfrey in containers?
Yes, but yield drops 60 to 70% compared to ground planting because the deep taproot is constrained. Use a pot at least 18 inches deep and wide. Container comfrey needs more frequent watering than in-ground plants.
How many times can you harvest comfrey per year?
Harvest established comfrey 4 to 5 times per growing season, cutting all stems to 2 inches above ground. The plant regrows completely within 4 to 5 weeks after each cutting. One plant yields 20 to 25 pounds of biomass annually.
Does Bocking 14 comfrey spread?
No. Bocking 14 is a sterile hybrid that produces no viable seed and does not spread by runners. It stays exactly where planted, forming a 3 to 4 foot wide clump. Only root fragments accidentally moved during digging can create new plants.
When should I plant comfrey root cuttings?
Plant comfrey root cuttings in spring after the last frost for best results. Fall planting works in zones 5 and warmer if done 6 to 8 weeks before first frost. Spring planting produces larger first-year growth.