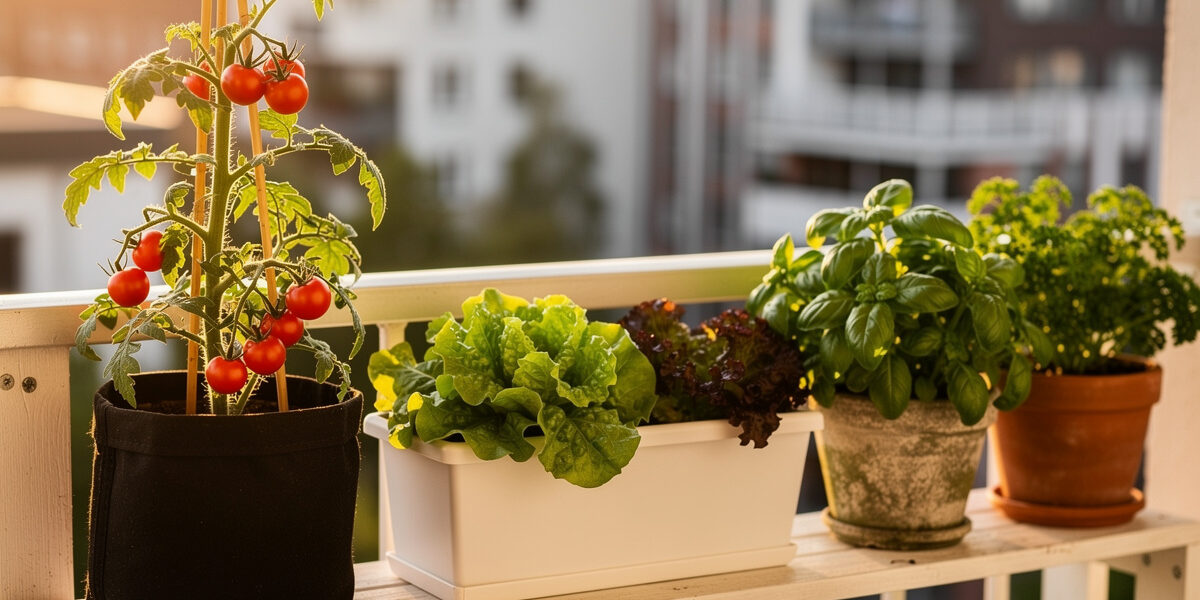
Grow a garden in the city by following a week-by-week roadmap, not by buying everything at once. On my Swedish apartment balcony, I have run four full growing seasons now, and the difference between a productive year and an abandoned project by July comes down to the order you do things. This roadmap takes you from a windowsill sprout to a productive 4-16 square foot setup over one growing season.
Weeks 1-2: Start Where You Are
Before buying a single seed packet, spend two days observing your space. Track sunlight hourly — write down when direct sun hits each spot and when shadows arrive. In a Nordic climate, a south-facing windowsill in March delivers about 4-5 hours of usable light; by June the same spot gets 8+ and the balcony closer to 18. Knowing that number determines everything you can and cannot grow.
The long June daylight cuts both ways. Eighteen hours of sun means pots dry out in a day and leafy greens bolt to seed before you expect it, so plan your lettuce and cilantro for the partial-shade corners and save the full-sun rail for fruiting plants. Measure your growing area too. A standard apartment balcony railing is roughly 3-4 feet wide and 3 feet deep — that is enough for four 5-gallon containers, two railing planters, and a small shelf for seedlings. A windowsill holds two 6-inch pots. Be honest: if your total space is under 4 square feet, start with herbs and microgreens. If you have 8+ square feet, you can add tomatoes and leafy greens.
Weeks 3-4: Pick Your First Three Plants
The single most important decision for a city gardener is WHAT to grow first. I start every season with the same three: basil (windowsill, near-zero failure rate), lettuce (4 weeks to first harvest, thrives in partial shade), and cherry tomatoes (high reward, teaches you watering discipline). Together they cover a windowsill, a balcony corner, and every common beginner mistake.
Buy seedlings from a nursery for these first three — transplants remove the 4-8 week germination window and give you a fast win. A basil seedling costs around $3 and produces usable leaves within 2 weeks. Cherry tomato seedlings start fruiting 6-8 weeks after transplant. Do not buy seeds for your first season unless you have grow lights and patience. See our gardening for beginners guide for the complete 5-step starter method.
Weeks 5-8: Container Setup and Soil
Containers are your garden beds. For the three starter plants you need: one 6-inch pot (basil), one 2-gallon pot (lettuce), one 5-gallon pot or fabric grow bag (tomato). That is $20-30 total if buying new, or free if you repurpose food-grade buckets with drilled drainage holes.
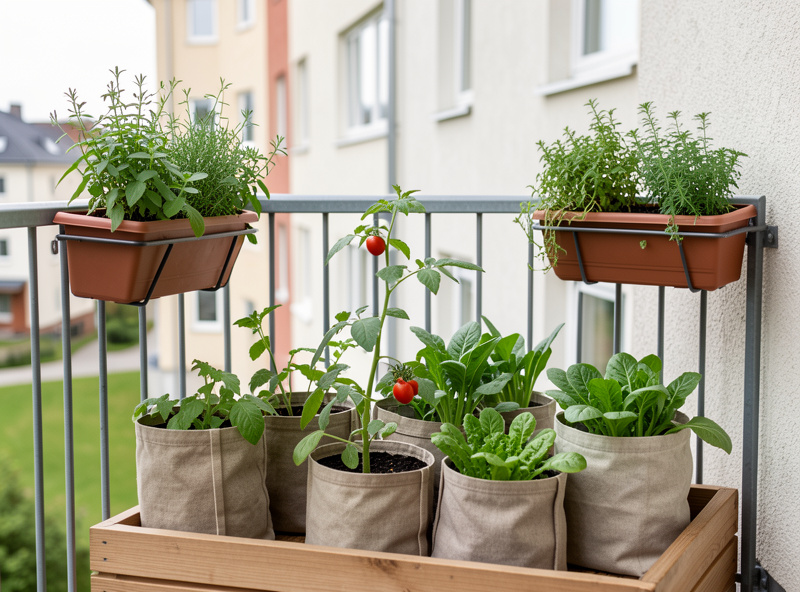
Fill each container with quality potting mix — never garden soil, which compacts in a pot and drowns roots. I mix my own from equal parts coco coir, compost, and perlite. It drains fast, stays light enough for balcony weight limits, and costs half what bagged mix does. If buying bagged, one 2-cubic-foot bag fills all three containers; extension guidance on growing vegetables in containers from Illinois Extension is a solid reference for sizing and media. Place containers in your sunniest spots. South-facing gets the best light in the Northern Hemisphere. If your only option is east or west, stick to leafy greens and herbs — fruiting plants need full sun. If you have under 3 hours of direct sun, add a clip-on LED light and grow indoors. See our indoor gardening essentials guide for the 12-item setup.
Weeks 9-12: Establish Watering and Feeding Habits
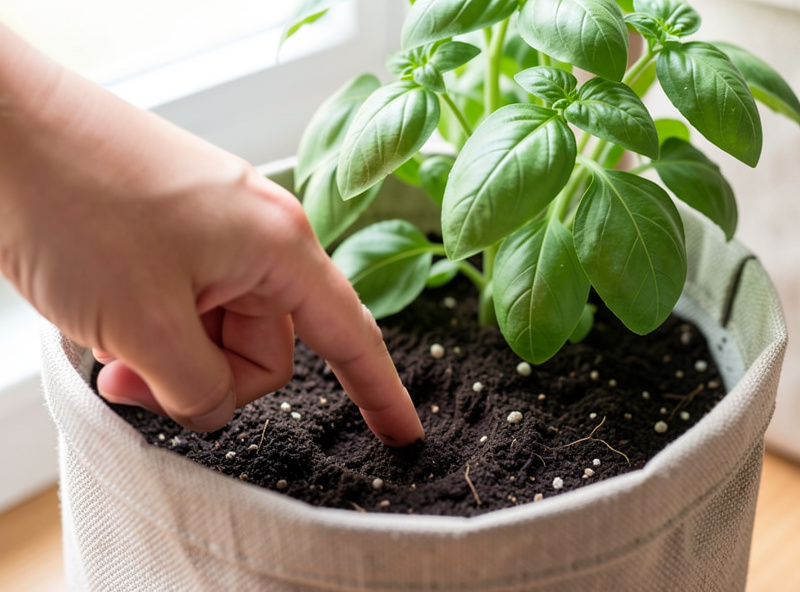
Watering rhythm is the skill that separates productive gardeners from serial plant-killers. The finger test works: push your index finger 2 inches into the soil. If dry, water until it drains out the bottom. If damp, wait. In my apartment during summer, balcony containers need water every 1-2 days; the windowsill basil needs it daily. A moisture meter removes all guesswork.
Water in the morning if you can. Morning watering soaks the root zone before the long summer day pulls moisture out, and any foliage that gets splashed has all day to dry — which matters, because damp leaves overnight are how damping-off and mildew get started. Start feeding at week 4. A slow-release granular fertilizer mixed into the soil at planting covers the first 3 months. After that, liquid seaweed or fish emulsion every 2 weeks at half strength keeps leafy greens producing and tomatoes fruiting. I also top-dress with worm castings from the bin under my kitchen sink — a tablespoon per pot monthly. See our 7 urban gardening mistakes guide for what happens when you skip feeding.
Months 4-5: First Harvests and Expansion
By month 4, you should be harvesting: basil leaves weekly, lettuce outer leaves every few days, and the first cherry tomatoes ripening. This is the inflection point where the garden earns back its setup cost. Harvest basil from the top to encourage bushiness. Cut lettuce 2 inches above the soil for a second flush. Pick tomatoes when fully colored for peak flavor.
Once you have harvested successfully and the daily watering and checking rhythm feels automatic, add 2-3 more plants. Good second-round choices: bush beans (fast, forgiving), chives (perennial, cold-hardy), and dwarf peppers (compact, colorful). For family-friendly projects that harvest in under 14 days, see our family gardening projects guide.
The Winter Pivot: Indoor Growing
When October arrives in a Nordic climate, outdoor growing ends — but the garden moves inside. I bring herbs into the kitchen windowsill, set up a grow-light shelf for microgreens and lettuce, and keep everbearing strawberries under LEDs through the dark months. A full-spectrum LED bar running about 14 hours a day costs only a few dollars a month in electricity and produces fresh greens all winter.
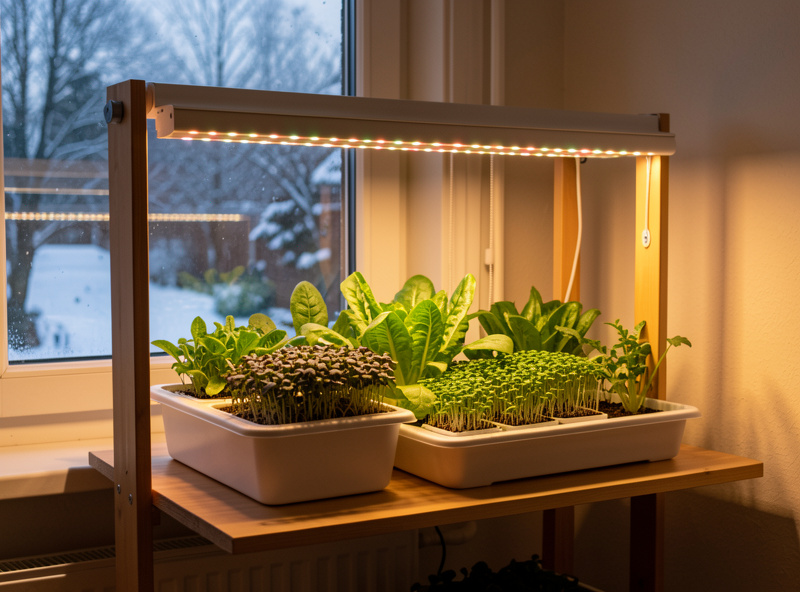
The 10-plant indoor garden is a realistic winter goal: leafy greens under the bar, herbs on the sill, strawberries as the stretch goal. For the full indoor setup, start with our growing plants indoors guide and cross-reference with our easy-care indoor plants list.
Year 2 and Beyond: Scaling Up
Year two is where the garden becomes self-sustaining. Save seeds from your best tomato and lettuce plants. Refresh container soil with 25-30% fresh compost instead of replacing it. Start a worm bin if you have not already — castings replace bagged fertilizer. Buy seeds for varieties you could not find as seedlings (arugula, kale, cilantro).
Add vertical growing: a trellis against the balcony wall doubles your usable space. A hanging shoe organizer repurposed as a vertical herb planter holds a dozen plants. For fifteen balcony and patio layouts ready to copy, see our small space garden ideas guide.
Common Pitfalls in Year One (And How I Avoided Them)
Every city gardener faces the same four bottlenecks, and I have hit every single one. The first is buying too many seed packets in March. You do not need 15 varieties — three plants, well-tended, produce more than 15 neglected ones. The second is overwatering in the first month, when excitement leads to daily watering that drowns roots before they establish. Use the finger test every time.
The third is ignoring weight limits. A saturated 5-gallon grow bag is heavy enough that I keep mine near the railing post or the wall, not out on the rail edge where one bump sends it over. Spread the load and weigh before you fill. The fourth pitfall is giving up after the first plant dies. Plants die. Basil bolts, lettuce turns bitter in a heat wave, tomato leaves yellow from nutrient deficiency. Diagnose the cause, adjust, and replant. For the most common errors and their fixes, see our 7 urban gardening mistakes that kill your plants.
The fifth is starting too early. In a short-season climate it is tempting to sow tomatoes in February because you are bored of winter, and by May you have leggy, root-bound seedlings that sulk for weeks after transplant. Count back from your last frost date, not from your enthusiasm. A sturdy four-week-old seedling transplants better than an eight-week-old one that has been starved for light on a windowsill the whole time.
Equipment: What to Buy and What to Skip
A complete city gardening toolkit fits in a shoebox. Buy a stainless hand trowel, a 2-gallon watering can with a removable rose head, and a pair of bypass pruners. Kitchen scissors replace pruners in a pinch, a milk jug with holes replaces a watering can, and a large spoon works as a trowel for the first month. Skip: garden forks, wheelbarrows, soil test kits, decorative tool sets, and anything sold as a “complete gardening kit” for $100+. See our equipment guide for specific recommendations with price breakdowns.
One tool worth buying early is a soil moisture meter. Overwatering kills more balcony plants than pests, disease, and frost combined, and a meter makes the diagnosis instant. Browse moisture meters on Amazon.
As an Amazon Associate I earn from qualifying purchases.
Seasonal Timing for a Short-Season Climate
If you garden in a Nordic or northern climate, the outdoor growing window is roughly May through September — four to five months. That means starting seeds indoors in March-April, hardening off seedlings on the balcony for a week in May (Penn State Extension’s guidance on the process is worth reading before you start), and harvesting through August-September. Frost-hardy greens like kale and spinach can survive into October with a simple row cover.
Succession planting stretches the season: start lettuce every 3 weeks from April through July for continuous harvests. When the first batch of radishes finishes in June, have bush beans or a second round of basil ready to fill the empty pot. A well-planned balcony with six containers cycling through succession can produce fresh greens from May through October. For the year-round indoor growing strategy, see our complete indoor growing guide.
Reading Your Plants by the End of Year One
The real reward of a first city season is not the harvest total — it is learning to read the plants. By October you should be able to tell from across the room whether the basil needs water, whether the tomato is hungry or just wind-stressed, and which pot is about to dry out by noon. That instinct is what carries into year two, when you scale up without scaling your mistakes. Once you can read one balcony, you can run any small space you ever live in.
How much space do I need to grow food in an apartment?
You can start with a single windowsill holding 2-3 small pots. A standard 4×3-foot balcony supports four 5-gallon containers plus railing planters and produces herbs, greens, and cherry tomatoes for one person. The minimum viable setup is one windowsill, one pot, and one seedling.
What is the easiest vegetable to grow in a city apartment?
Basil is the easiest starter plant for apartments. It thrives in a 6-inch pot on a sunny windowsill, tolerates missed waterings, and produces usable leaves within 2 weeks. Lettuce, chives, and cherry tomatoes are the next three easiest for beginners.
How long does it take to grow food in an apartment?
Leafy greens like lettuce and arugula are harvest-ready in 30-45 days. Herbs produce usable leaves in 2-3 weeks. Cherry tomatoes take 60-80 days from transplant to first fruit. Start with fast crops for a quick win, then add longer-season plants once your routine is established.
Can I grow vegetables in a north-facing apartment?
Yes, but you are limited to shade-tolerant crops like leafy greens, mint, and parsley. Fruiting vegetables like tomatoes and peppers need direct sun and will not produce on a north-facing windowsill. Adding a clip-on LED grow light opens up fruiting crops even in low-light apartments.
How much does it cost to set up a city balcony garden?
A basic three-container setup costs $25-40 using recycled buckets, bulk potting mix, and nursery seedlings. A complete first-season kit with fabric grow bags, quality soil, and a full plant selection runs $60-80. The herbs and vegetables produced in one season typically exceed the setup cost.